
Product photography with your phone: the complete guide
By the IsraModel AI team · Published
You do not need a camera or a studio. The phone you already own, a window and a sheet of white card are enough for clean product photos, and this guide shows exactly how to set them up.
Your first 5 images free · No credit card needed
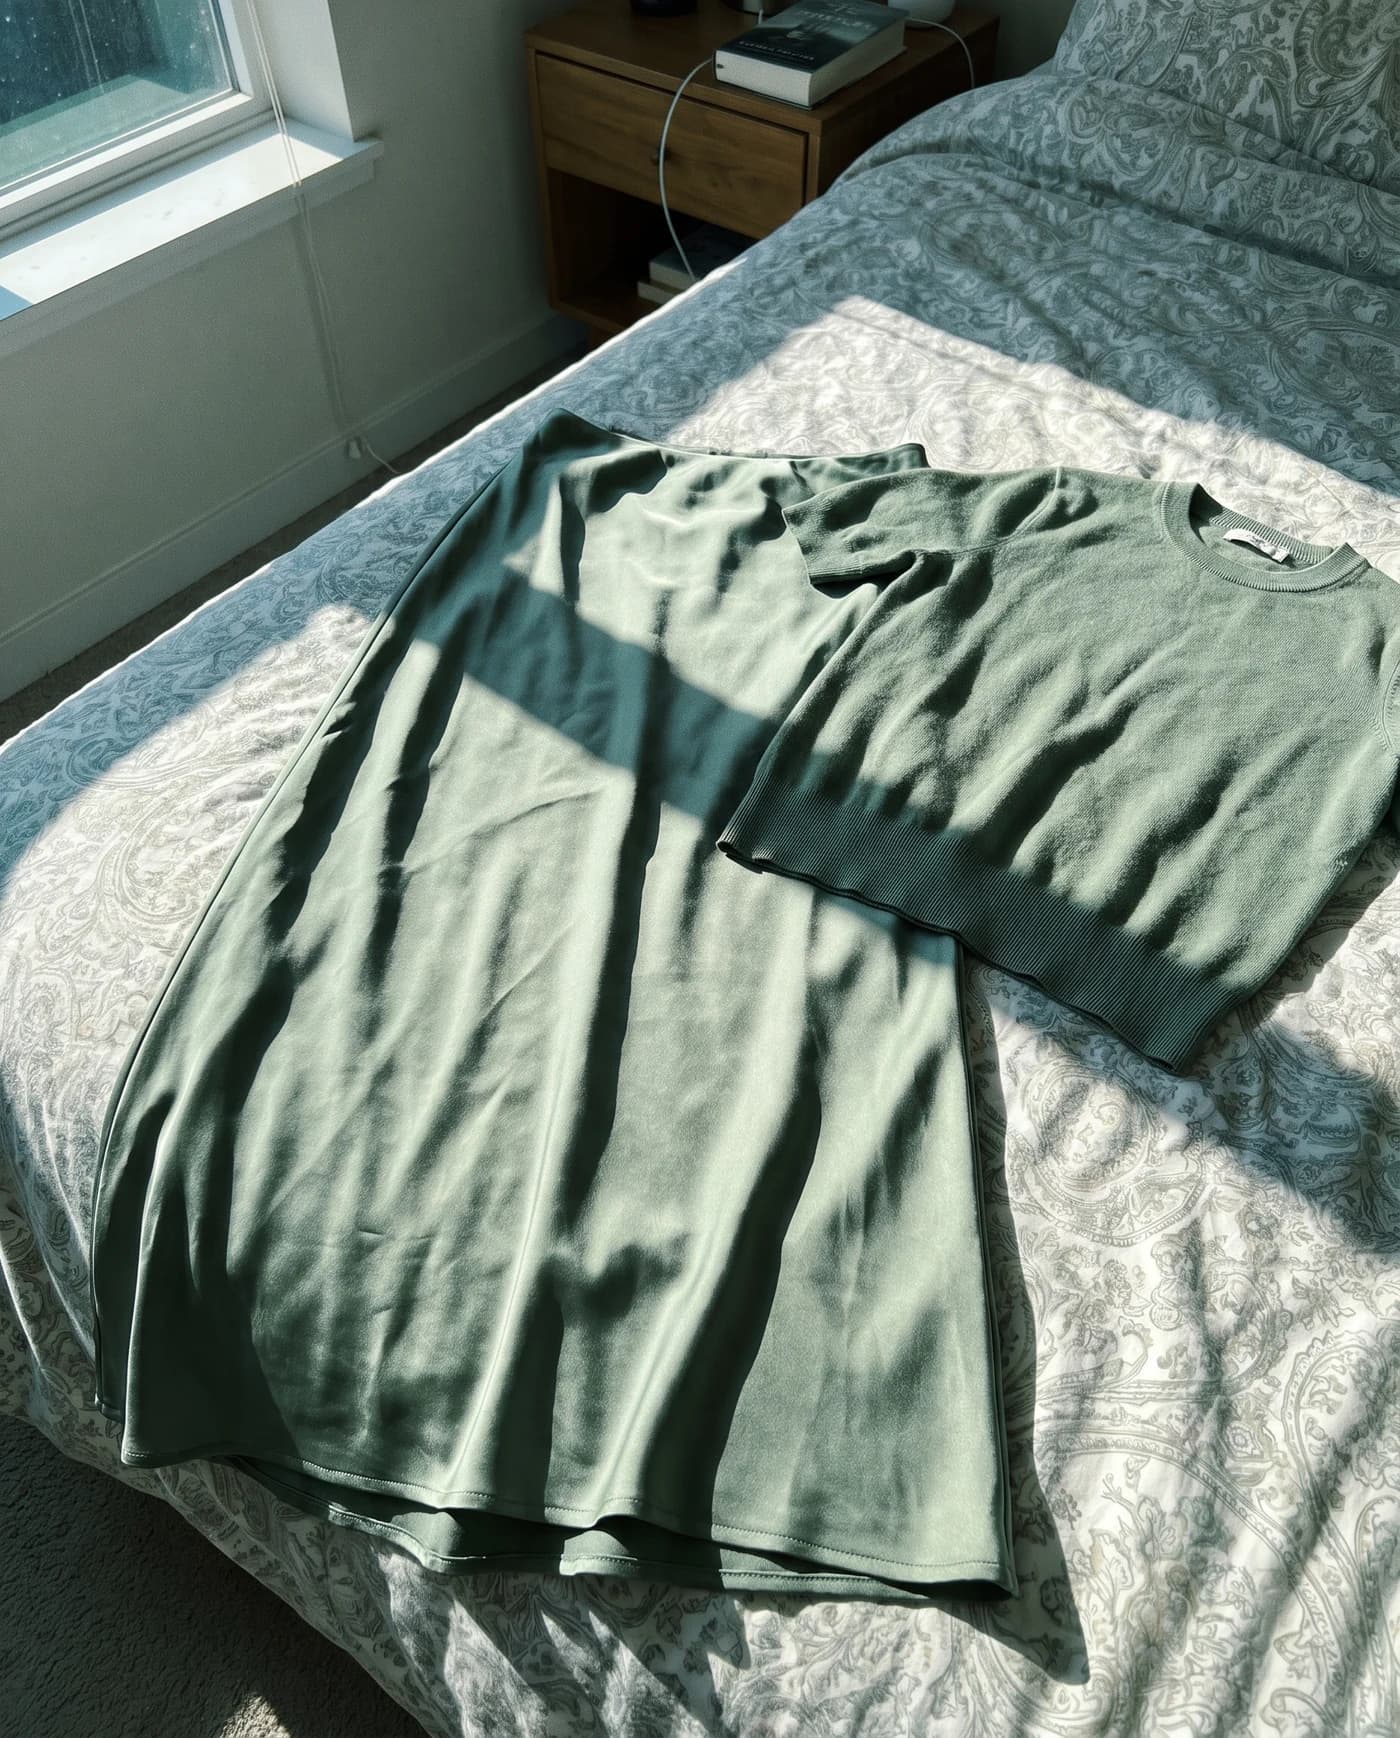
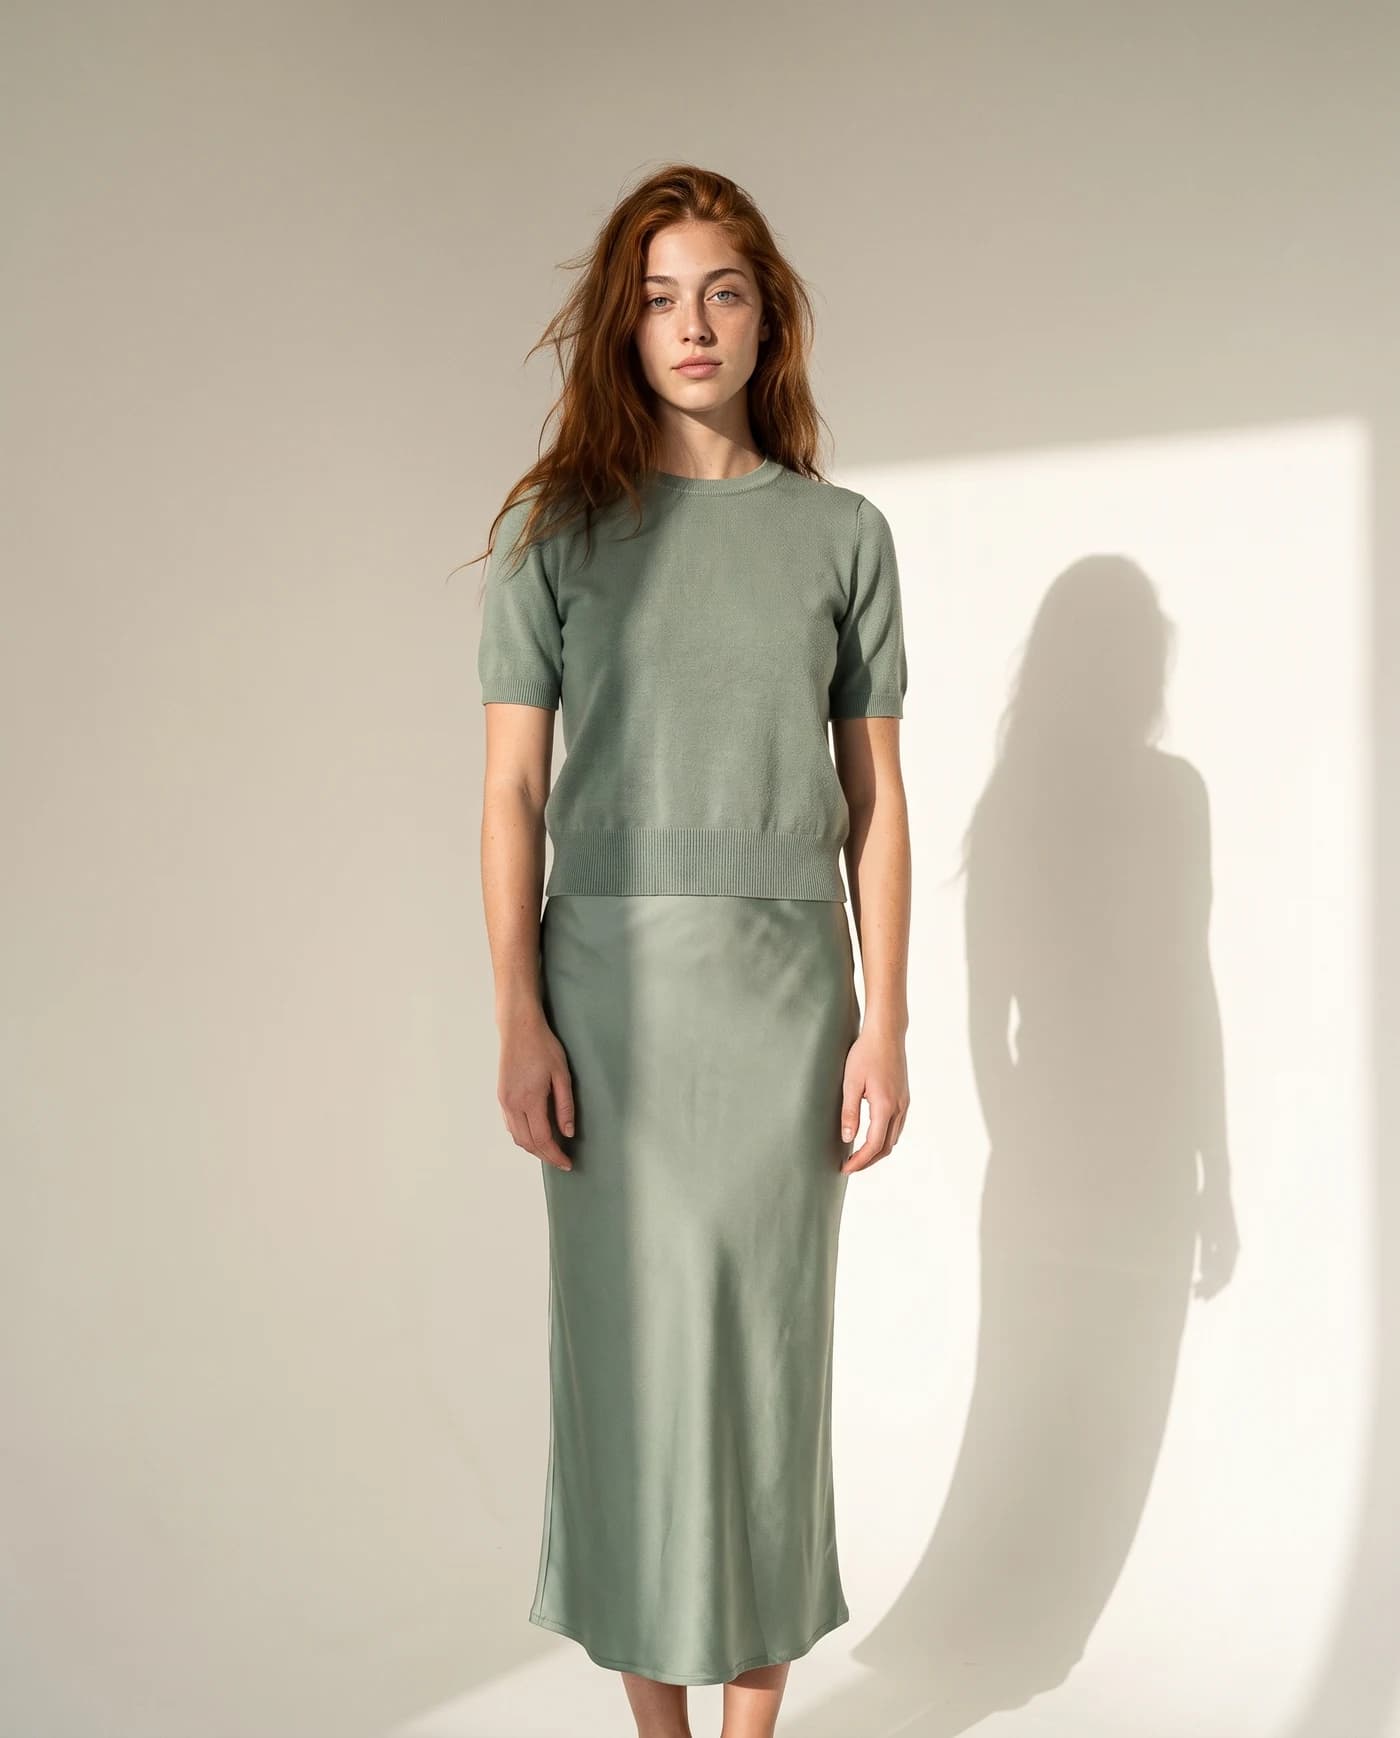
Why home photos sell less, and why it is not the phone
A shopper cannot pick your product up. All they have is the photo, and a dark, yellow or blurry photo makes a good product look cheap. They do not tell you that; they simply move on to the next store.
The gap between a weak home photo and a good one is rarely equipment. Any phone from the last few years records more detail than an online store can display. What decides the result is light, background, stability and angle, and all four can be fixed at a table by the window in ten minutes.
Step 1: light, the rule that changes everything
- Use a window as your studio. Place the product about a meter from a window so the light falls on it from the side, not from behind you. Soft daylight shows texture and shape without hard shadows.
- Bounce light into the shadow side. The side away from the window comes out dark. A sheet of white paper or card standing opposite the window reflects light back and fills the shadow, which is all a reflector does.
- Turn the flash off. The phone flash creates hard glare, flat shadows and hot spots on glossy packaging. If you must shoot in the evening, use a white LED lamp softened through baking paper or a thin curtain.
- Avoid direct sun. Strong sun on the product burns out the highlights and draws sharp shadows. Indirect window light, or a sheer curtain, is far kinder.
- Never mix light sources. Daylight plus a warm ceiling bulb gives uneven color that is very hard to correct. Switch the room lights off when you shoot by the window.
Step 2: background, angle and phone settings
- A clean, even background. Tape a sheet of white card to the wall and let it curve down onto the table behind the product. The curve (a sweep) removes the horizon line and gives an endless clean background.
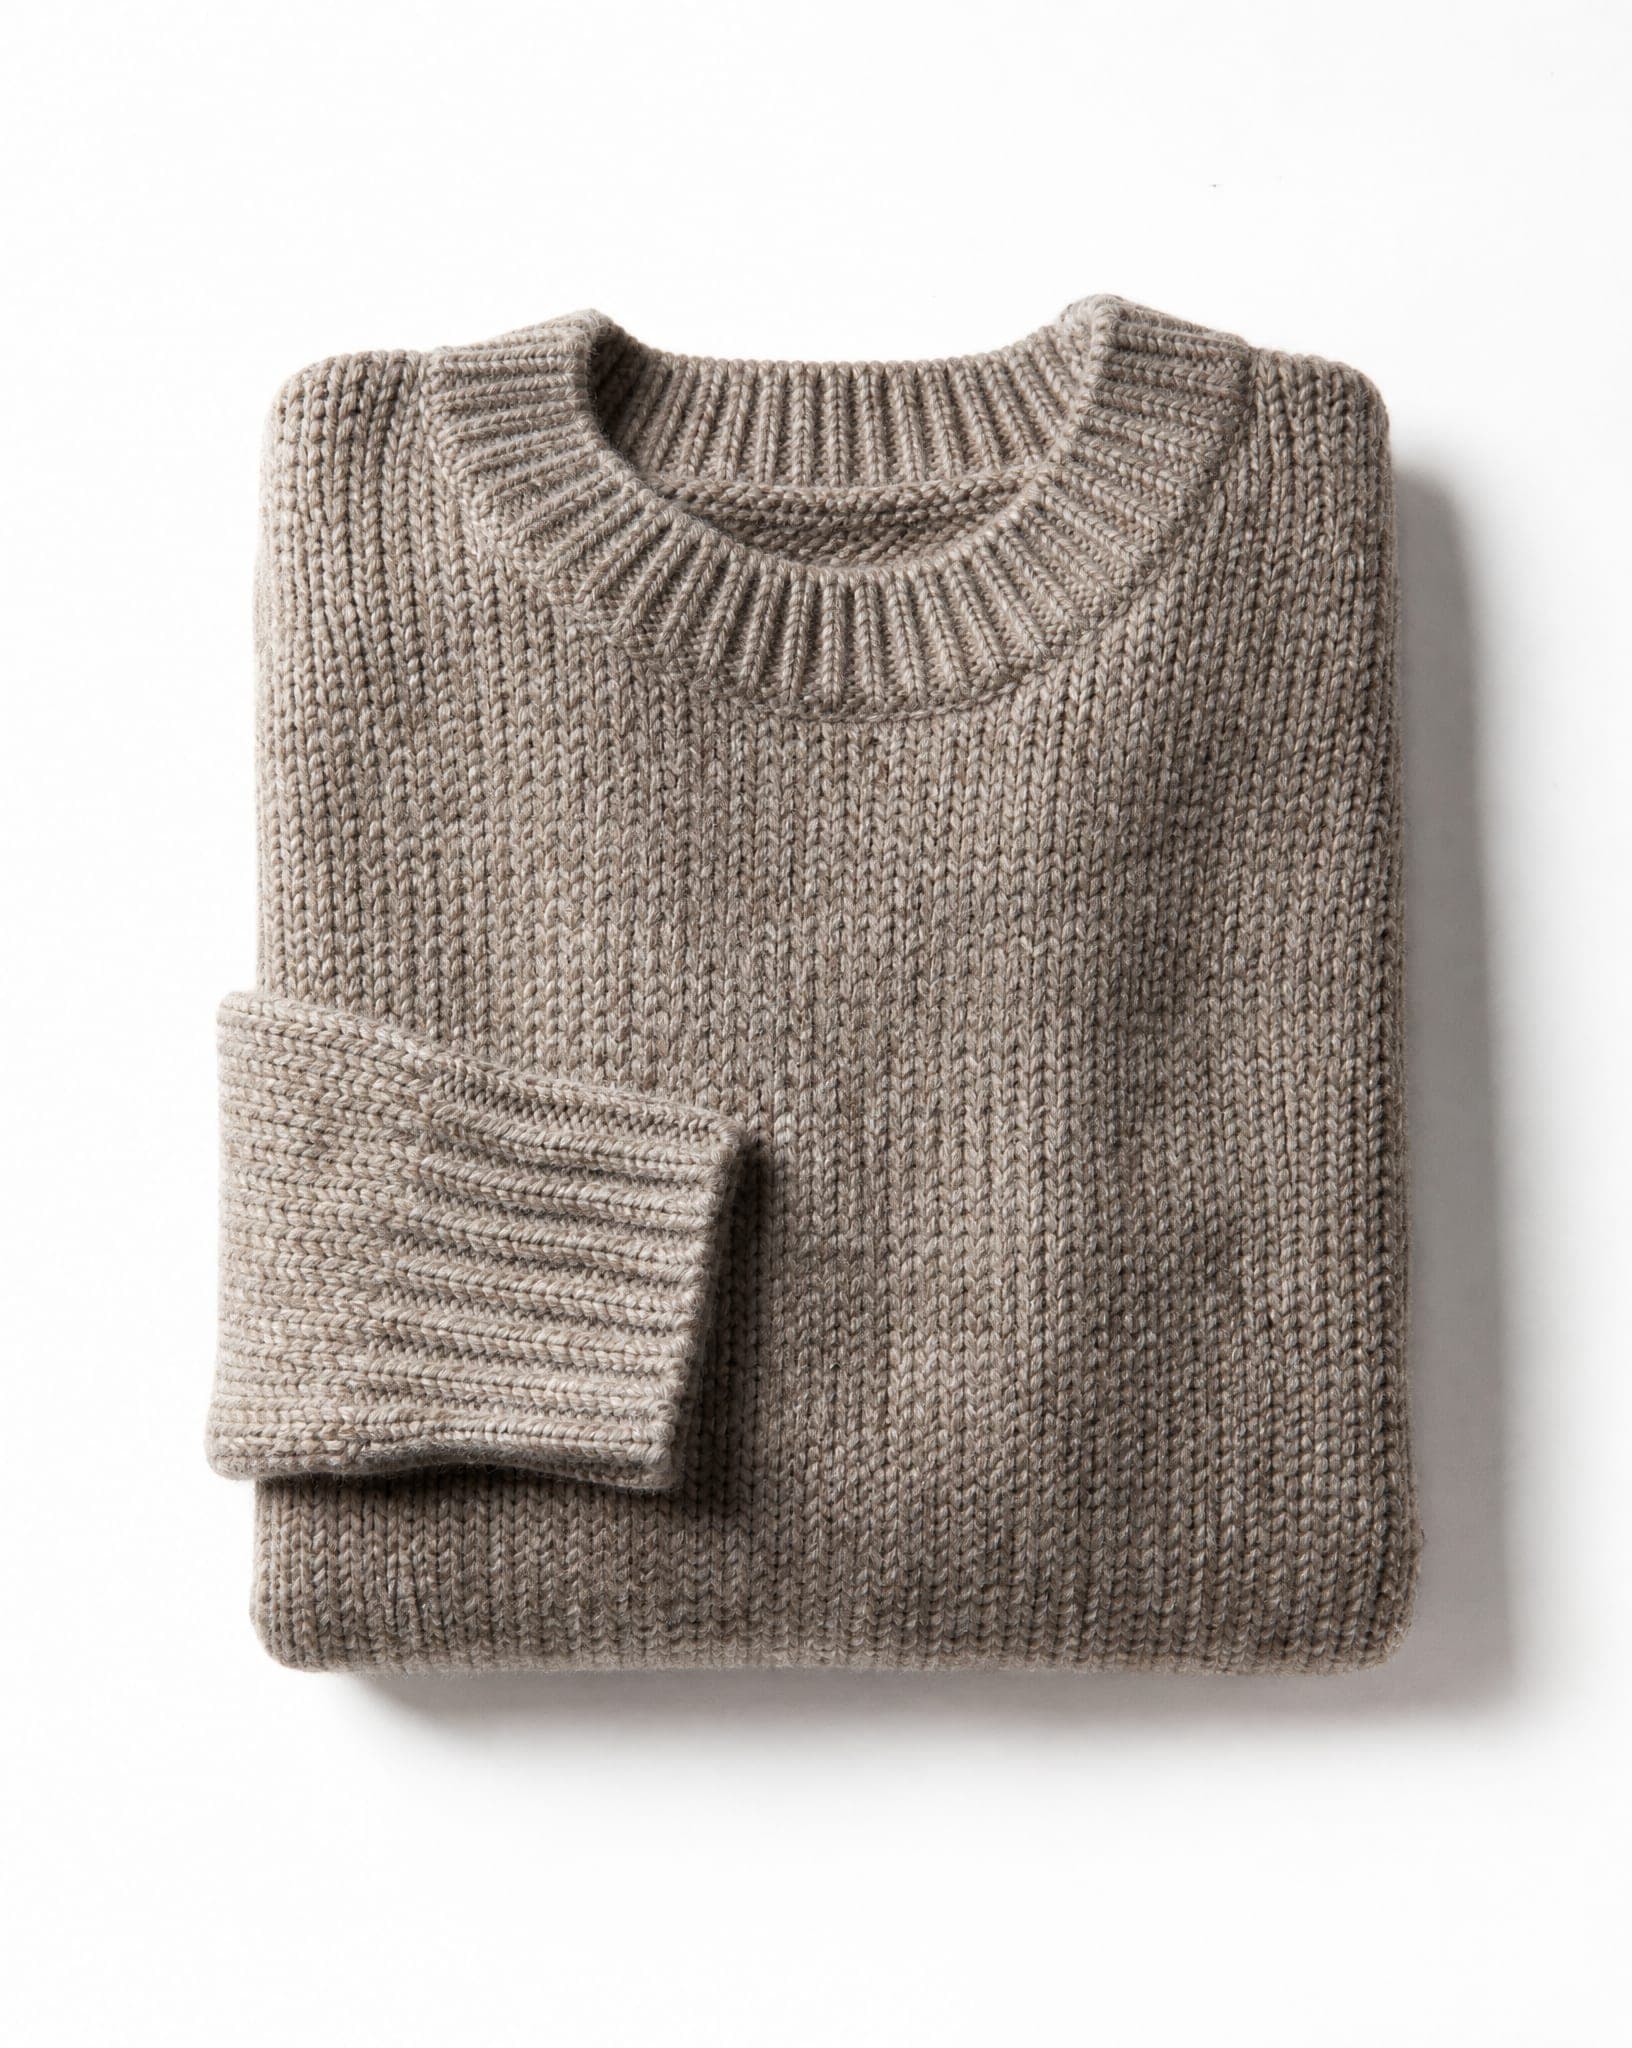
- Shoot at product height. Shooting down from standing height shrinks and distorts the product. Lower the phone to the middle of the product for the main image. Keep the straight-down view for flat items such as folded clothing.
- Steady the phone. A small tripod, or the phone propped on a stack of books, removes hand shake. A slight blur ruins a perfect composition.
- Lock focus and exposure. Tap the product on the screen to focus on it, then slide to adjust brightness. Left alone, the phone tends to focus on the background and darken light products.
- No digital zoom. Move closer instead, or shoot wider and crop later. Leave space around the product; cropping is easy, lost resolution never comes back.
- Wipe the lens. One fingerprint turns a sharp photo into a hazy one.
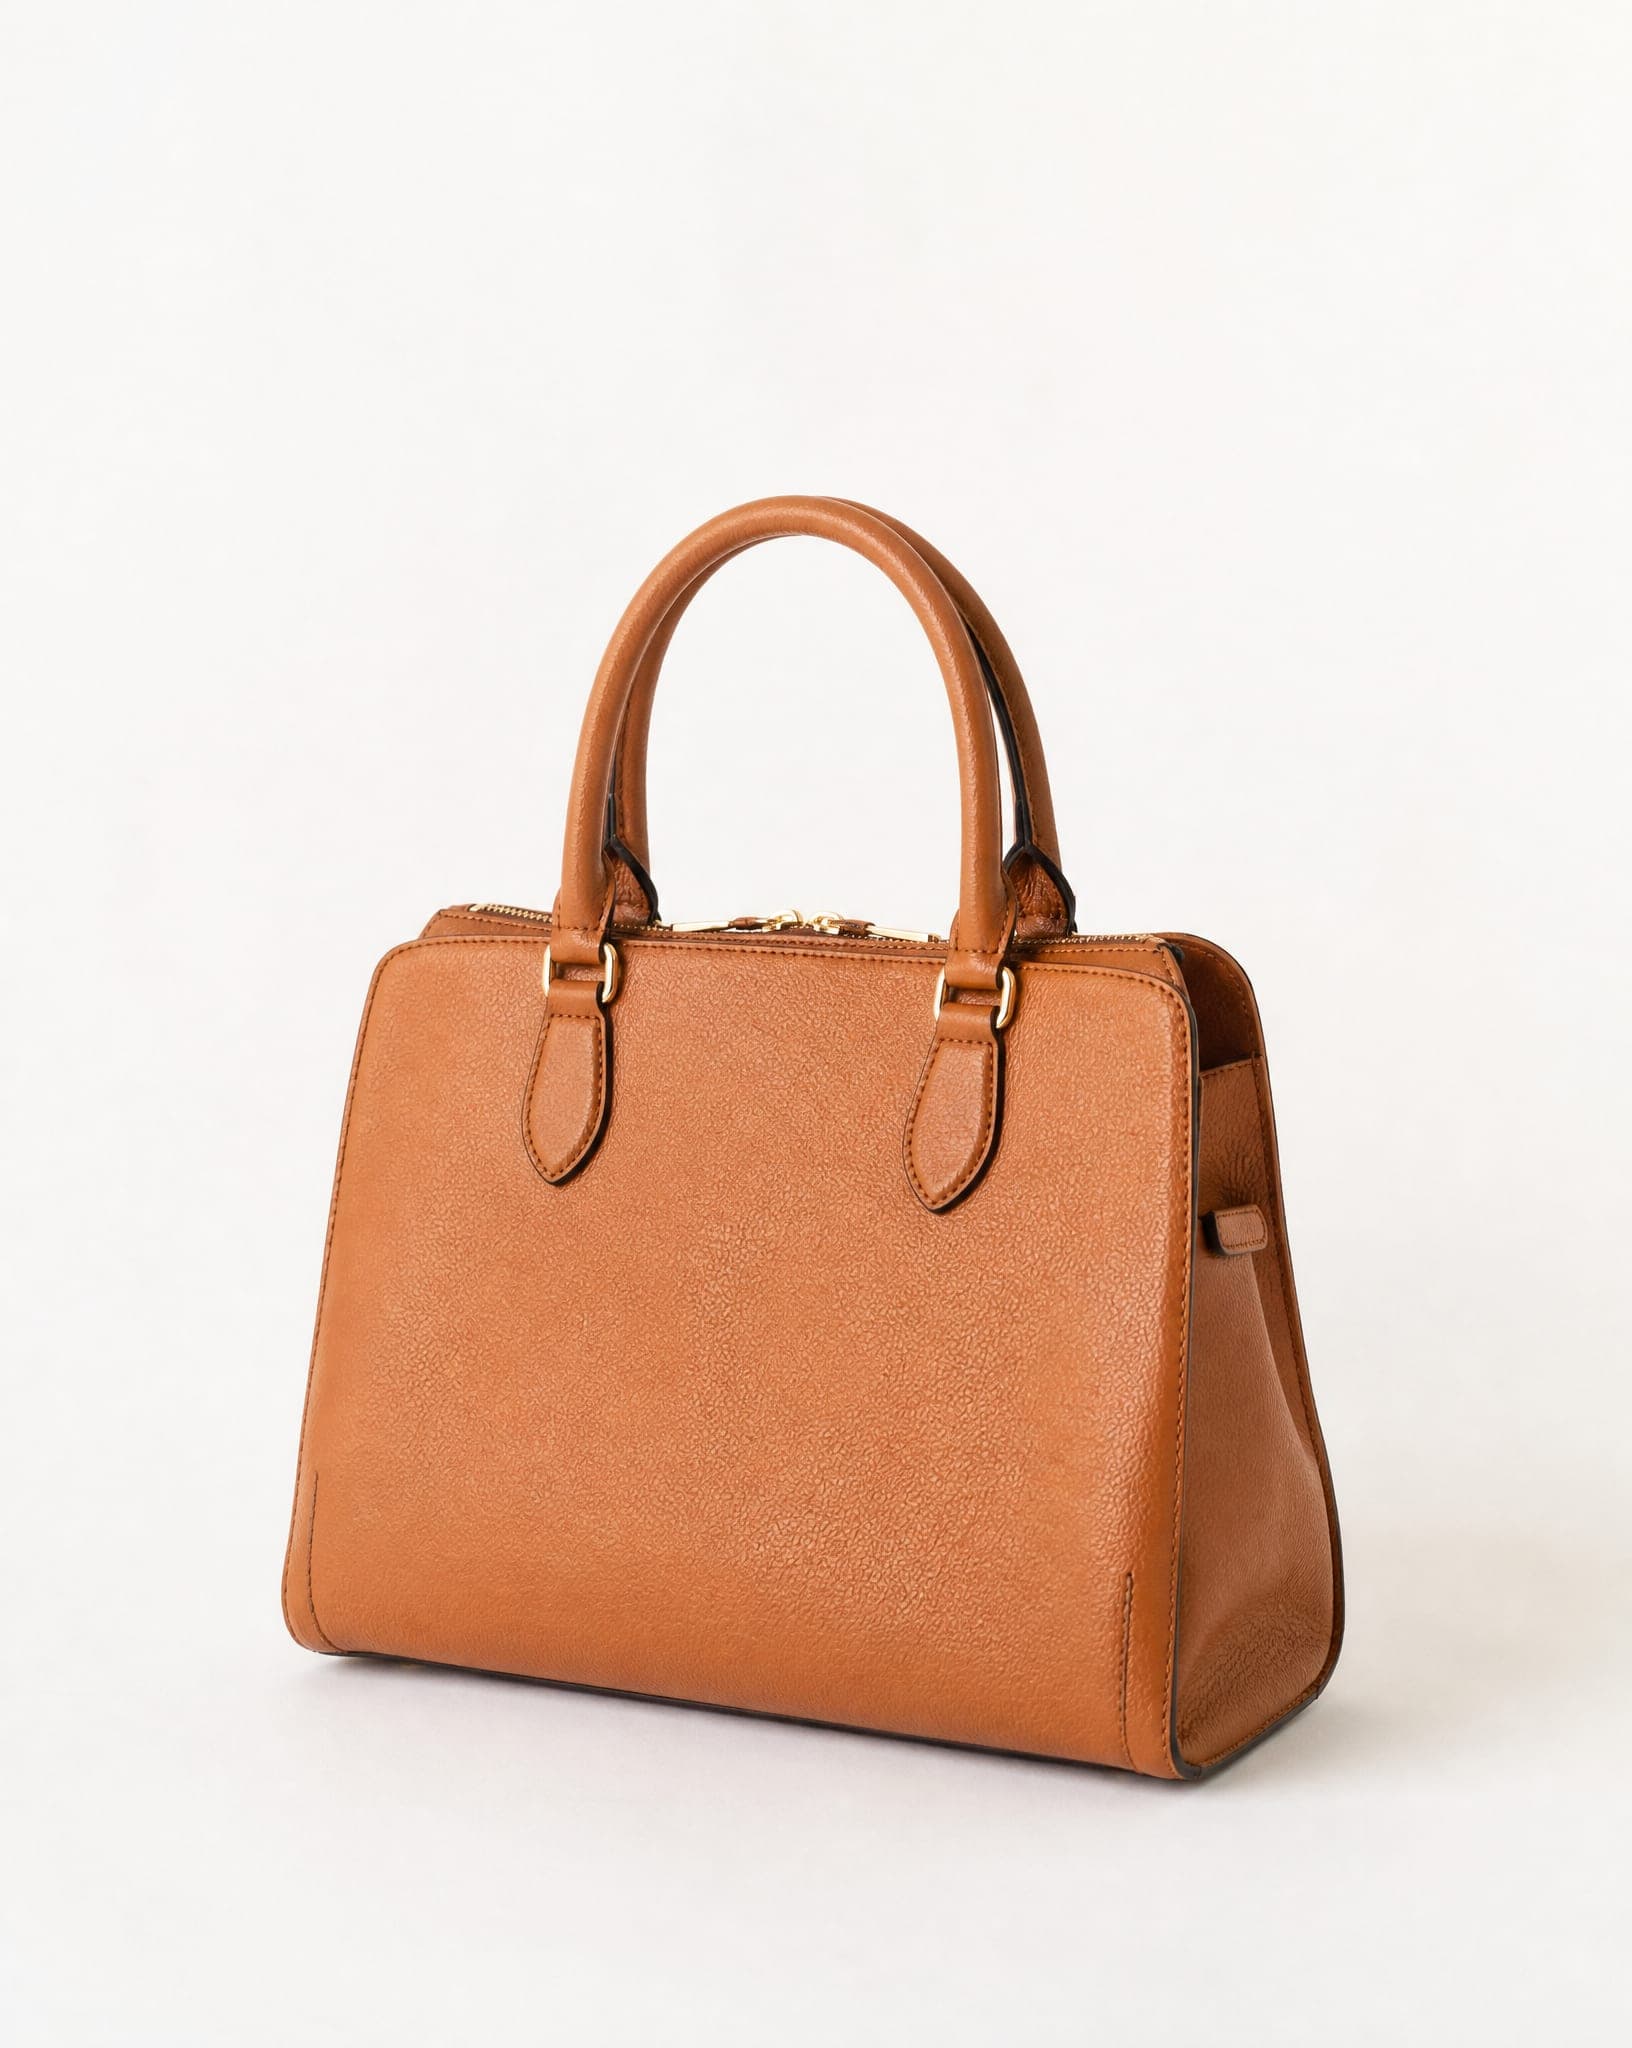
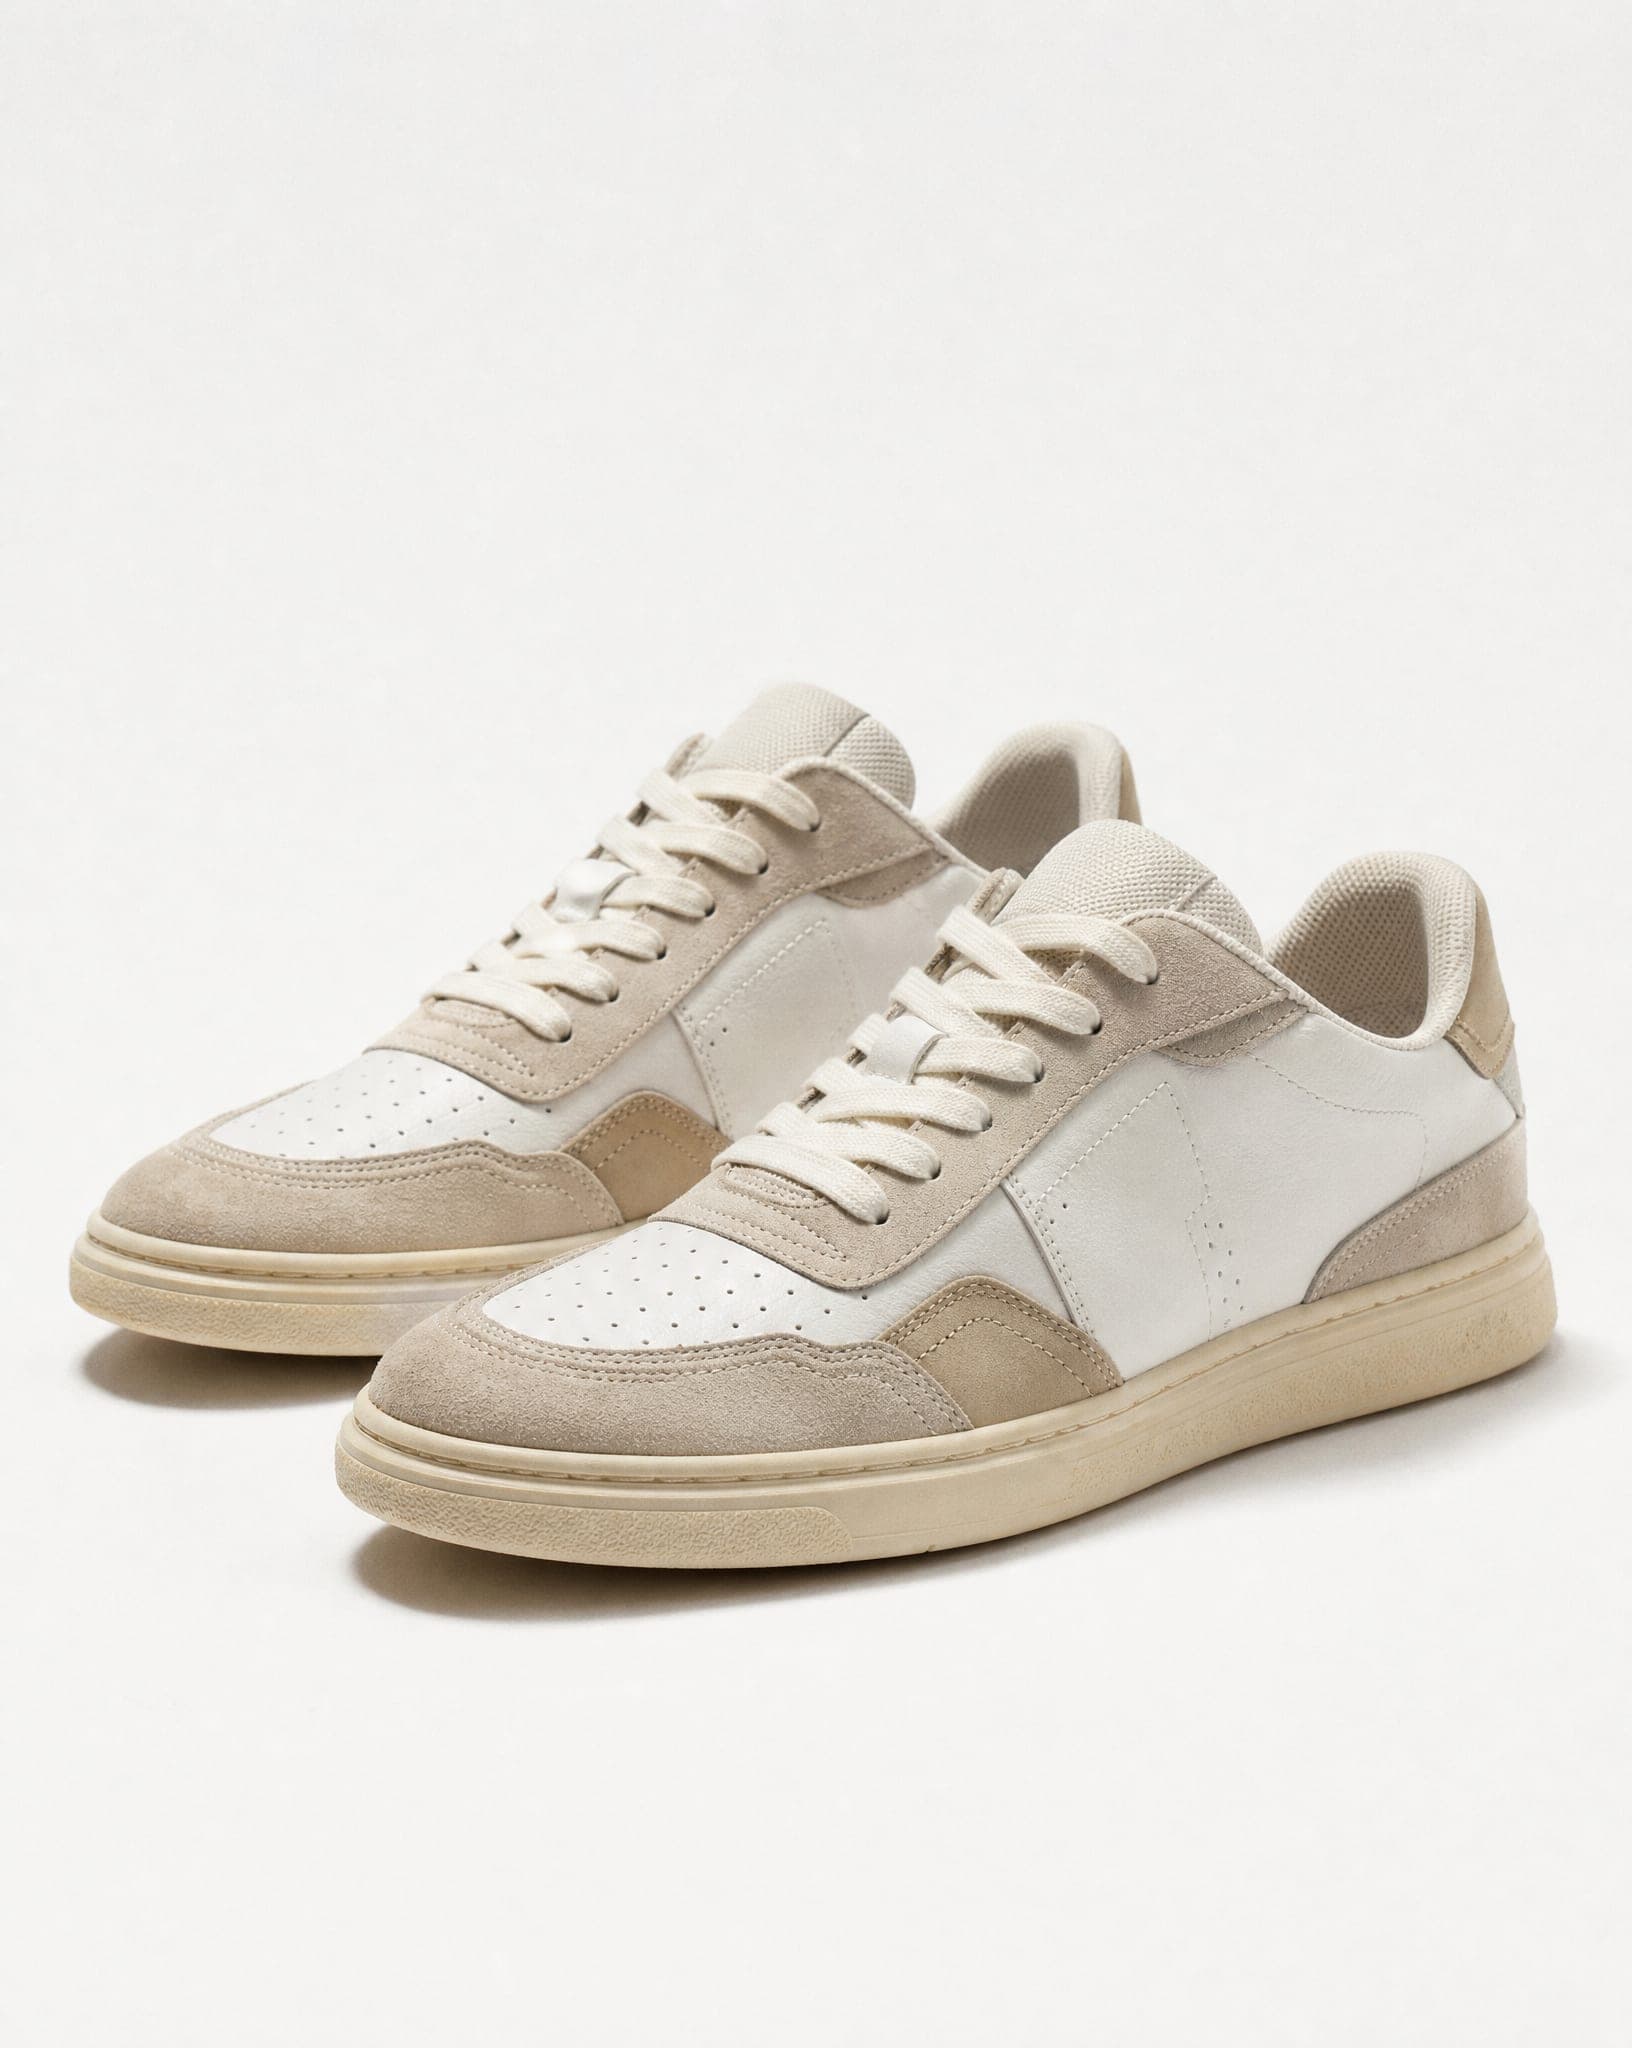
Step 3: the shots to take for every product
Take the same short list for every item, so the whole store looks consistent:
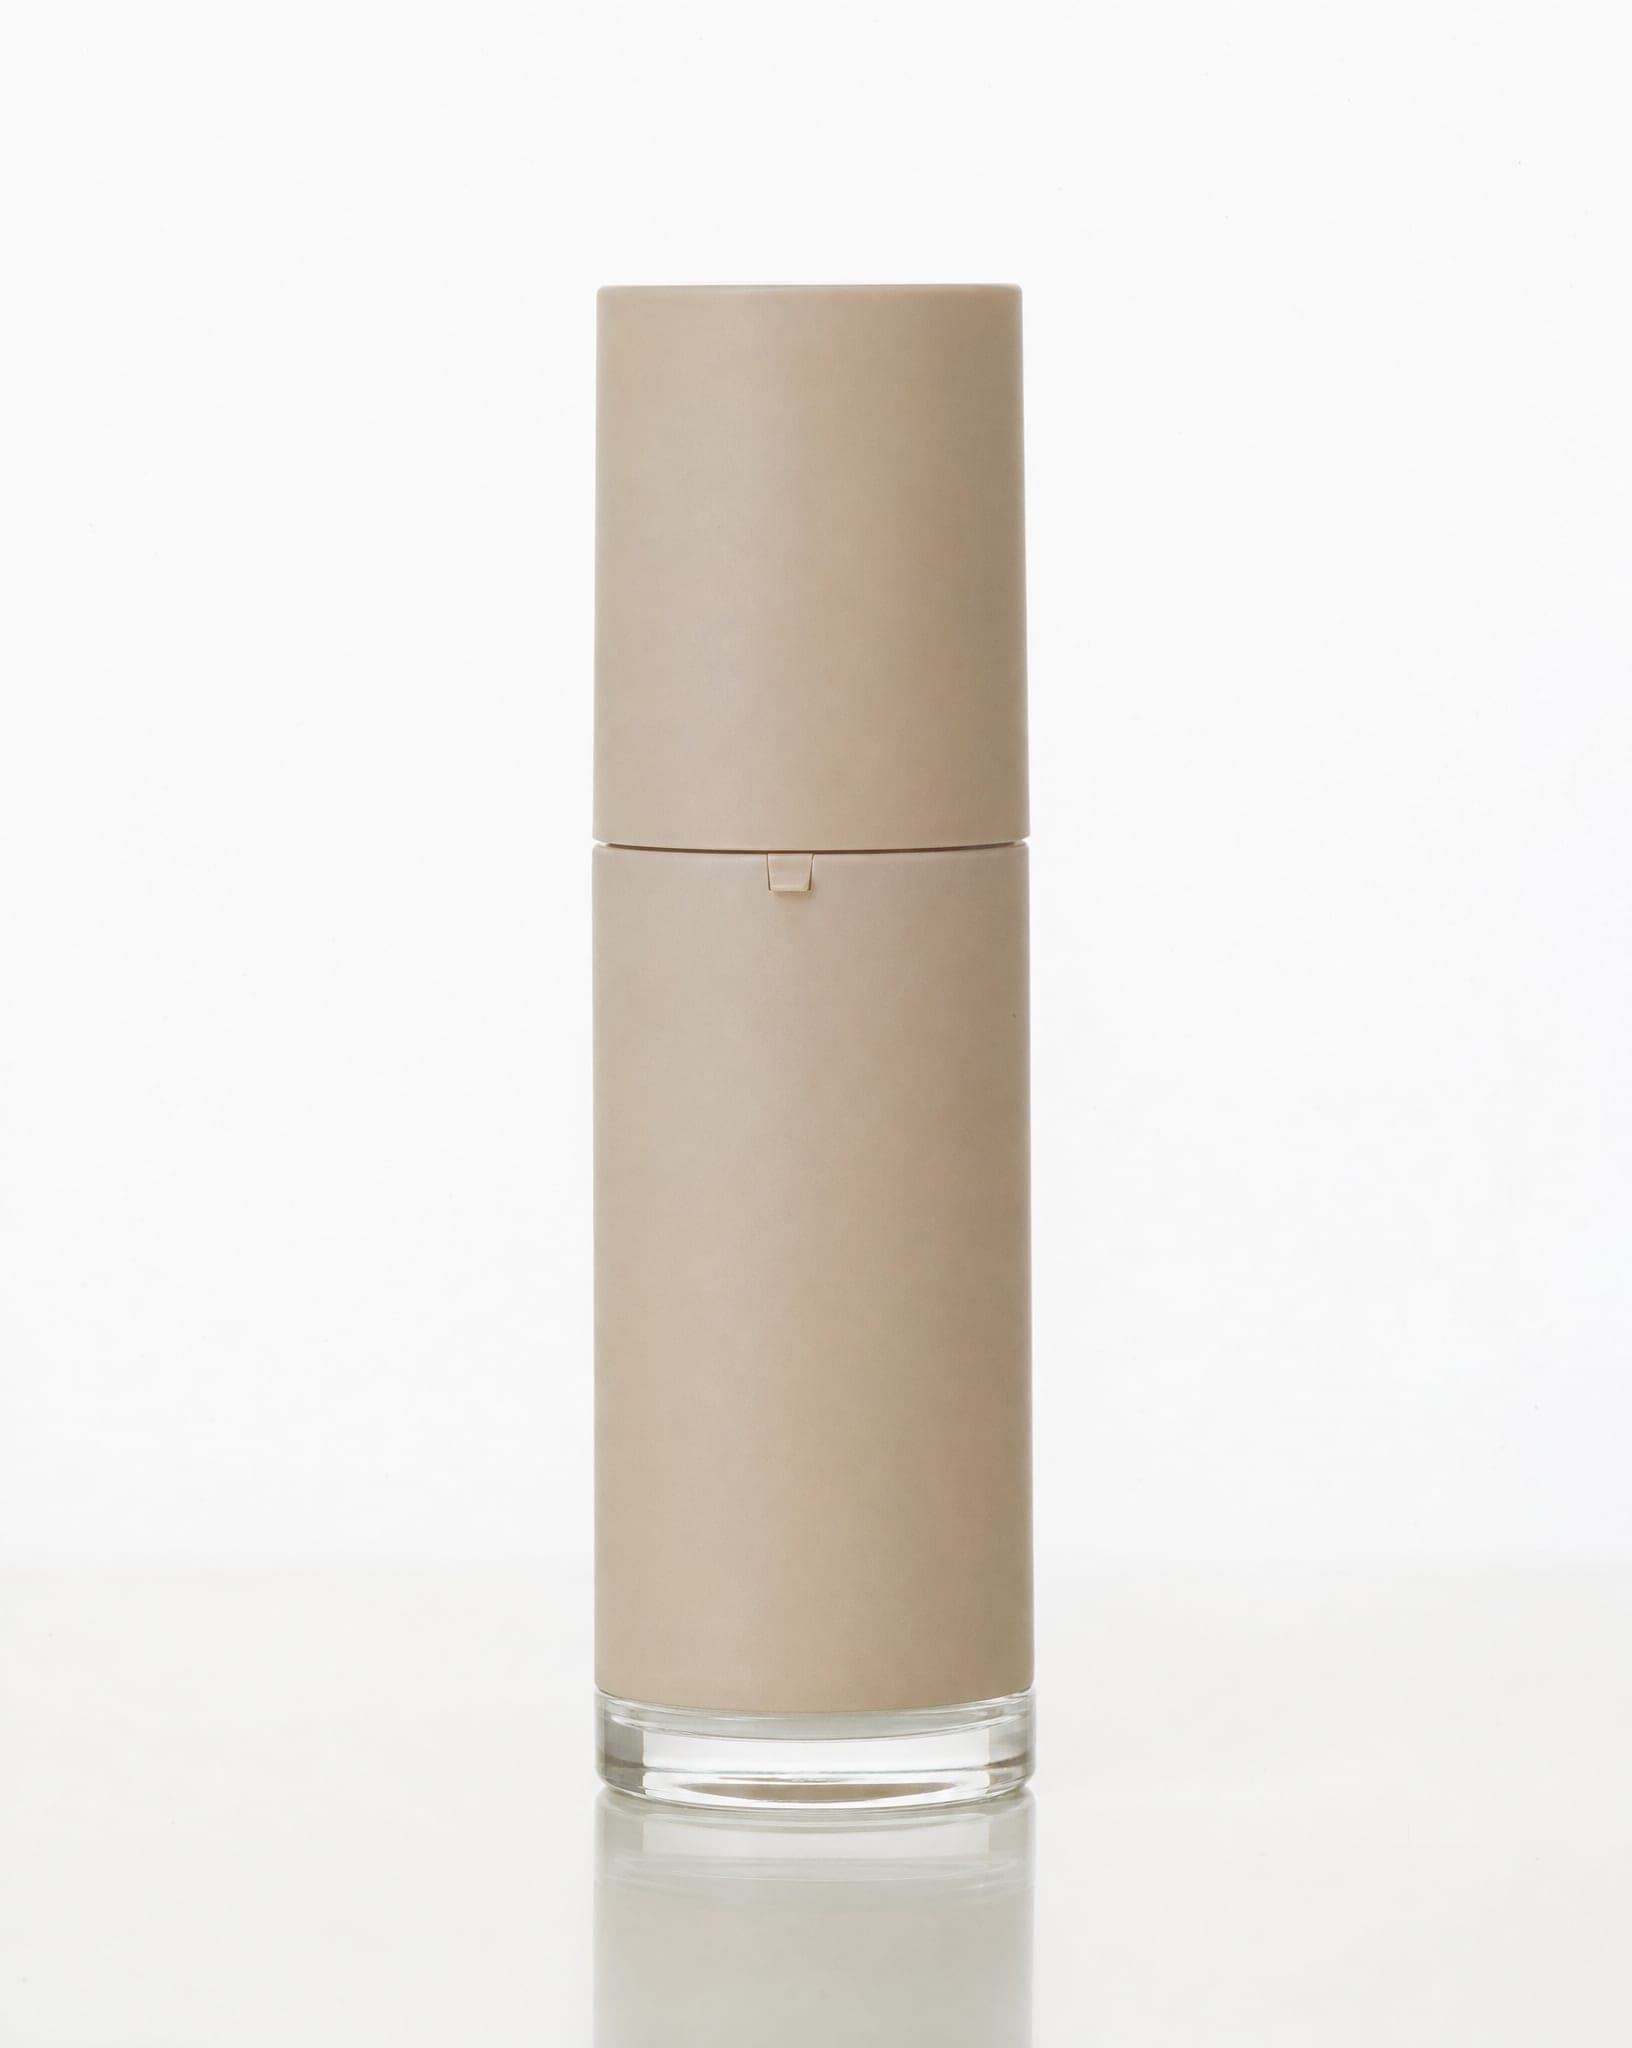
- The front, at product height, for the main image.
- A side or three-quarter view that shows depth.
- The back, or the underside if that is where the detail is.
- A close-up of the texture, stitching, label or finish.
- Something that shows scale: the product in a hand or next to a familiar object.
Before you upload anything, check the size. The upload in IsraModel AI warns when the short side of a photo is under 640 pixels, because a small source gives a soft result. A full-resolution phone photo is always well above that; a thumbnail saved from a website usually is not.
What you actually need, and when a light tent helps
| Setup | Good for | What it does not solve |
|---|---|---|
| White card and a window | One or two products, in daylight | The light changes through the day, so the next shoot looks different |
| Light tent without lights | Small items, with lamps you already own | Without good light outside it, the tent only makes the product darker |
| Light tent or box with built-in LEDs | Jewelry, cosmetics and small goods, at any hour | Gives a plain background only; it cannot put a garment on a model or build a scene |
| Phone photo plus AI | The same product on white, in a scene or on a model, from one photo | Needs a sharp source photo, and fine details still need a check |
Common problems and how to fix them
| Problem | Usual cause | Fix |
|---|---|---|
| Dark photo | Product too far from the window, or exposure set on the bright background | Move closer to the window, tap the product and slide brightness up |
| Yellow cast | Room lights mixed with daylight | Turn the room lights off and shoot by daylight only |
| Blurry photo | Hand shake, a dirty lens or digital zoom | Clean the lens, steady the phone, move closer instead of zooming |
| Messy background | Shot on the counter or in the living room | A white card sweep, or remove the background afterwards |
| Glare and hot spots | Flash or hard light on glossy packaging | Flash off, soften the light through a curtain or baking paper |
Where the phone stops and AI takes over
Even with a perfect paper sweep, a home photo rarely reaches a truly clean white. The free background remover and white background tool finish that part in the browser, and the image enhancer sharpens a photo that came out soft.
The things a phone cannot do at all are a model and a location. That is the hybrid approach most busy sellers end up with: take one decent phone photo with the rules above, then upload it to the studio and get a clean studio shot, a styled scene, the product in a hand, or the garment worn by a model. See AI product photography and clothing on an AI model. A standard image costs 5 credits, and the free plan includes 5 standard images a month.
Questions
Can I take professional product photos with just a phone?
Yes. With window light, a clean background, a steady phone and focus locked on the product, a modern phone produces store-ready photos. Where a phone struggles is a perfectly pure white background and anything that needs a model or a location.
What is the best light for product photos at home?
Soft daylight from a window, coming from the side, with white card opposite to fill the shadows. Avoid strong direct sun and warm ceiling lights. In the evening, a white LED lamp diffused through baking paper works well.
How do I get a white background with a phone?
Use a sheet of white card curving from the wall down onto the table behind the product. For a pure white that marketplaces expect, remove the background afterwards and place the product on white with a free online tool.
Do I need a light tent or a ring light?
Not to start. Window light with a white card reflector beats most cheap lighting. A tent with built-in LEDs is worth it if you shoot small items in the evening and need the same light every time. If you use one, do not mix it with daylight in the same photo.
How many photos should I take of each product?
At least four: the front at product height, a side view, the back, and a close-up of a detail or texture. Add one that shows scale. From a good front photo you can also generate background variations and an on-model image.
Shot it on your phone? Turn it into a studio photo
Sign up free and get your first 5 images on us. No credit card needed.
Start free