
10 product photo tips that help products sell
By the IsraModel AI team · Published
The product photo is the first thing a shopper sees and often the only thing they check before deciding. These ten tips turn each principle of a good product photo into one concrete action.
Your first 5 images free · No credit card needed
What a product photo has to do
Online, the photo stands in for touch. The shopper cannot lift the product, try it on or look at the finish, so whatever the photo does not show, they either imagine or skip. A good photo does two jobs at once: it persuades, and it shows the product honestly, so the customer receives what they expected and keeps it.
Every tip below serves one of six basics: soft light, a clean background, sharp focus, several angles, the product in use, and enough resolution to zoom.
Tips 1 to 3: light, background and angles
- Use soft, diffused light. Direct light makes hard shadows. Put the product near a window with a white curtain, or use a light box. For the full home setup, read product photography with a phone.
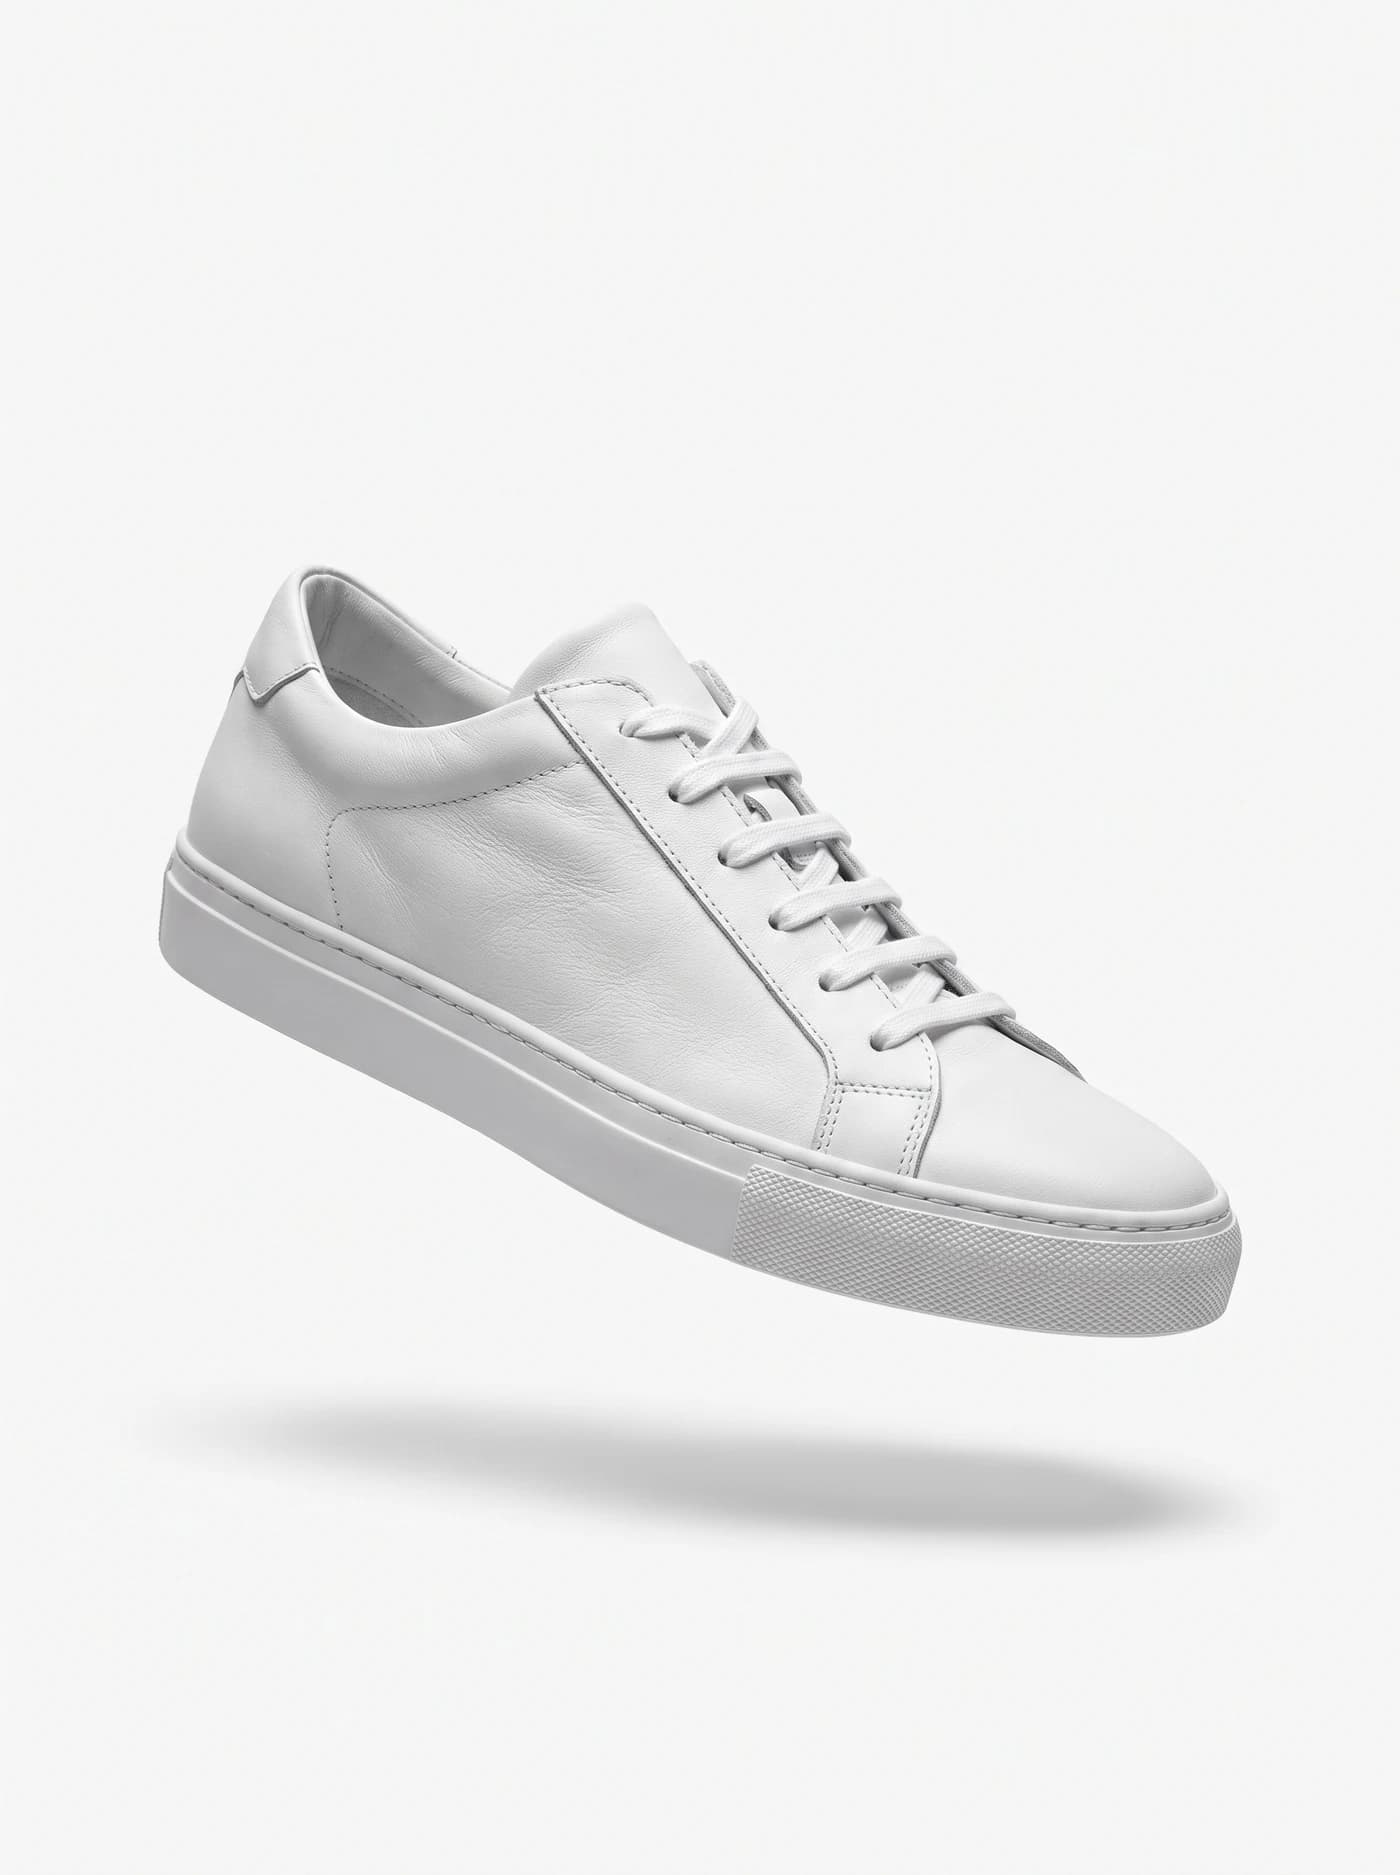
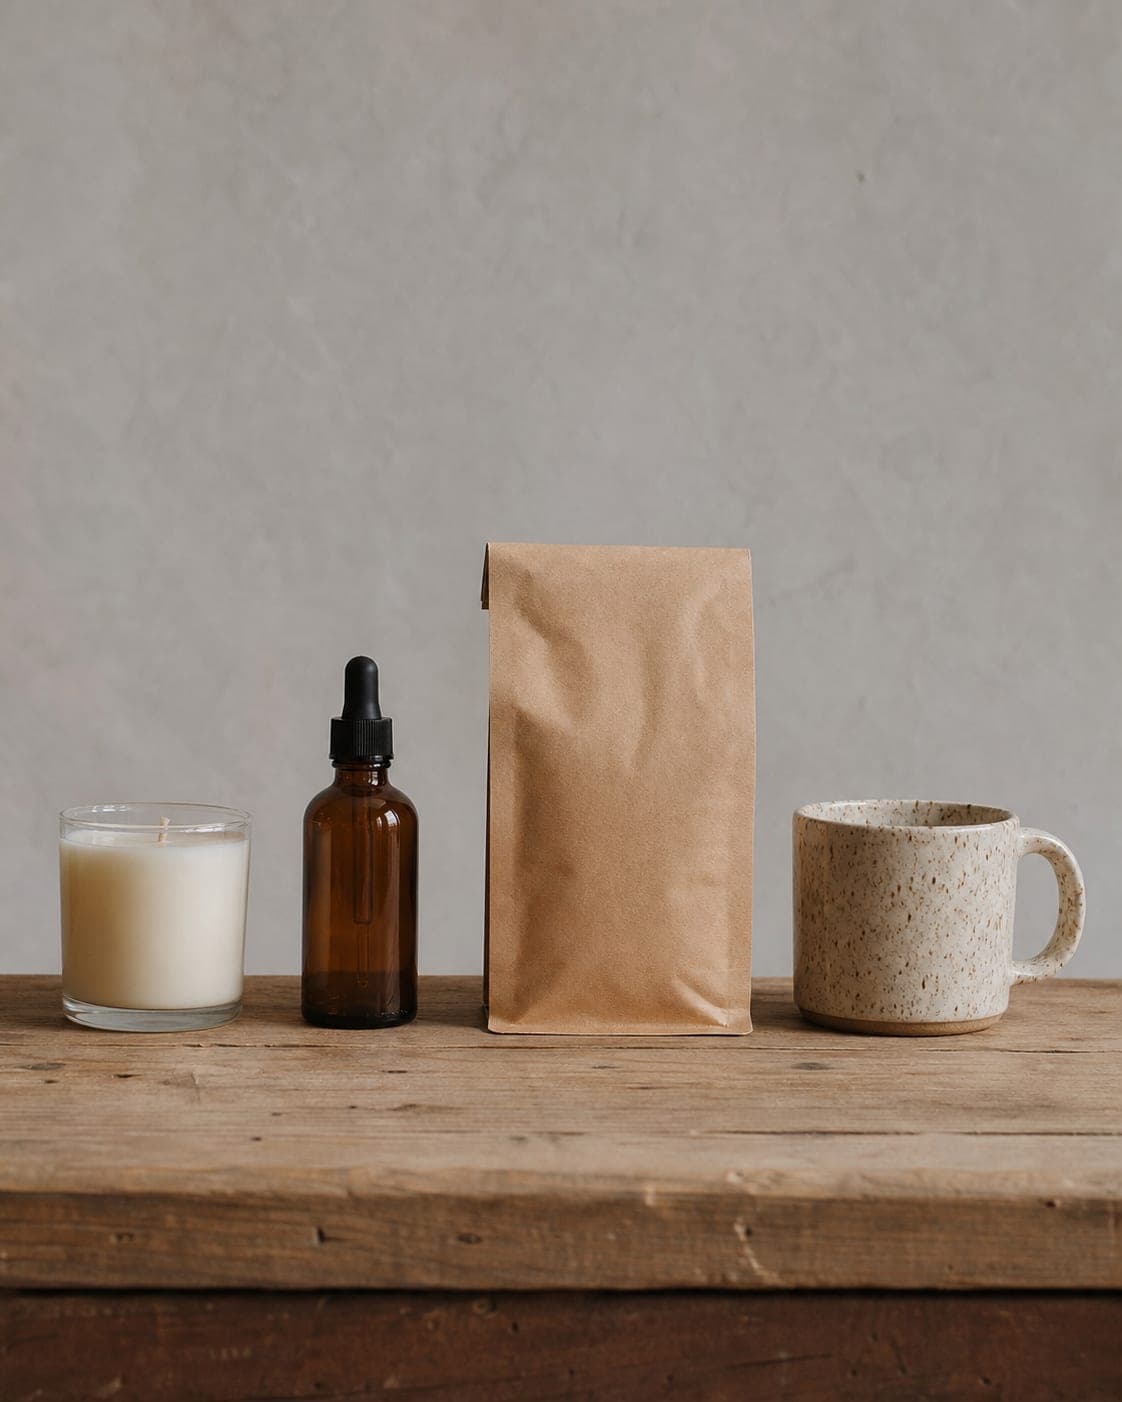
- Start with a white background. White is the standard for a main image and the safest choice across marketplaces. Shoot on white paper or fabric, or remove the background afterwards with the free white background tool.
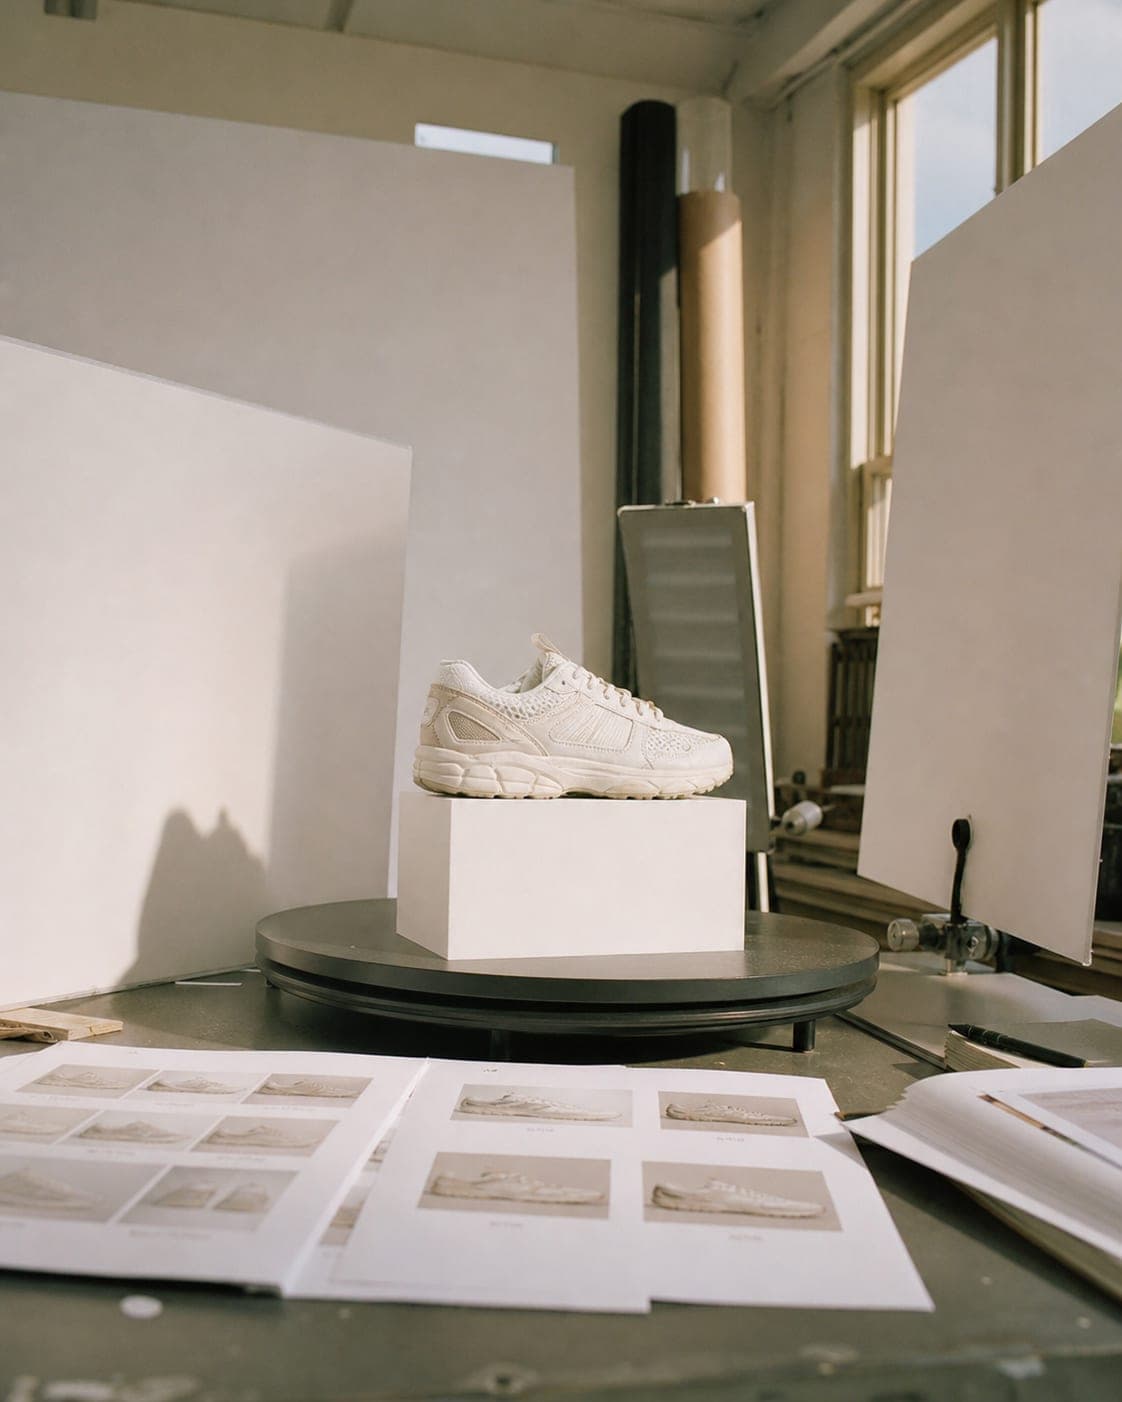
- Shoot at least four angles. Front, back, side and top, plus a close-up of anything that matters: a zip, a clasp, a texture. Every extra angle answers a question the shopper would otherwise have.
Tips 4 to 6: use, scale and a clean product
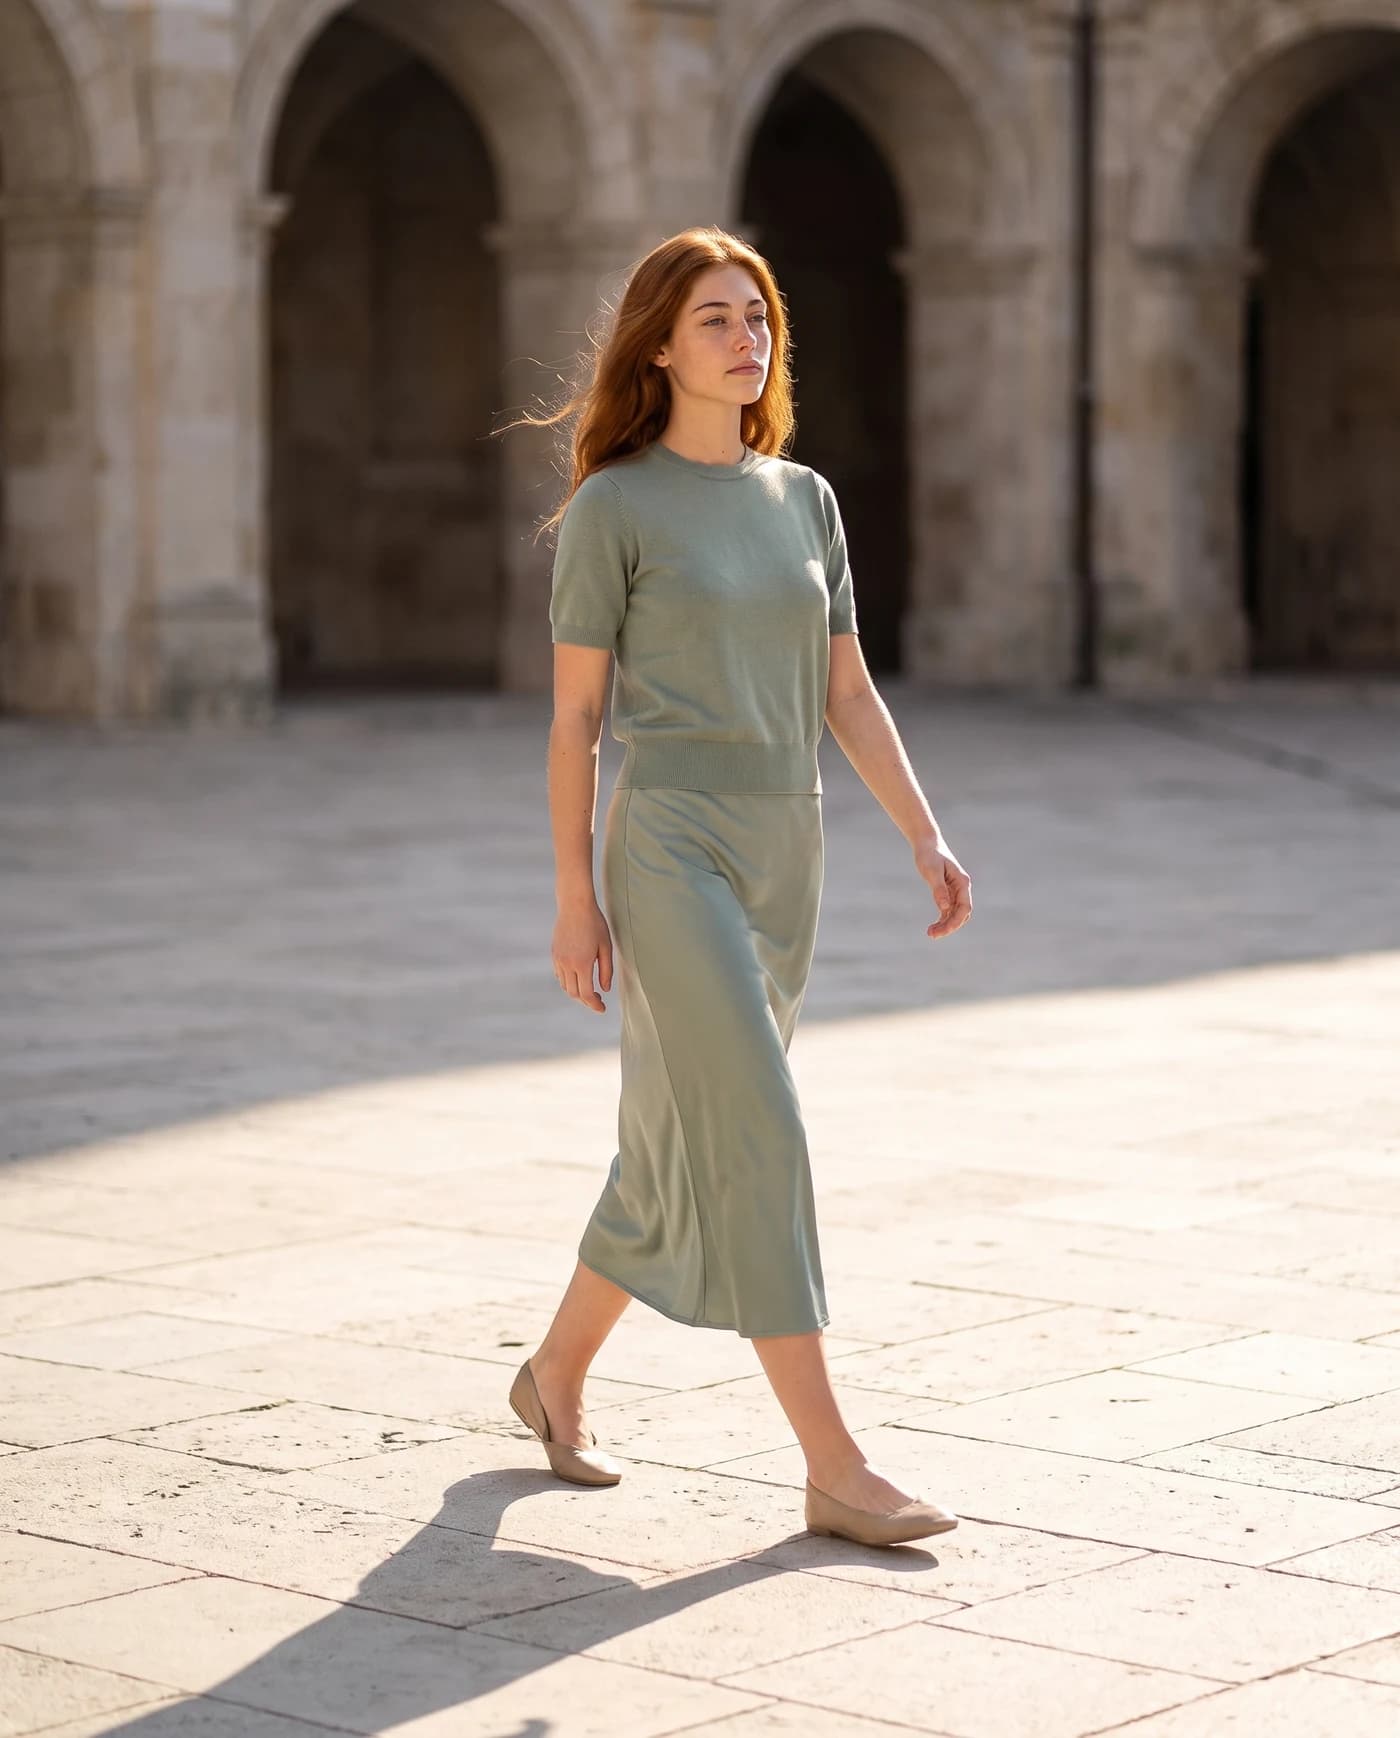
- Show the product in use. One lifestyle image, with the product worn, held or in its natural setting, lets the shopper picture owning it. For clothing and accessories this is the on-model photo.
- Show size and proportion. Nobody can judge size from a photo on white. Add a shot in a hand, next to a familiar object, or on a person, or put the dimensions in the description.
- Clean the product before you shoot. The camera sees what your eye skips: dust on a screen, a fingerprint on glass, a loose thread, a dent in a box. A minute with a microfiber cloth and a lint roller saves half an hour of retouching, and in a close-up it is the difference between professional and improvised.
Tips 7 to 9: color and consistency
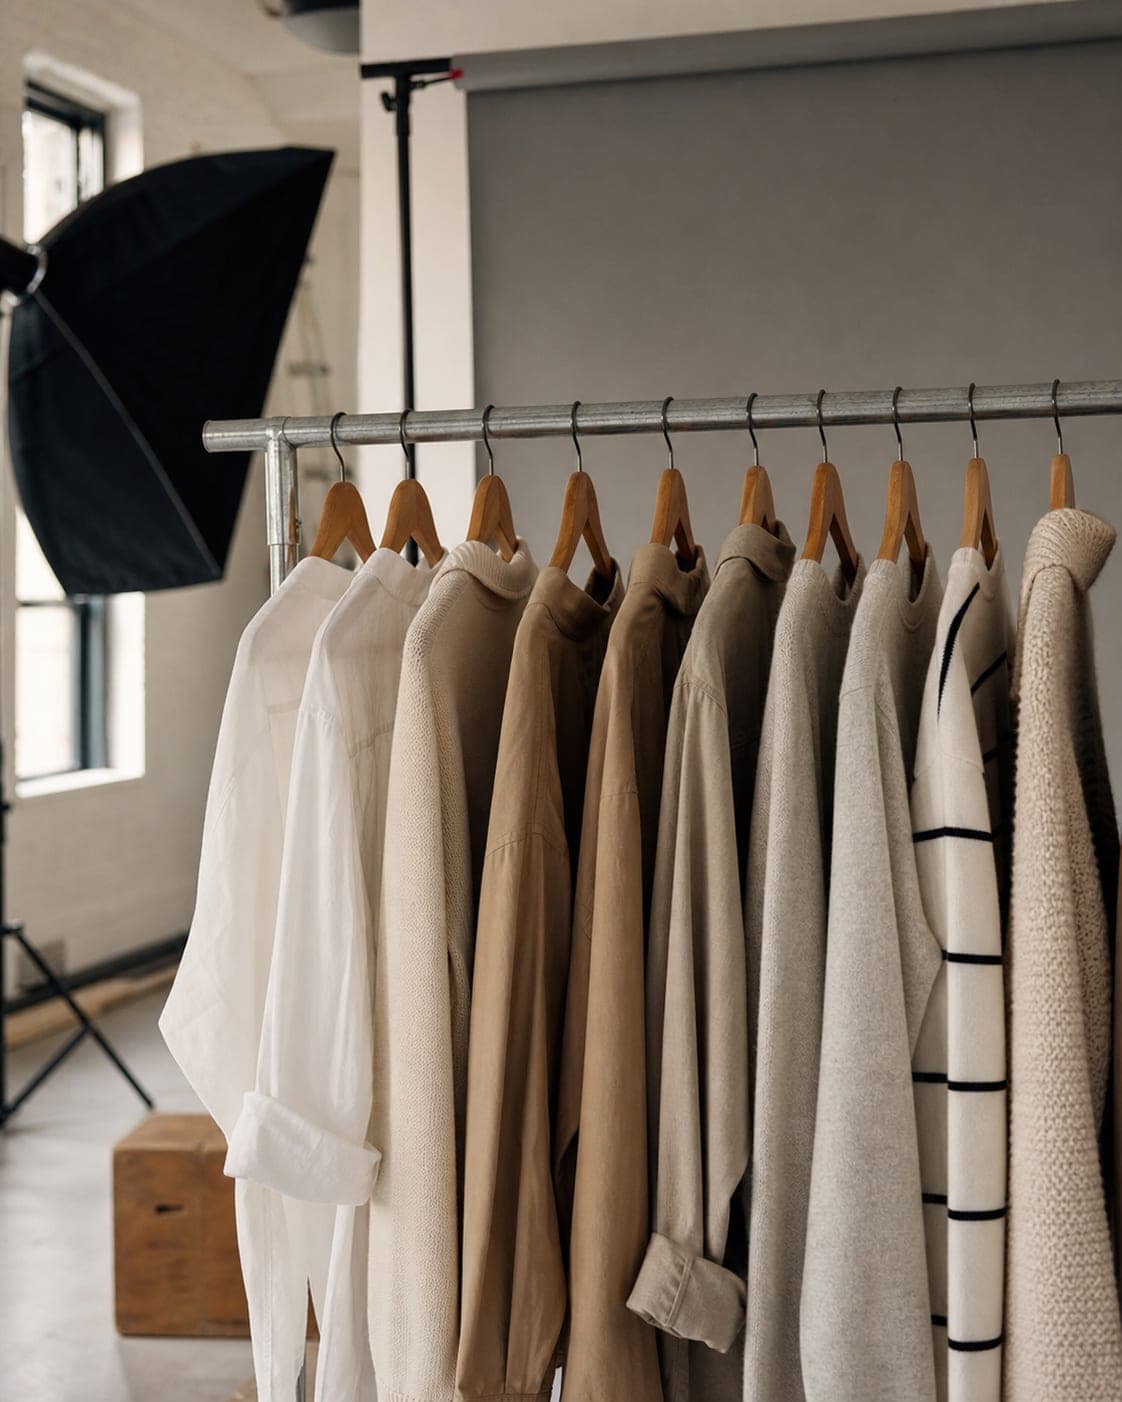
- Lock white balance across the series. A color that differs from what arrives is a classic reason for returns in fashion and cosmetics. Auto white balance shifts from shot to shot, so set it manually, or photograph a sheet of white paper in the same light once and use it as the reference to correct the whole series.
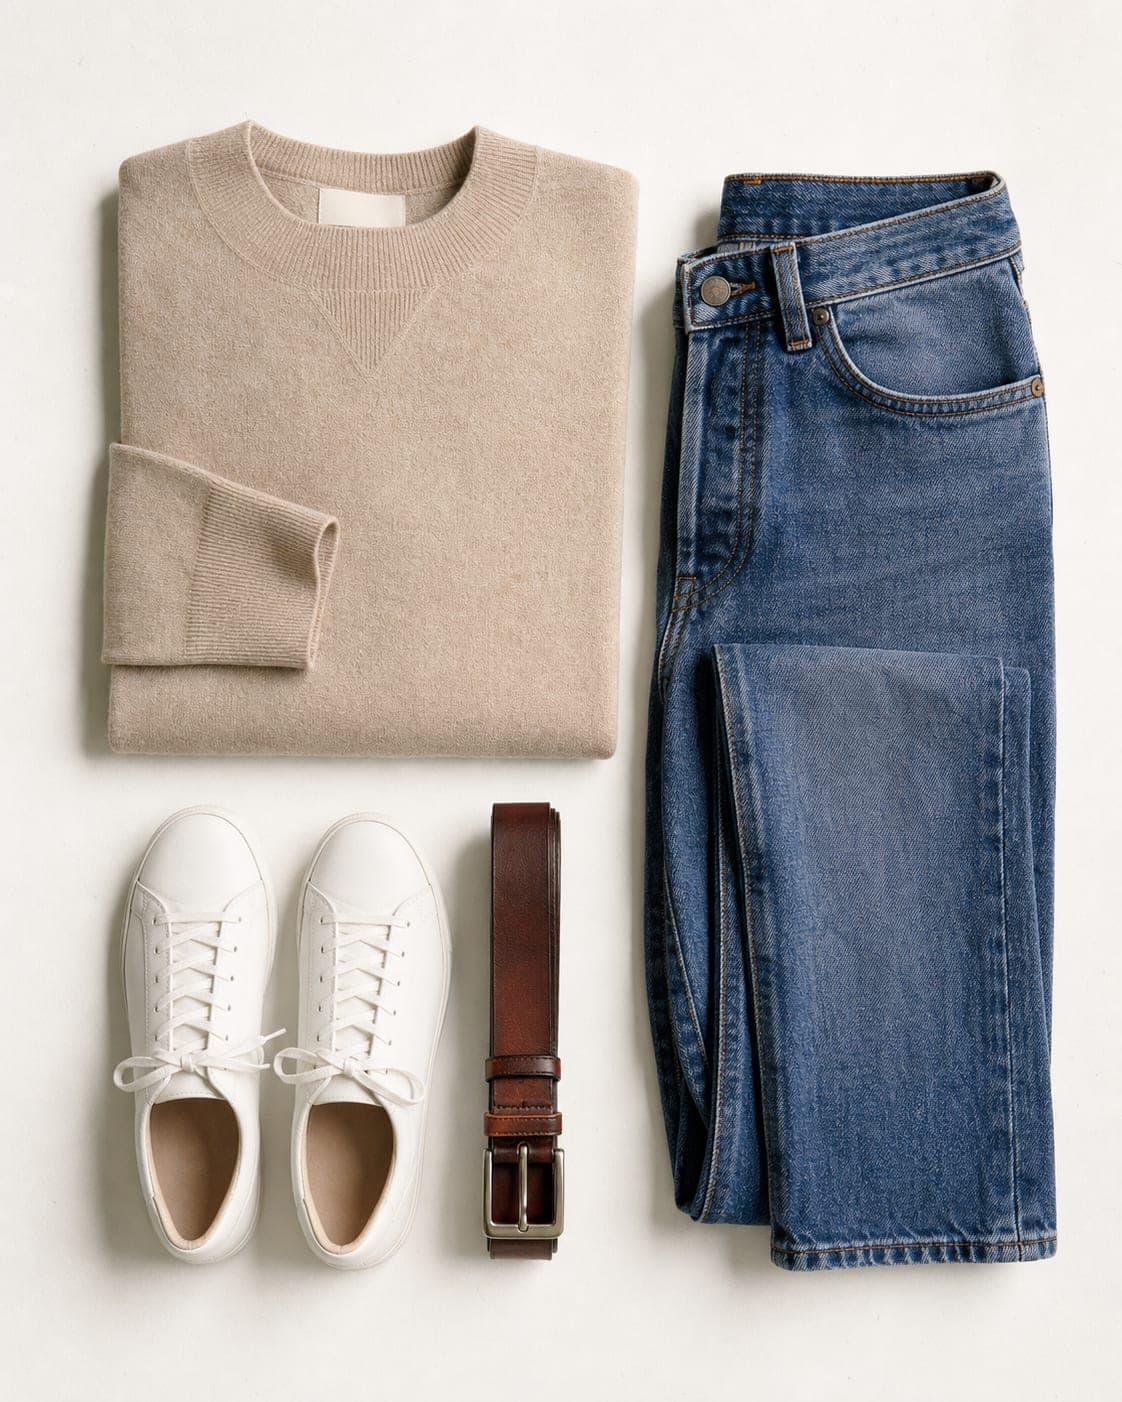
- Shoot at product height, not from above. The most common phone mistake is shooting down from standing height because it is comfortable. The product looks distorted and amateur. Lower the phone to the middle of the product, even if you have to crouch. Flat lays are the exception: there, straight down is exactly right.
- Keep one frame for the whole catalog. On a category page every product sits next to the others. If one fills its tile and the next is small inside it, the store looks messy even when each photo is good. Pick one aspect ratio (square is the safest) and the same margin around the product, and hold it for every item. The free resize tool fixes photos that are already shot.
Tip 10: name the file and describe the image
A file called gold-chain-necklace.jpg tells search engines something; IMG_4471.jpg tells them nothing. Google’s own image SEO guide (checked October 15, 2026) recommends short, descriptive file names and calls alt text the most important attribute for describing an image, because it also serves people who use screen readers.
Write the alt text as a plain description of what is in the photo: the product, its color and the setting. Two reasons to spend three seconds per image.
Putting it together: how many photos per product
Four is the minimum: a main image on white, two more angles and one lifestyle or on-model image. Six to eight is better, adding a close-up, a scale shot and the color variants. The rule of thumb: each photo should answer one question that would otherwise stop the purchase.
Check each platform’s size and shape before you export; the product image sizes guide has them in one table. Upload sources with a short side of at least 640 pixels; below that, every tool has less detail to work with.
When there is no time to shoot all of it
The tips above give you a good source photo. From that one photo, the studio in IsraModel AI produces the rest of the set: a clean studio shot, a styled scene, the product in a hand, the product with a model, or a garment worn by a model. See AI product photography for what each screen does. A standard image costs 5 credits, and the free plan includes 5 standard images a month, enough to test it on your best seller.
Questions
How can I improve product photos I already have?
Start with the free tools: remove the background or put the product on white, sharpen a soft photo with the enhancer, and resize everything to one aspect ratio. If the photo is sharp, you can also generate a studio shot, a scene or an on-model image from it.
Is a professional photographer better than AI?
It depends on the job. A studio shoot still makes sense for a major campaign with a budget. For everyday catalog work, many sellers combine both: a photographer for the hero campaign, a phone photo plus AI for the rest of the range.
How many photos does each product need?
At least four: a main image on white, two more angles and one lifestyle or on-model image. Six to eight is ideal, with a close-up, a scale shot and color variants. Each image should answer one question a shopper would ask.
What size should product photos be?
It depends on the platform, and each one publishes its own minimum and recommended size. Our product image sizes guide lists them side by side. The simple rule: shoot at the highest resolution your phone allows, because you can always make a photo smaller.
Which background is best for products?
White for the main image. For the extra images, neutral backgrounds such as grey, beige or wood work well, and for lifestyle images choose a setting that fits how the product is used.
Turn one good photo into a full product set
Sign up free and get your first 5 images on us. No credit card needed.
Start free