
Clothing product photography for online stores
Every clothing listing needs the same few photos: the garment on its own, the details up close, and the garment on a body. Here is how to shoot each one at home, which to use where, and what AI can take off your hands.
25 free credits to start
Four ways to show a garment
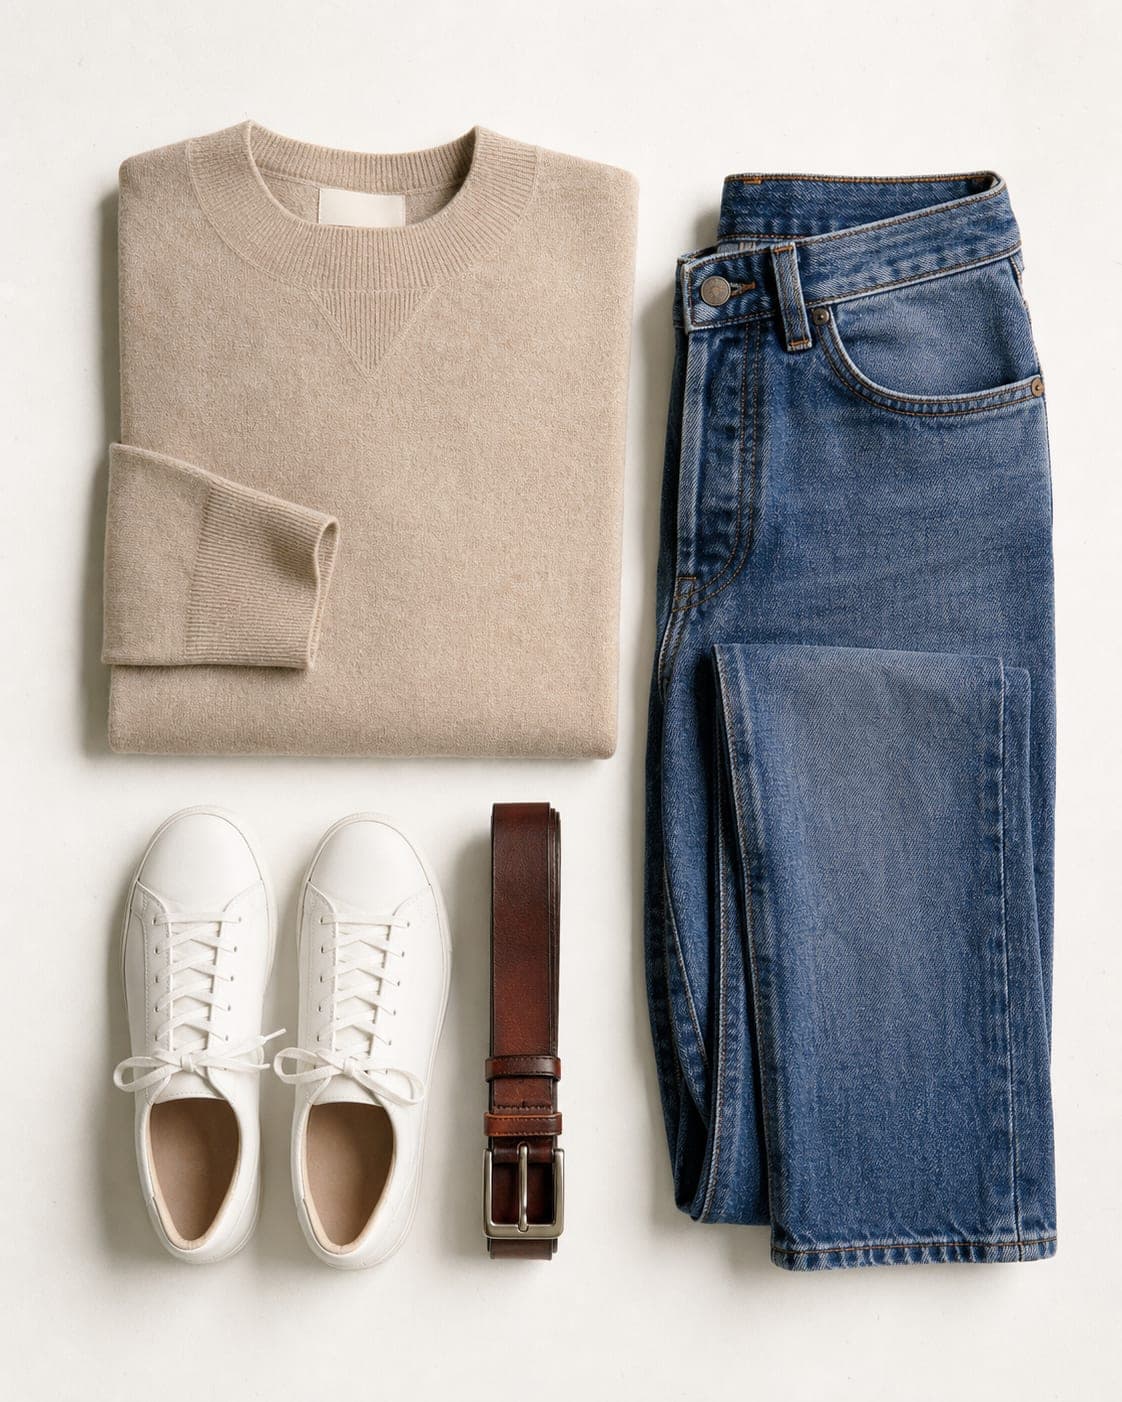
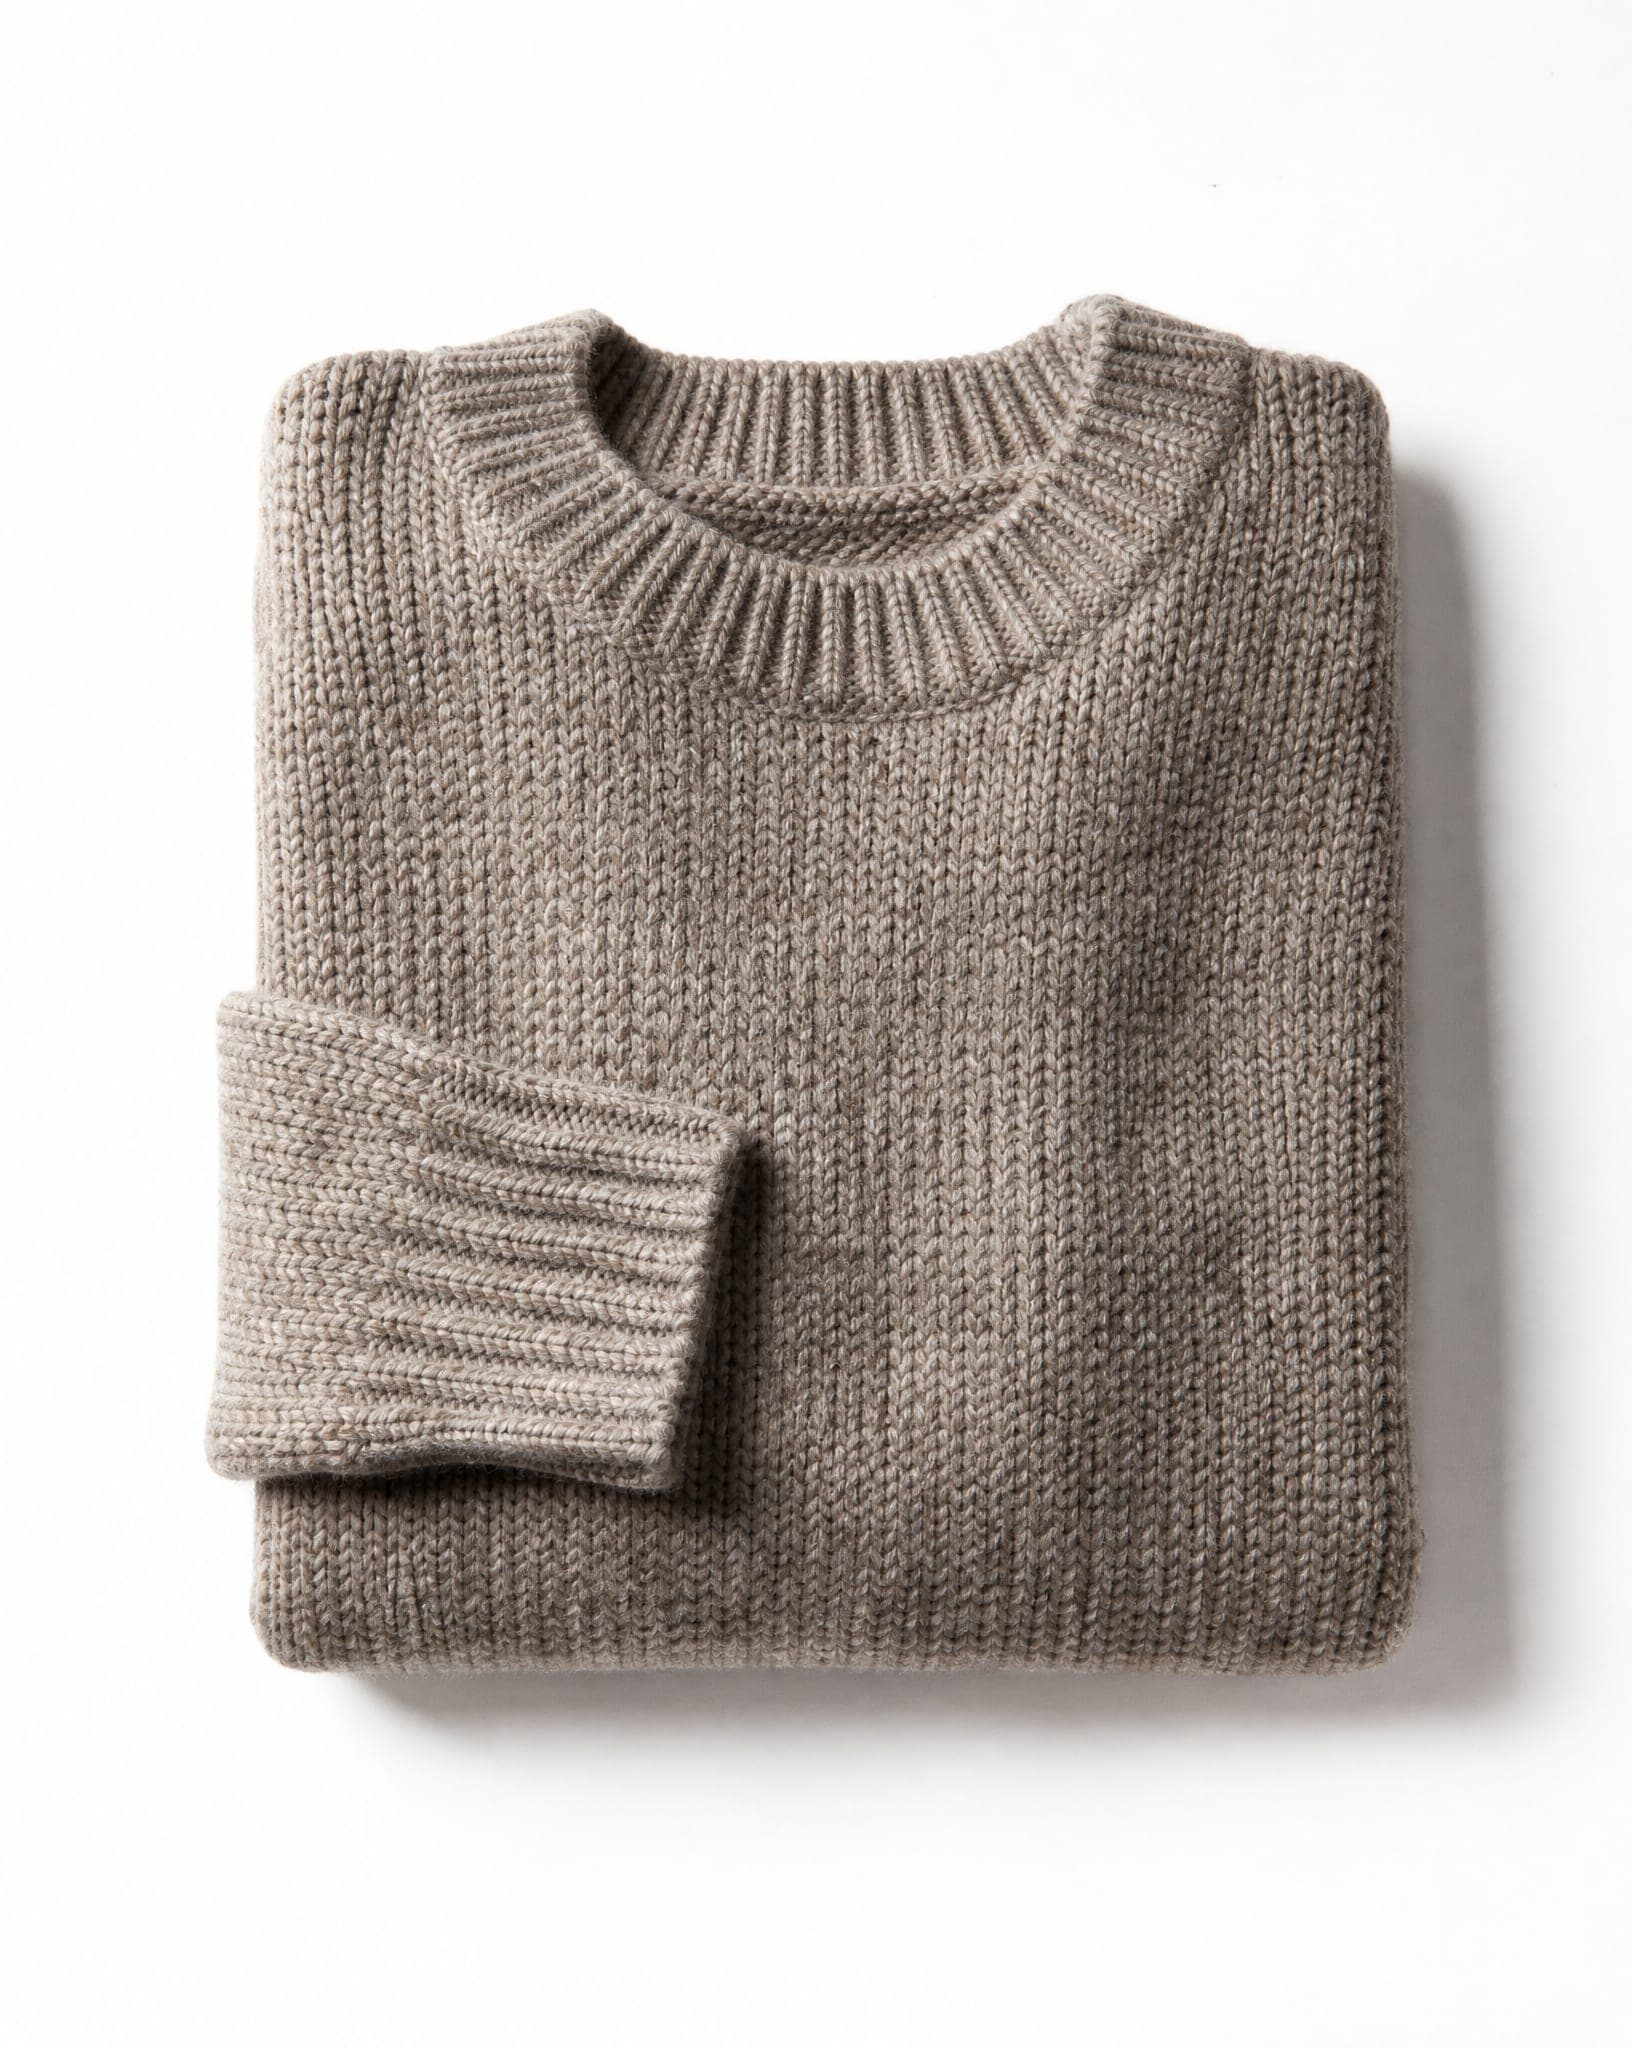
- Flat lay. The garment laid on a surface and shot from above. Quick, cheap and good for color and print, but it shows no shape. A strong second or third image, and the usual way small brands start.
- On a hanger. Shows the length and the fall of the fabric better than a flat lay, but the hanger and the empty shoulders make it look like a rail in a shop.
- Ghost mannequin. The garment with volume and an open neckline, as if worn, with nobody inside it. The classic main image for fashion catalogs; see ghost mannequin photos.
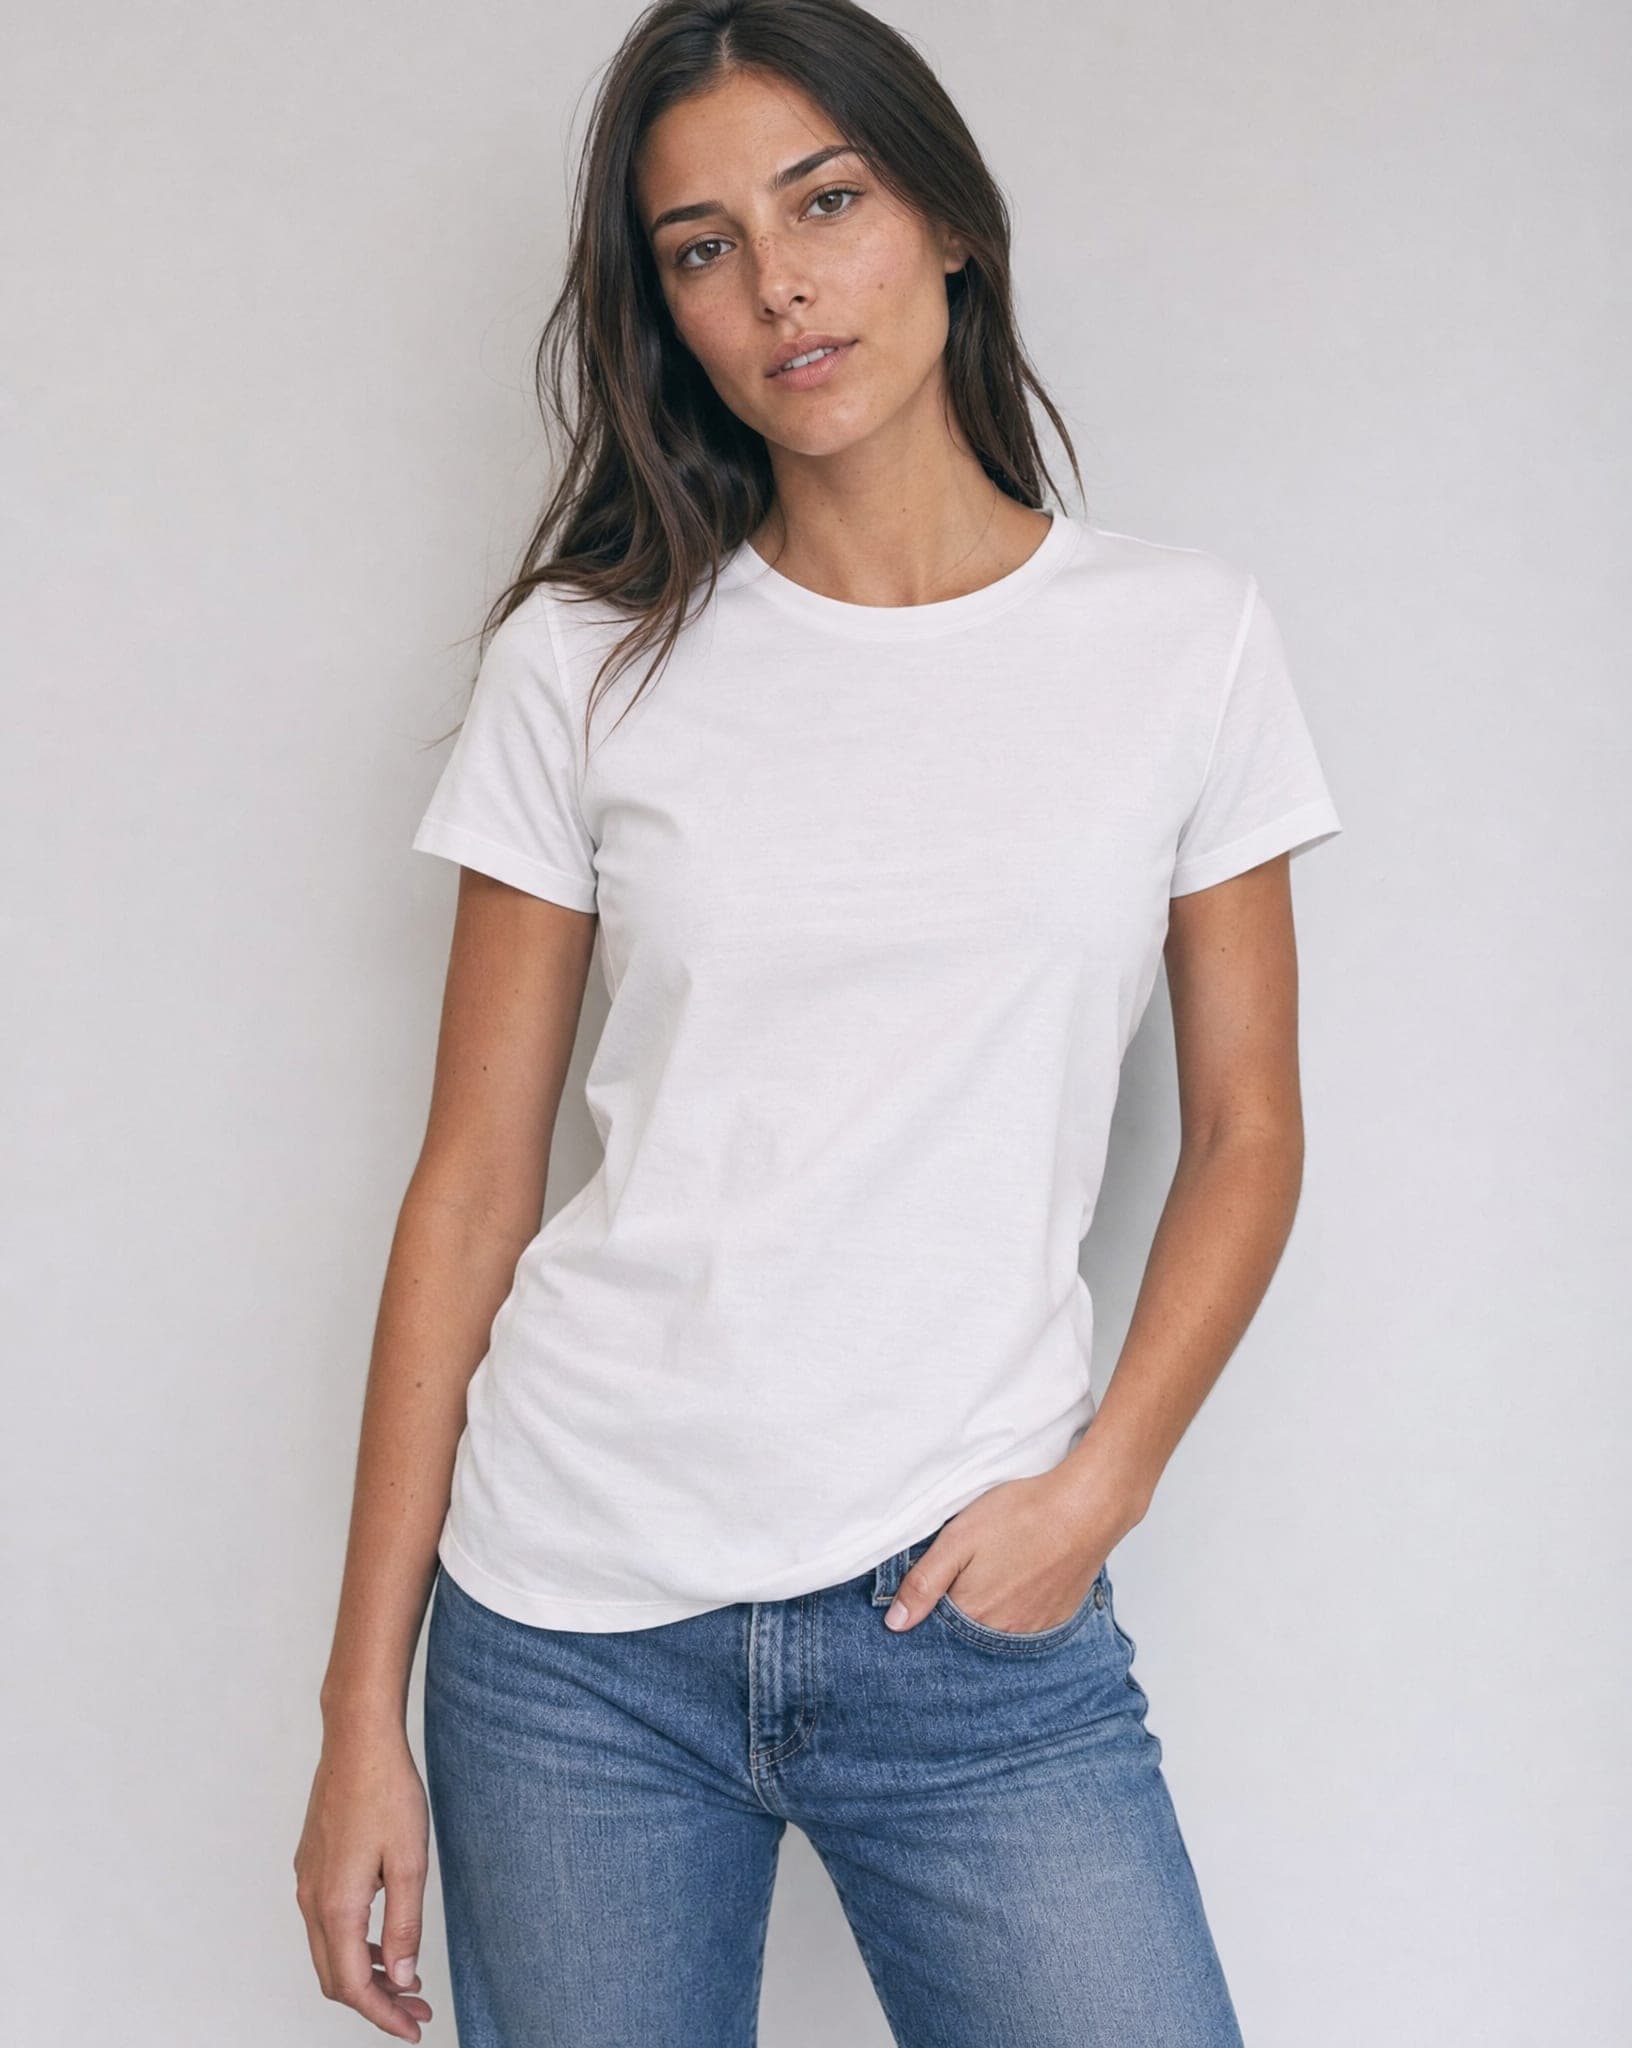
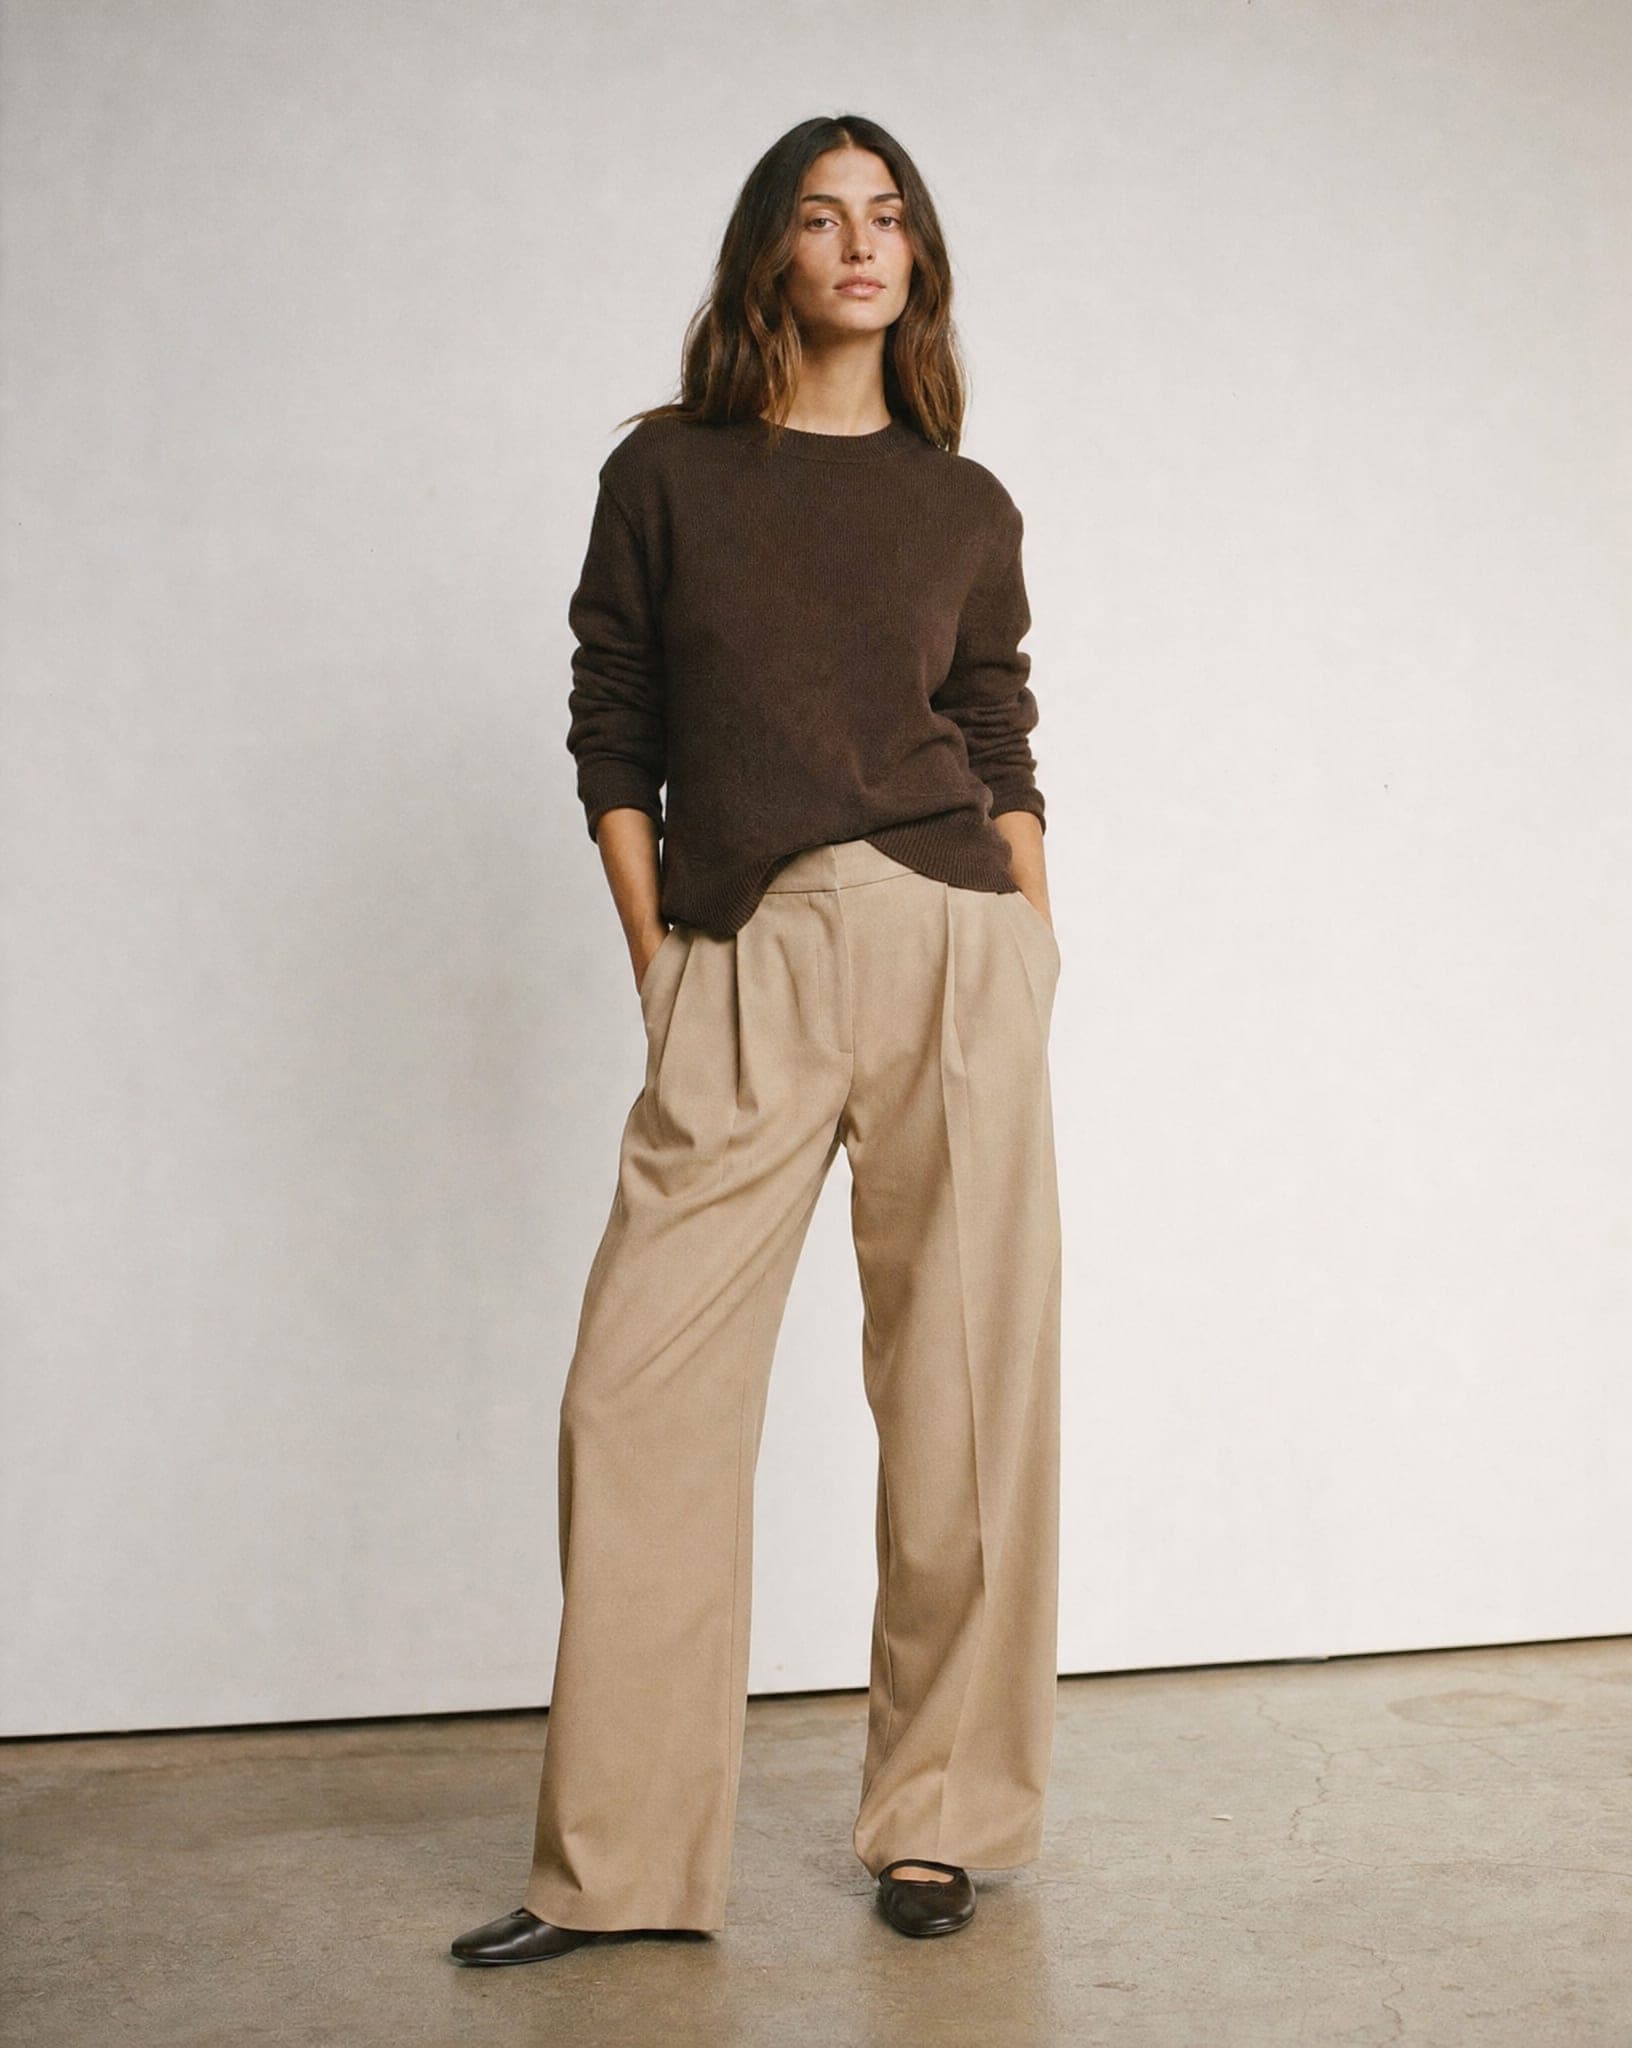
- On a model. The only one that answers the buyer’s real question: how will it sit on me? Fit, length and drape are visible, which is why so many fashion stores put an on-model image near the top of the product page.
The set each item needs
A common set is four to six images per item, in the same order on every product:
- The main image: the garment on its own or on a model, on the same plain backdrop as the rest of the catalog.
- The back, for anything with a detail behind: a zip, a low back, pockets, a print.
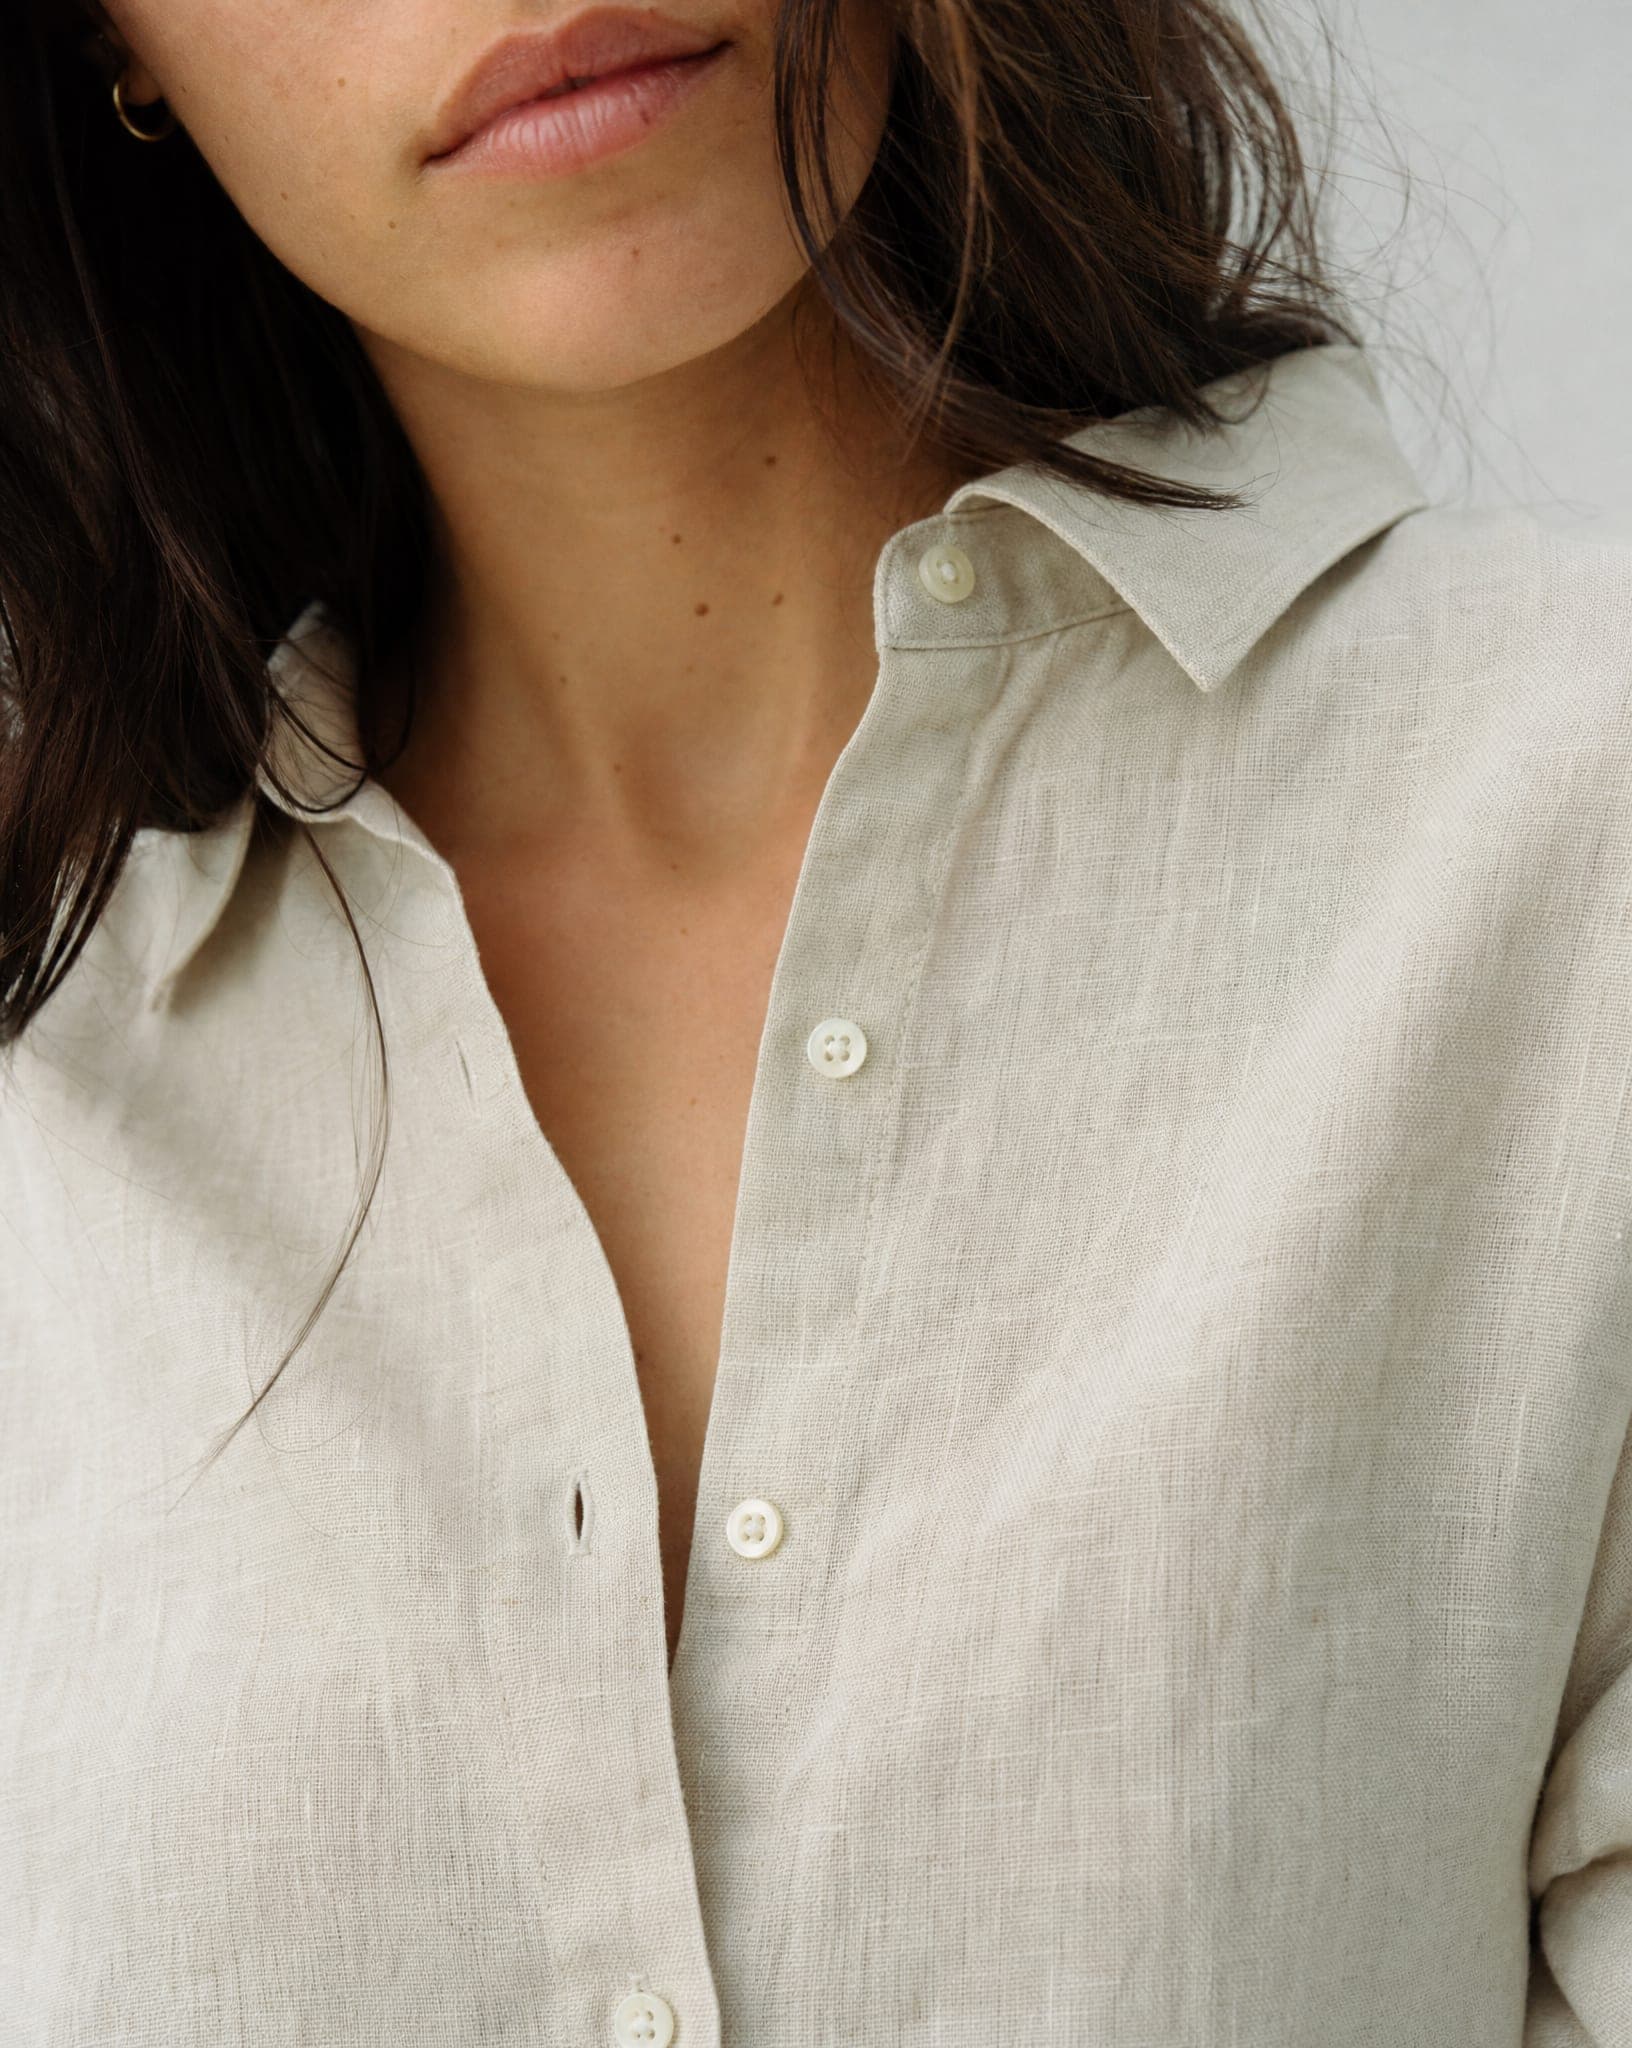
- A close-up of the fabric, the stitching, the buttons or the print, the image that tells a buyer about quality.
- On a model, full length, so the length and fit can be judged.
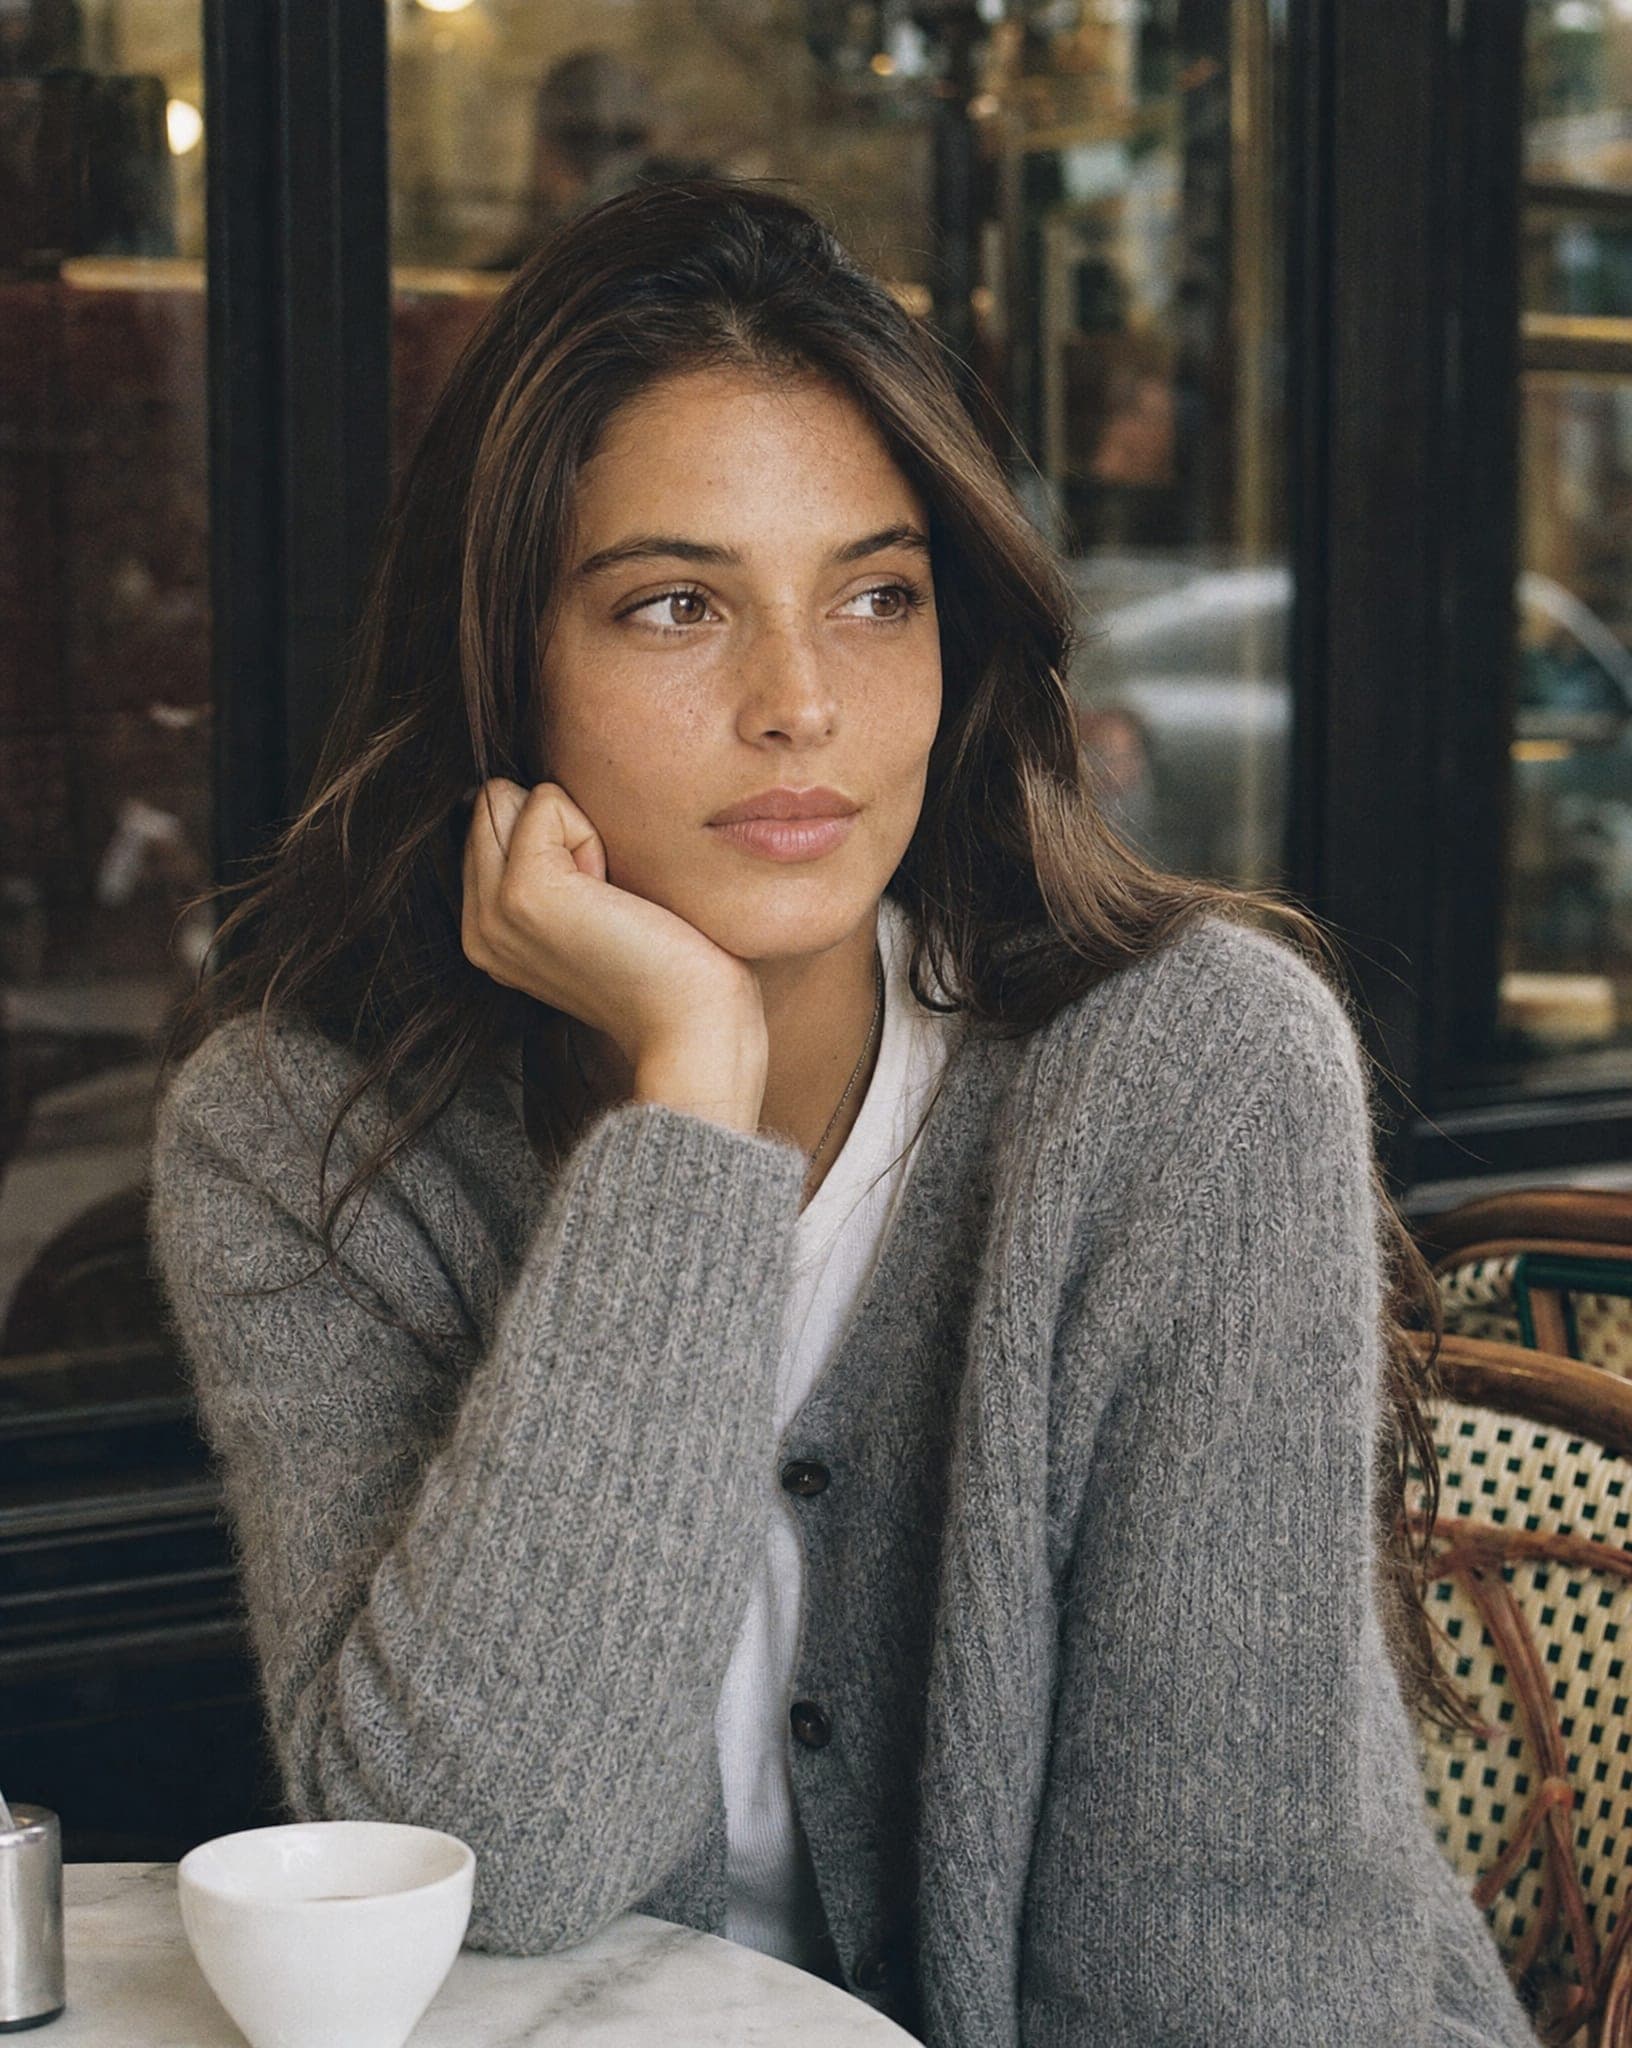
- One in context, on the street or in a room, for social media and ads.
Keeping the backdrop, the light and the framing the same across products matters more than any single photo: it is what makes a category page look like one brand.
Shooting a flat lay at home
- Shoot from directly above, with the phone parallel to the floor. An angled shot makes the far end of the garment look smaller than the near end.
- Use a large window, not the flash. Soft daylight from the side shows the texture; a flash flattens it and adds glare.
- A plain, light surface. A white sheet, a foam board or a clean floor, with nothing else in the frame.
- Steam it and shape it. Smooth the creases, straighten the collar and the hem, and lay the sleeves so they look natural, not folded under.
- Shoot both sides, and a close photo of any detail you want shown up close later.
- Check the color against the real garment on your screen before you go on. A color that looks different in person is a common reason clothing gets sent back.
Shooting on a hanger
Hang the garment on a door or a rail against a plain wall, on a simple hanger that matches across the catalog. Button it up, straighten the collar and the shoulders, and stand back a little and zoom in rather than shooting from close, so the garment keeps its real proportions instead of the stretch a close phone shot gives the edges. Trousers and skirts are usually clearer laid flat than hung from clips.
What AI does with those photos
- Product shot: the garment comes back on its own, re-lit and without the hanger, on a white, studio gray, cream, soft gradient or natural shadow backdrop, or on white ready for cutting out. Angles: front, a three-quarter perspective, from above, side, or back if you upload a back photo.
- Close-up: choose what to bring out (fabric and texture, seams and stitching, buttons and zippers, collar and sleeve, print and logo) and how close, from medium to macro.
- Iron the garment: a wrinkled garment comes back pressed, with the same cut, color and fabric. It works on a hanger, a flat lay or a garment someone is wearing, for 3 credits.
- Recolor: the same item in another color, for 3 credits. Compare it with the real colorway before you list it.
A standard-quality image costs 5 credits and a 4K image 7. The free plan includes 25 credits a month.
When the garment needs a body
The same flat lay or hanger photo can go on an AI model. You tell the studio what the garment is (a top, trousers, a dress, outerwear, swimwear and so on) and its length, so the model wears it the right way, and you choose the model and a body size from XS to XL. There is also a screen that swaps a mannequin for a model, and one that dresses your own model photo in a new item.
The step-by-step version is in the flat lay to model guide, and clothing on an AI model shows the results.
Check every image before it goes live
- Color: side by side with the garment, in daylight.
- Print and text: a logo or a slogan must read exactly as it does on the real item.
- The details you count: buttons, pockets, pleats and the length of the sleeve and the hem.
- Sheer and lace fabrics: they need an especially sharp source photo, and a closer look afterwards.
Questions
What is the best way to photograph clothes for an online store?
Use one consistent setup for the whole catalog: the garment on its own on a plain backdrop as the main image, a close-up of the fabric, and at least one image on a model so buyers can judge fit and length. Daylight from a window and a phone are enough for the source photos.
Flat lay or on a model: which sells better?
They do different jobs. A flat lay shows color and print and is quick to make; a model shows fit, length and drape, which is what most buyers want to see before they order. Most stores use both, with the on-model image near the top.
Do I need a mannequin to photograph clothes?
No. A flat lay or a hanger photo is enough to start from. The garment can then be shown on its own with shape, in the ghost mannequin style, or worn by an AI model. If you already shoot on a mannequin, that photo works too.
How do I get rid of wrinkles in clothing photos?
Steam the garment before you shoot, because creases in the source photo carry through. If one slips through, the Iron the garment tool returns the same photo with the garment pressed, for 3 credits.
How many photos does each clothing item need?
Four to six is the usual range: the main image, the back, a close-up, a full-length image on a model and one in context. Fewer than that and buyers are left guessing about fit and quality.
How much does it cost?
A standard-quality image costs 5 credits. The free plan includes 25 credits a month, and the paid plans are on the pricing page.
Photograph the whole collection from your phone photos
Sign up free and get 25 free credits.
Start free