
Flat lay to model: the step-by-step guide
By the IsraModel AI team · Published
A flat lay is the easiest clothing photo to take and the weakest one to sell with. This guide shows how to shoot it well and turn it into a photo of the garment worn by a model.
Your first 5 images free · No credit card needed
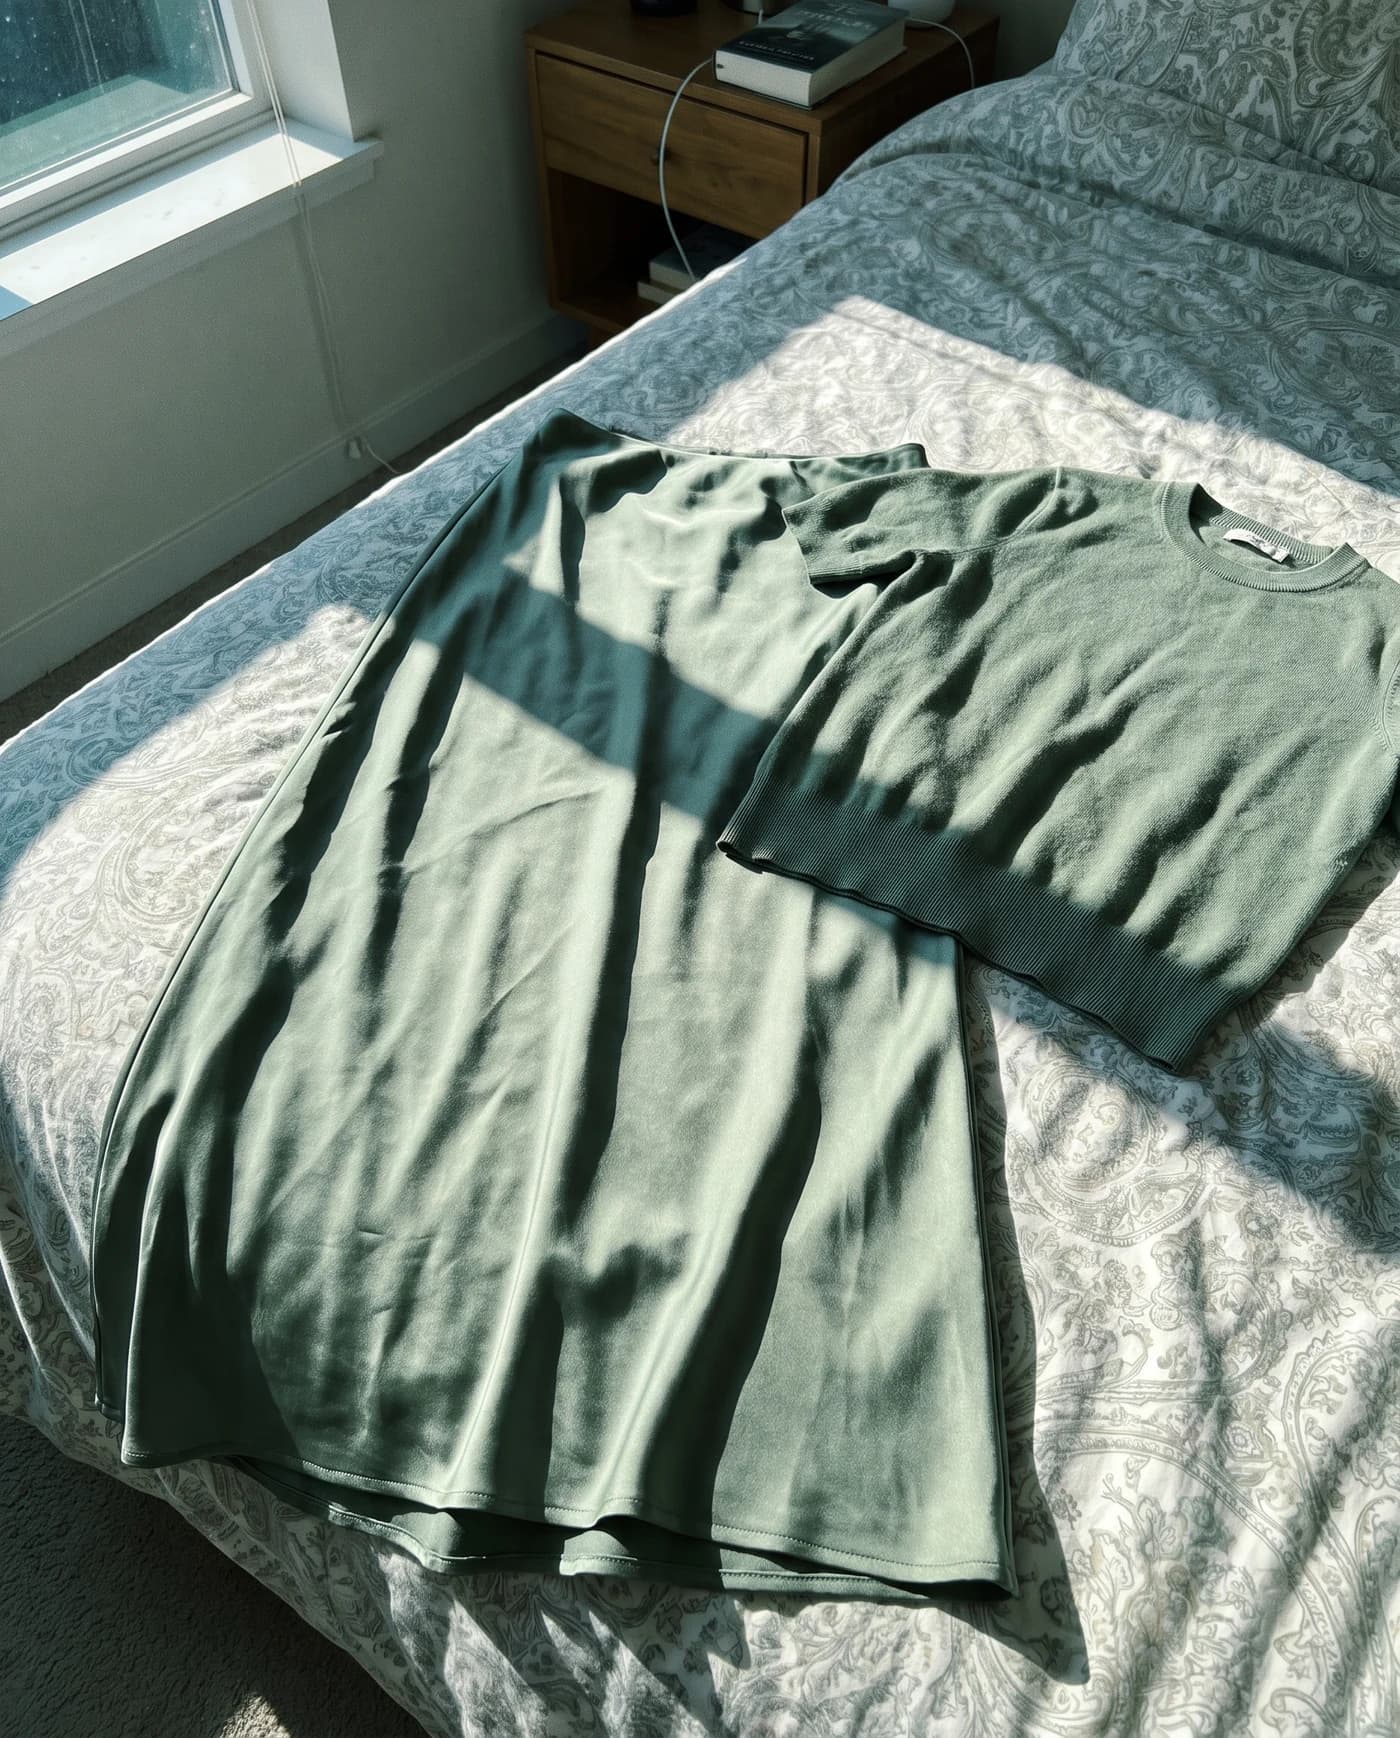
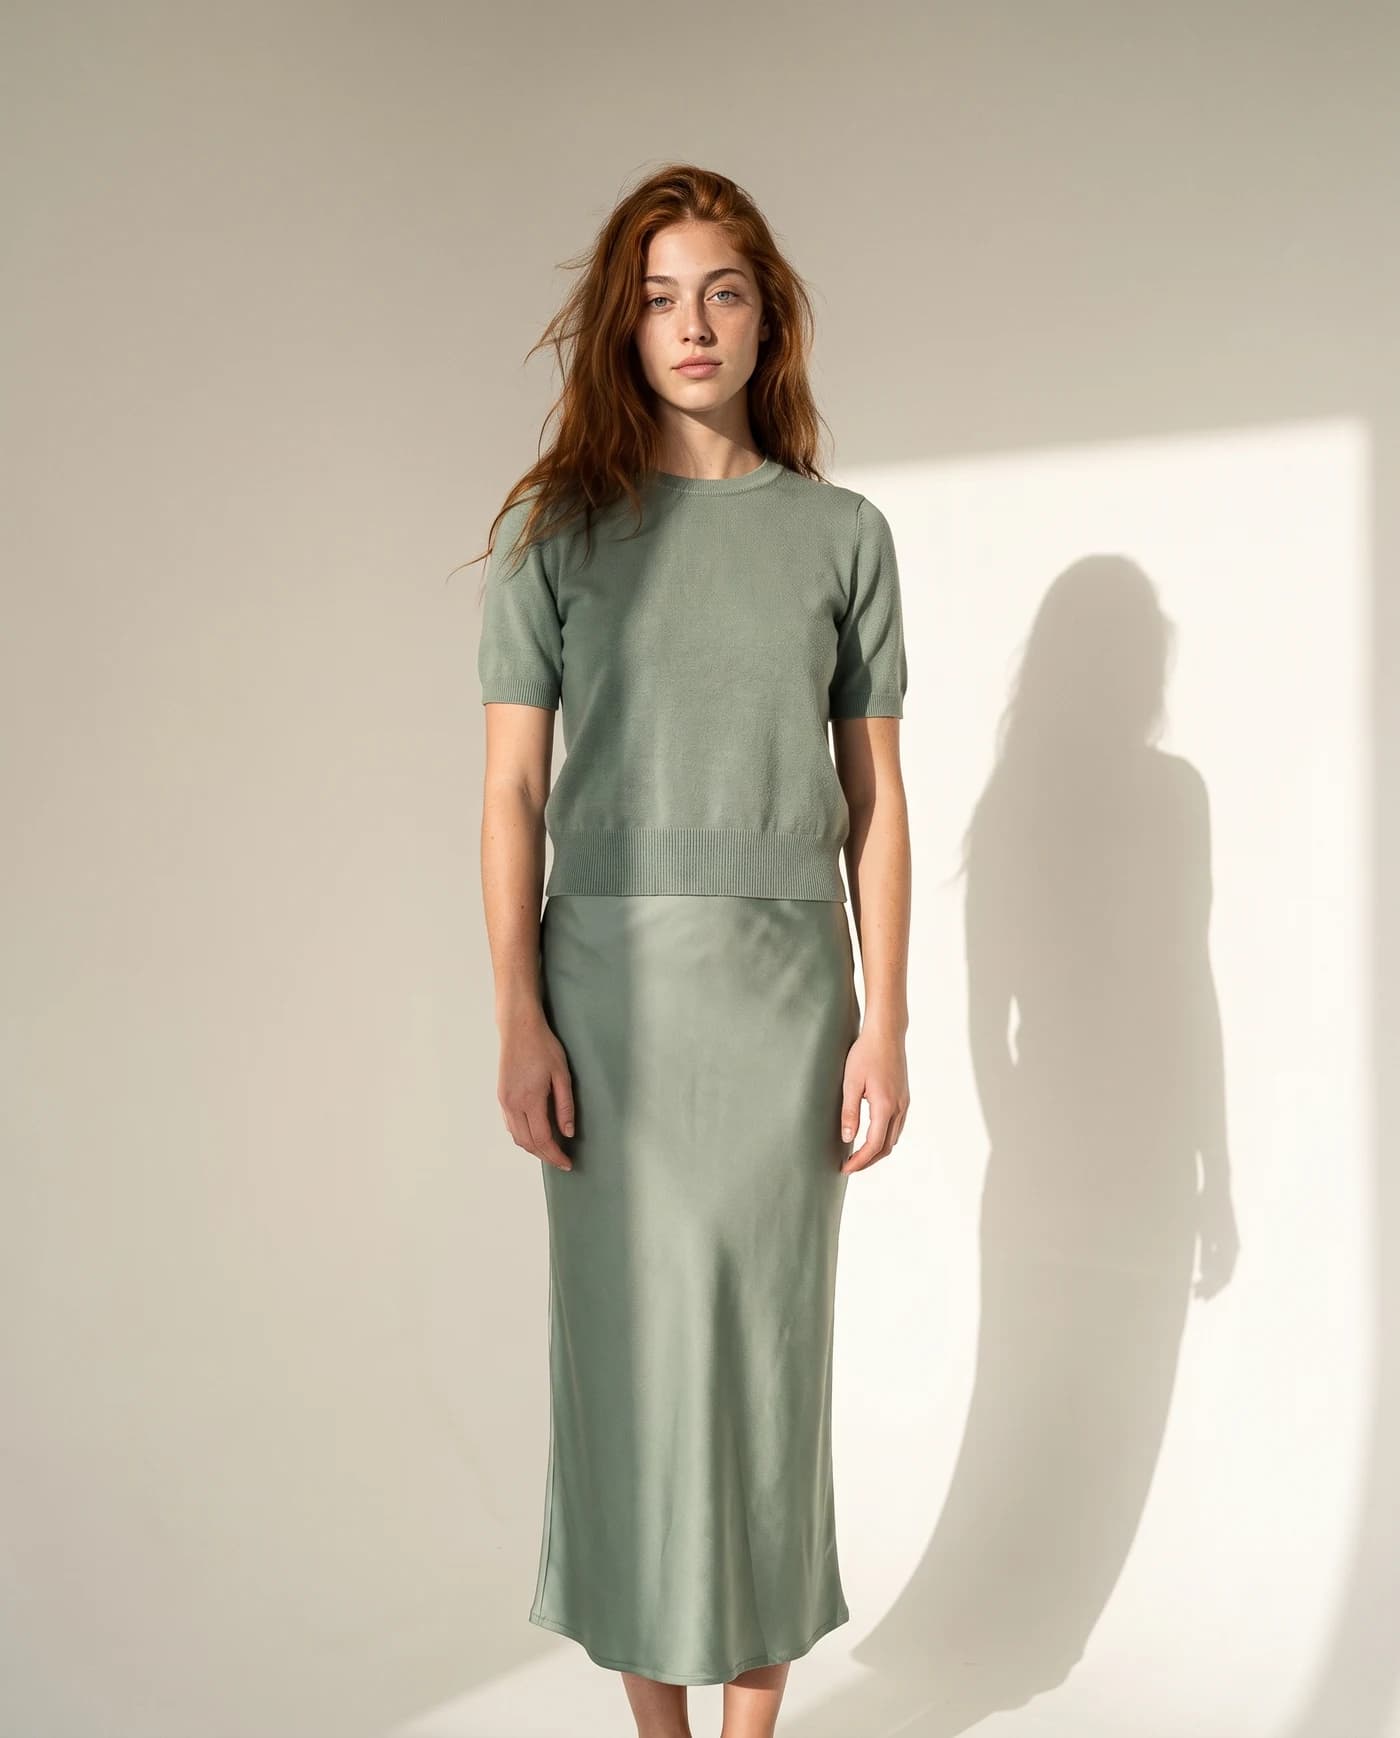
Why a flat lay is a starting point, not a product photo
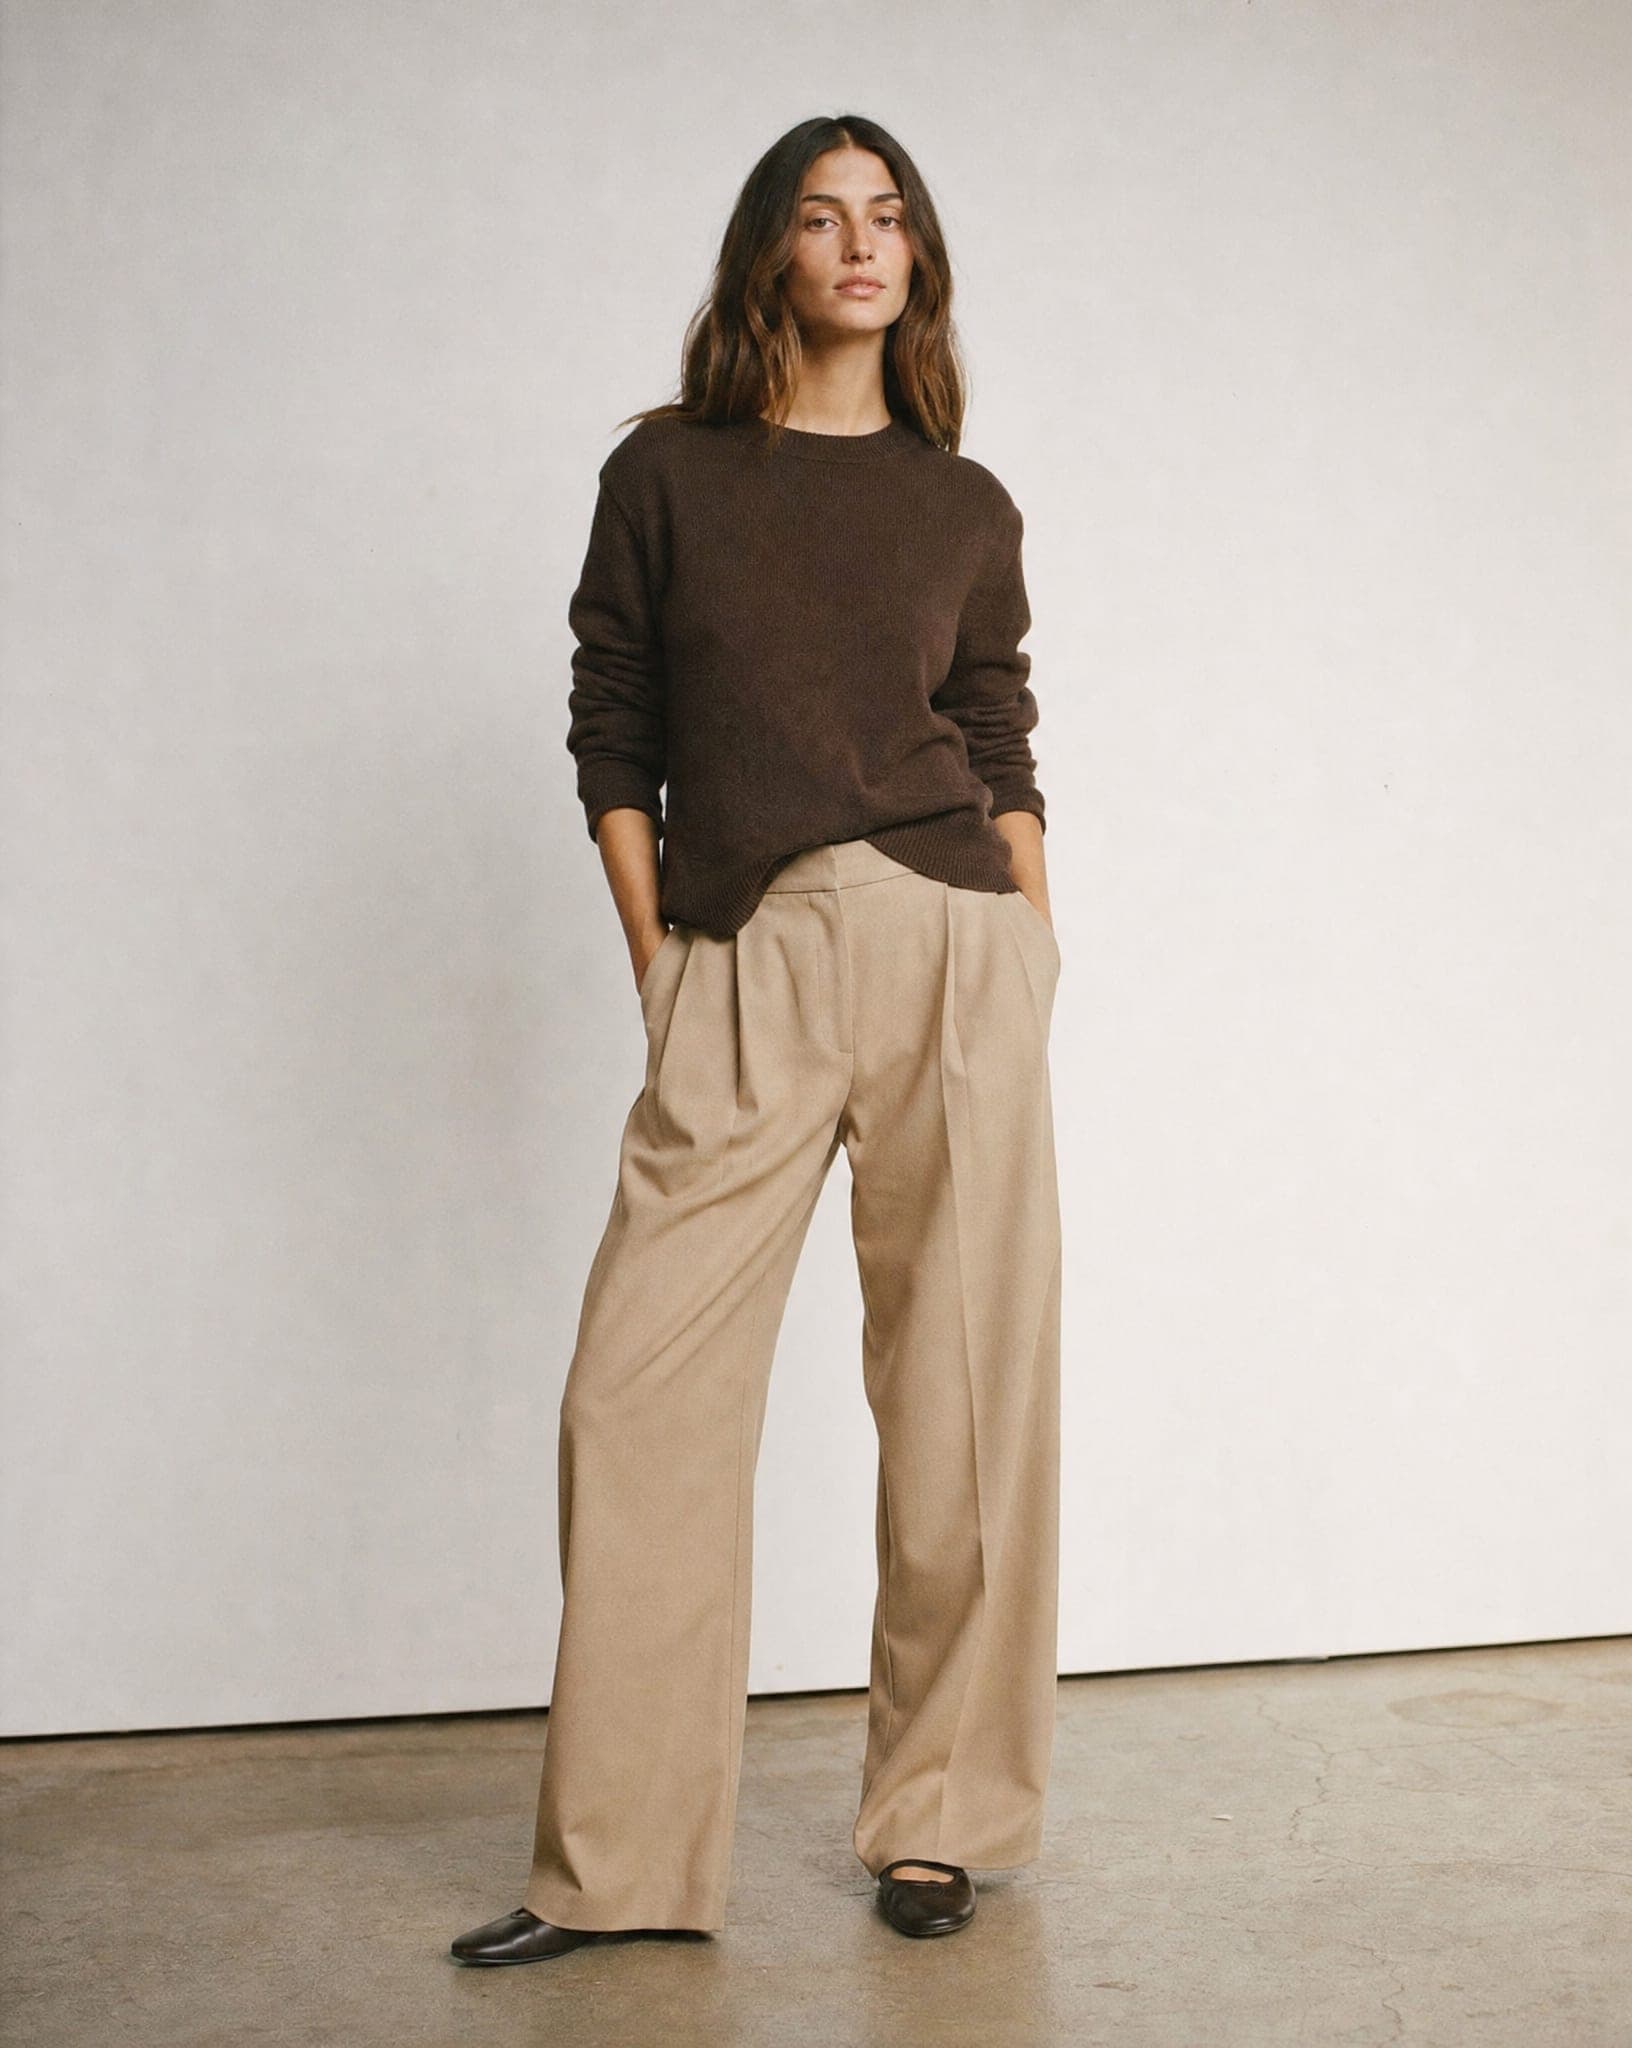
Most stores begin with flat lays because they are quick: put the garment on the bed, take a photo, upload it. The trouble is that a flat garment answers only what color it is. The shopper’s real question is how it will look on them: the length, the fit at the shoulders and waist, the way the fabric falls. A flat lay shows the fabric, not the cut.
That is why fashion brands photograph on models. Converting a flat lay keeps the easy part of your workflow and replaces the weak part: you keep shooting flat, and the store shows the garment worn.
Step 1: shoot a flat lay that converts well
- Use a plain, light surface. A white table or a smooth sheet. Patterned bedding competes with the garment.
- Smooth it out completely. Large creases read as part of the design. Lay the sleeves out to the sides and straighten the hem.
- Shoot from straight above. Stand over the garment with the phone parallel to it, so the proportions are not distorted.
- Get everything in the frame. If a sleeve or the hem is cut off, the system has to guess it. Keep the short side of the photo at least 640 pixels.
- Even light, no hard shadows. Daylight near a window or even room light. A hard shadow across the fabric can be read as a change in color.
- Photograph the back too. The screen accepts a back photo, which helps when the back has its own detail, such as an open back, a print or a zip.
Step 2: the five choices in the studio
The Flat lay to model screen walks you through five short steps:
- Upload the garment, front and optionally back. For a complete look you can also pick a pair from a ready strip of 15 shoes.
- Choose the models. Pick one or several models from the catalog, or let the system choose one for you.
- Set the body size for each model, from XS to XL, so the garment sits the way it will on your customers.
- Tick the poses for each model. There are 12 poses, such as straight, natural, angled, hand on hip, walking. Every ticked pose becomes one image, up to 16 images in a run.
- Choose the background, from a clean studio to an outdoor location, and generate.
A standard-quality image costs 5 credits, and you see the total before you generate.
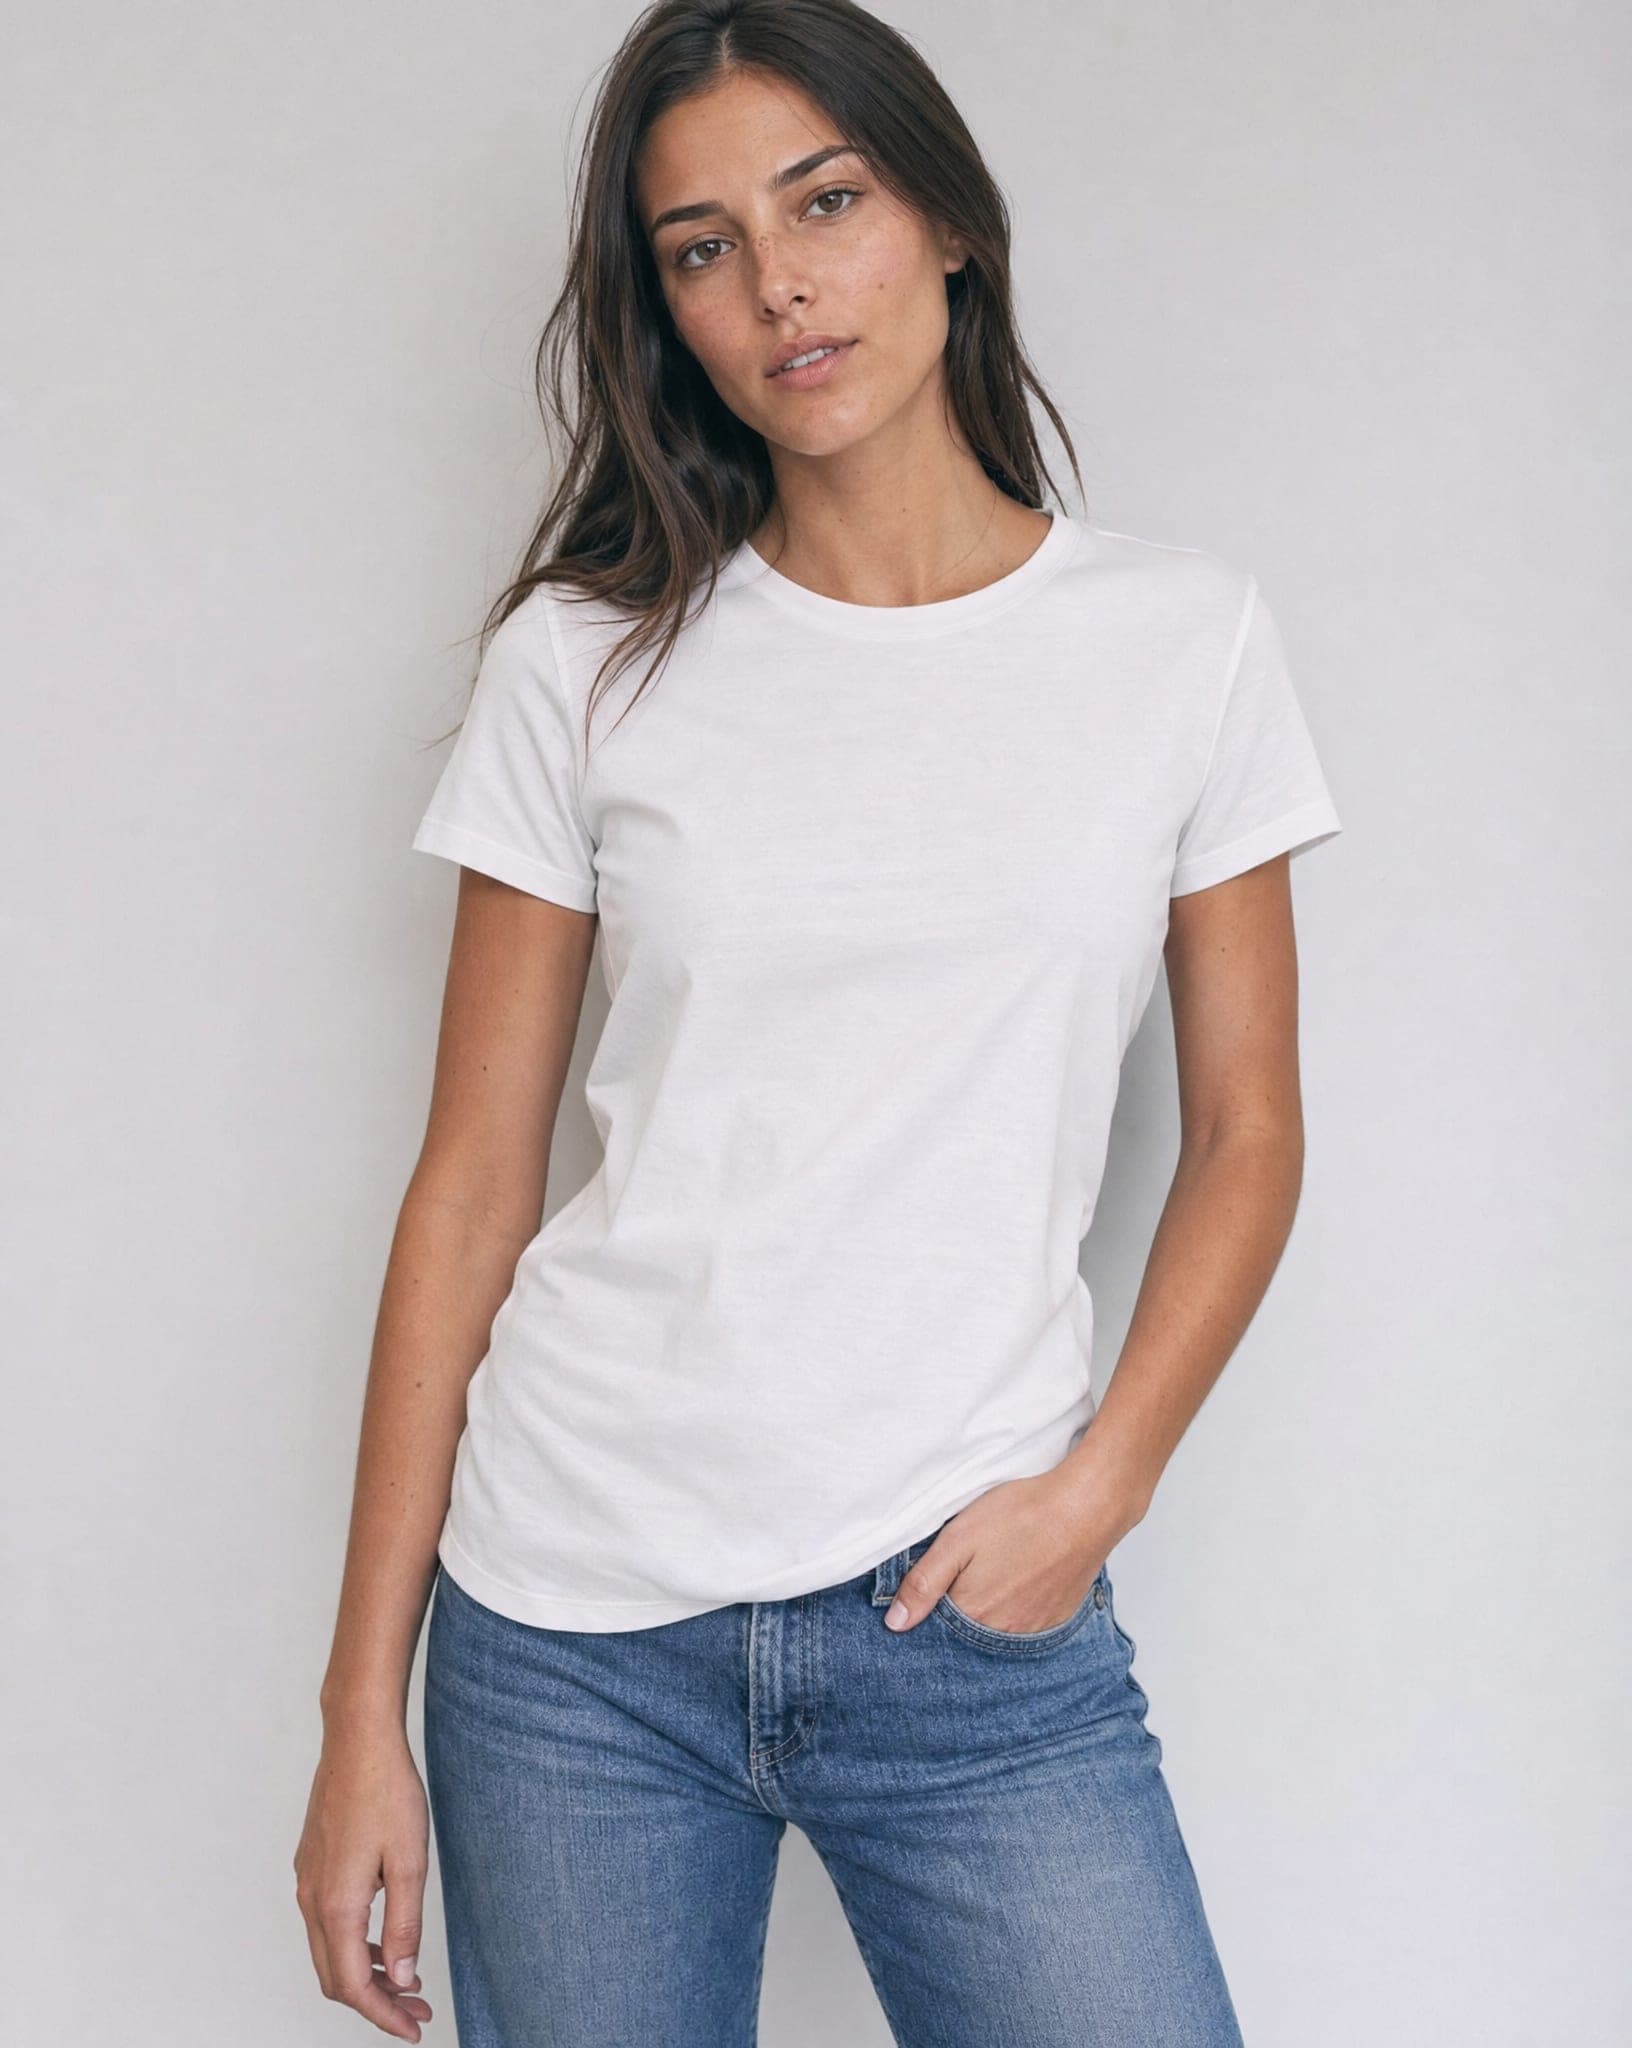
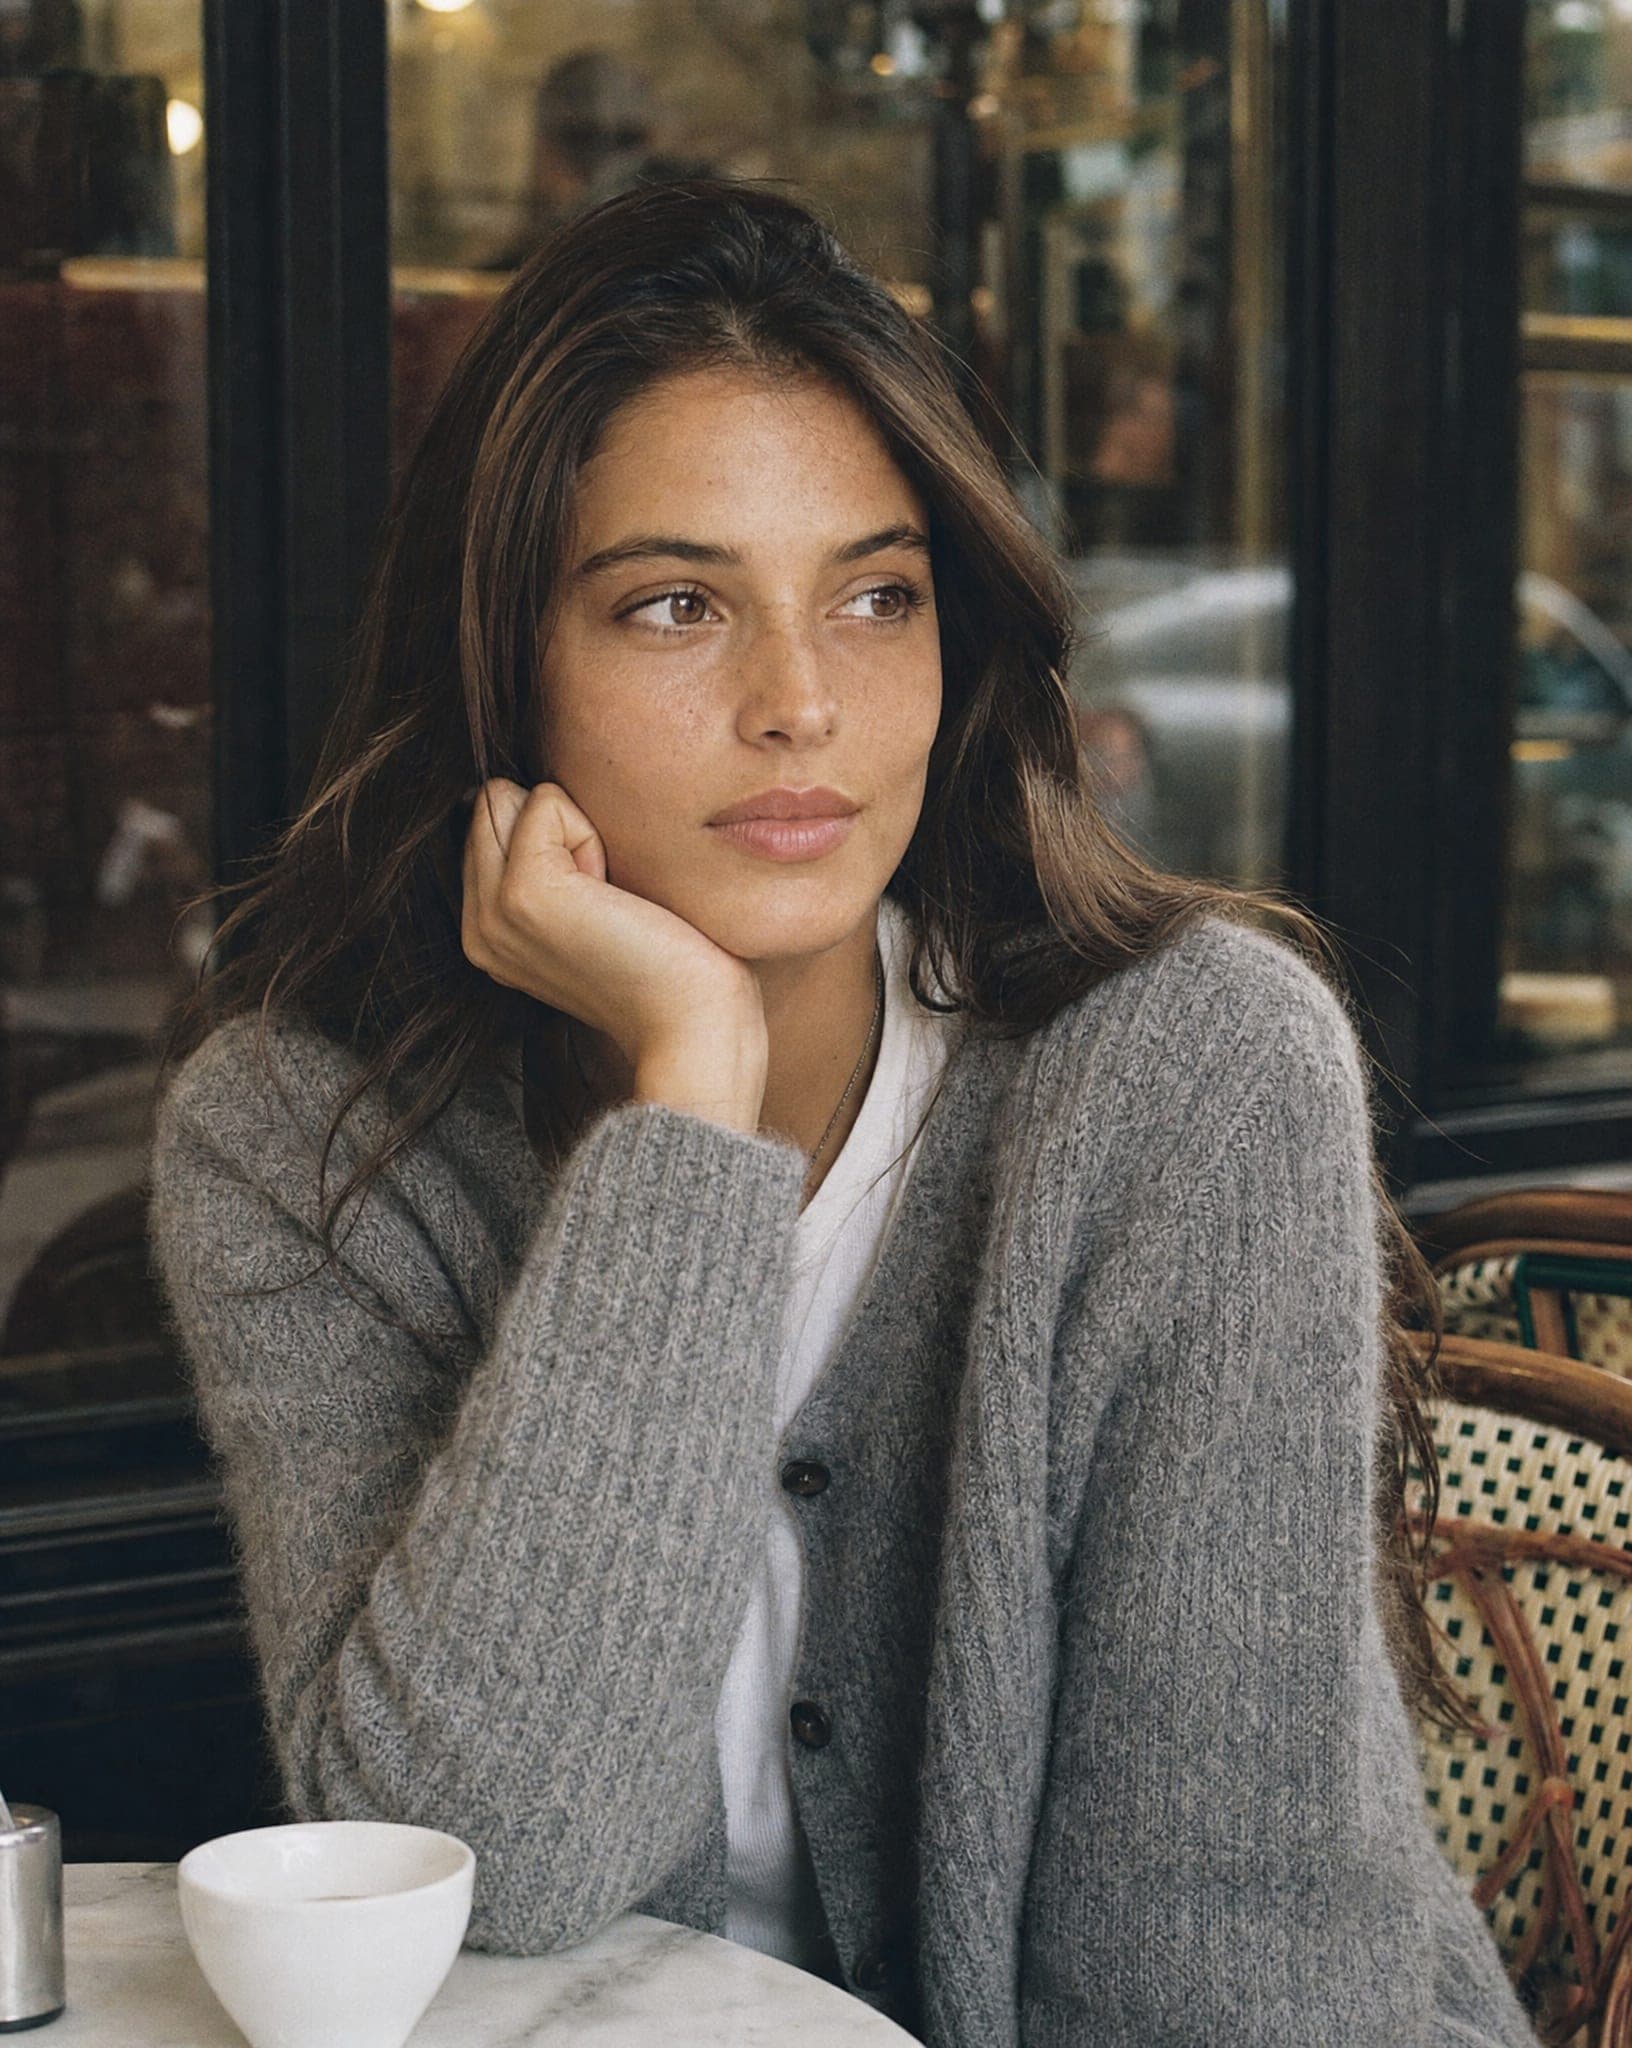
Step 3: choose models for your customer, not for yourself
Pick the model your customer will recognize herself in. A store selling to women in their forties sells more with a model in that range than with the most striking face in the catalog. Show the same garment on two sizes when you sell a wide size range; the plus size models guide explains how. For menswear, see AI male models.
Then keep it consistent. One or two models and one background across the whole store make it look like a brand rather than a set of supplier photos. The full catalog is on the AI fashion models page.
Step 4: check every image before it goes live
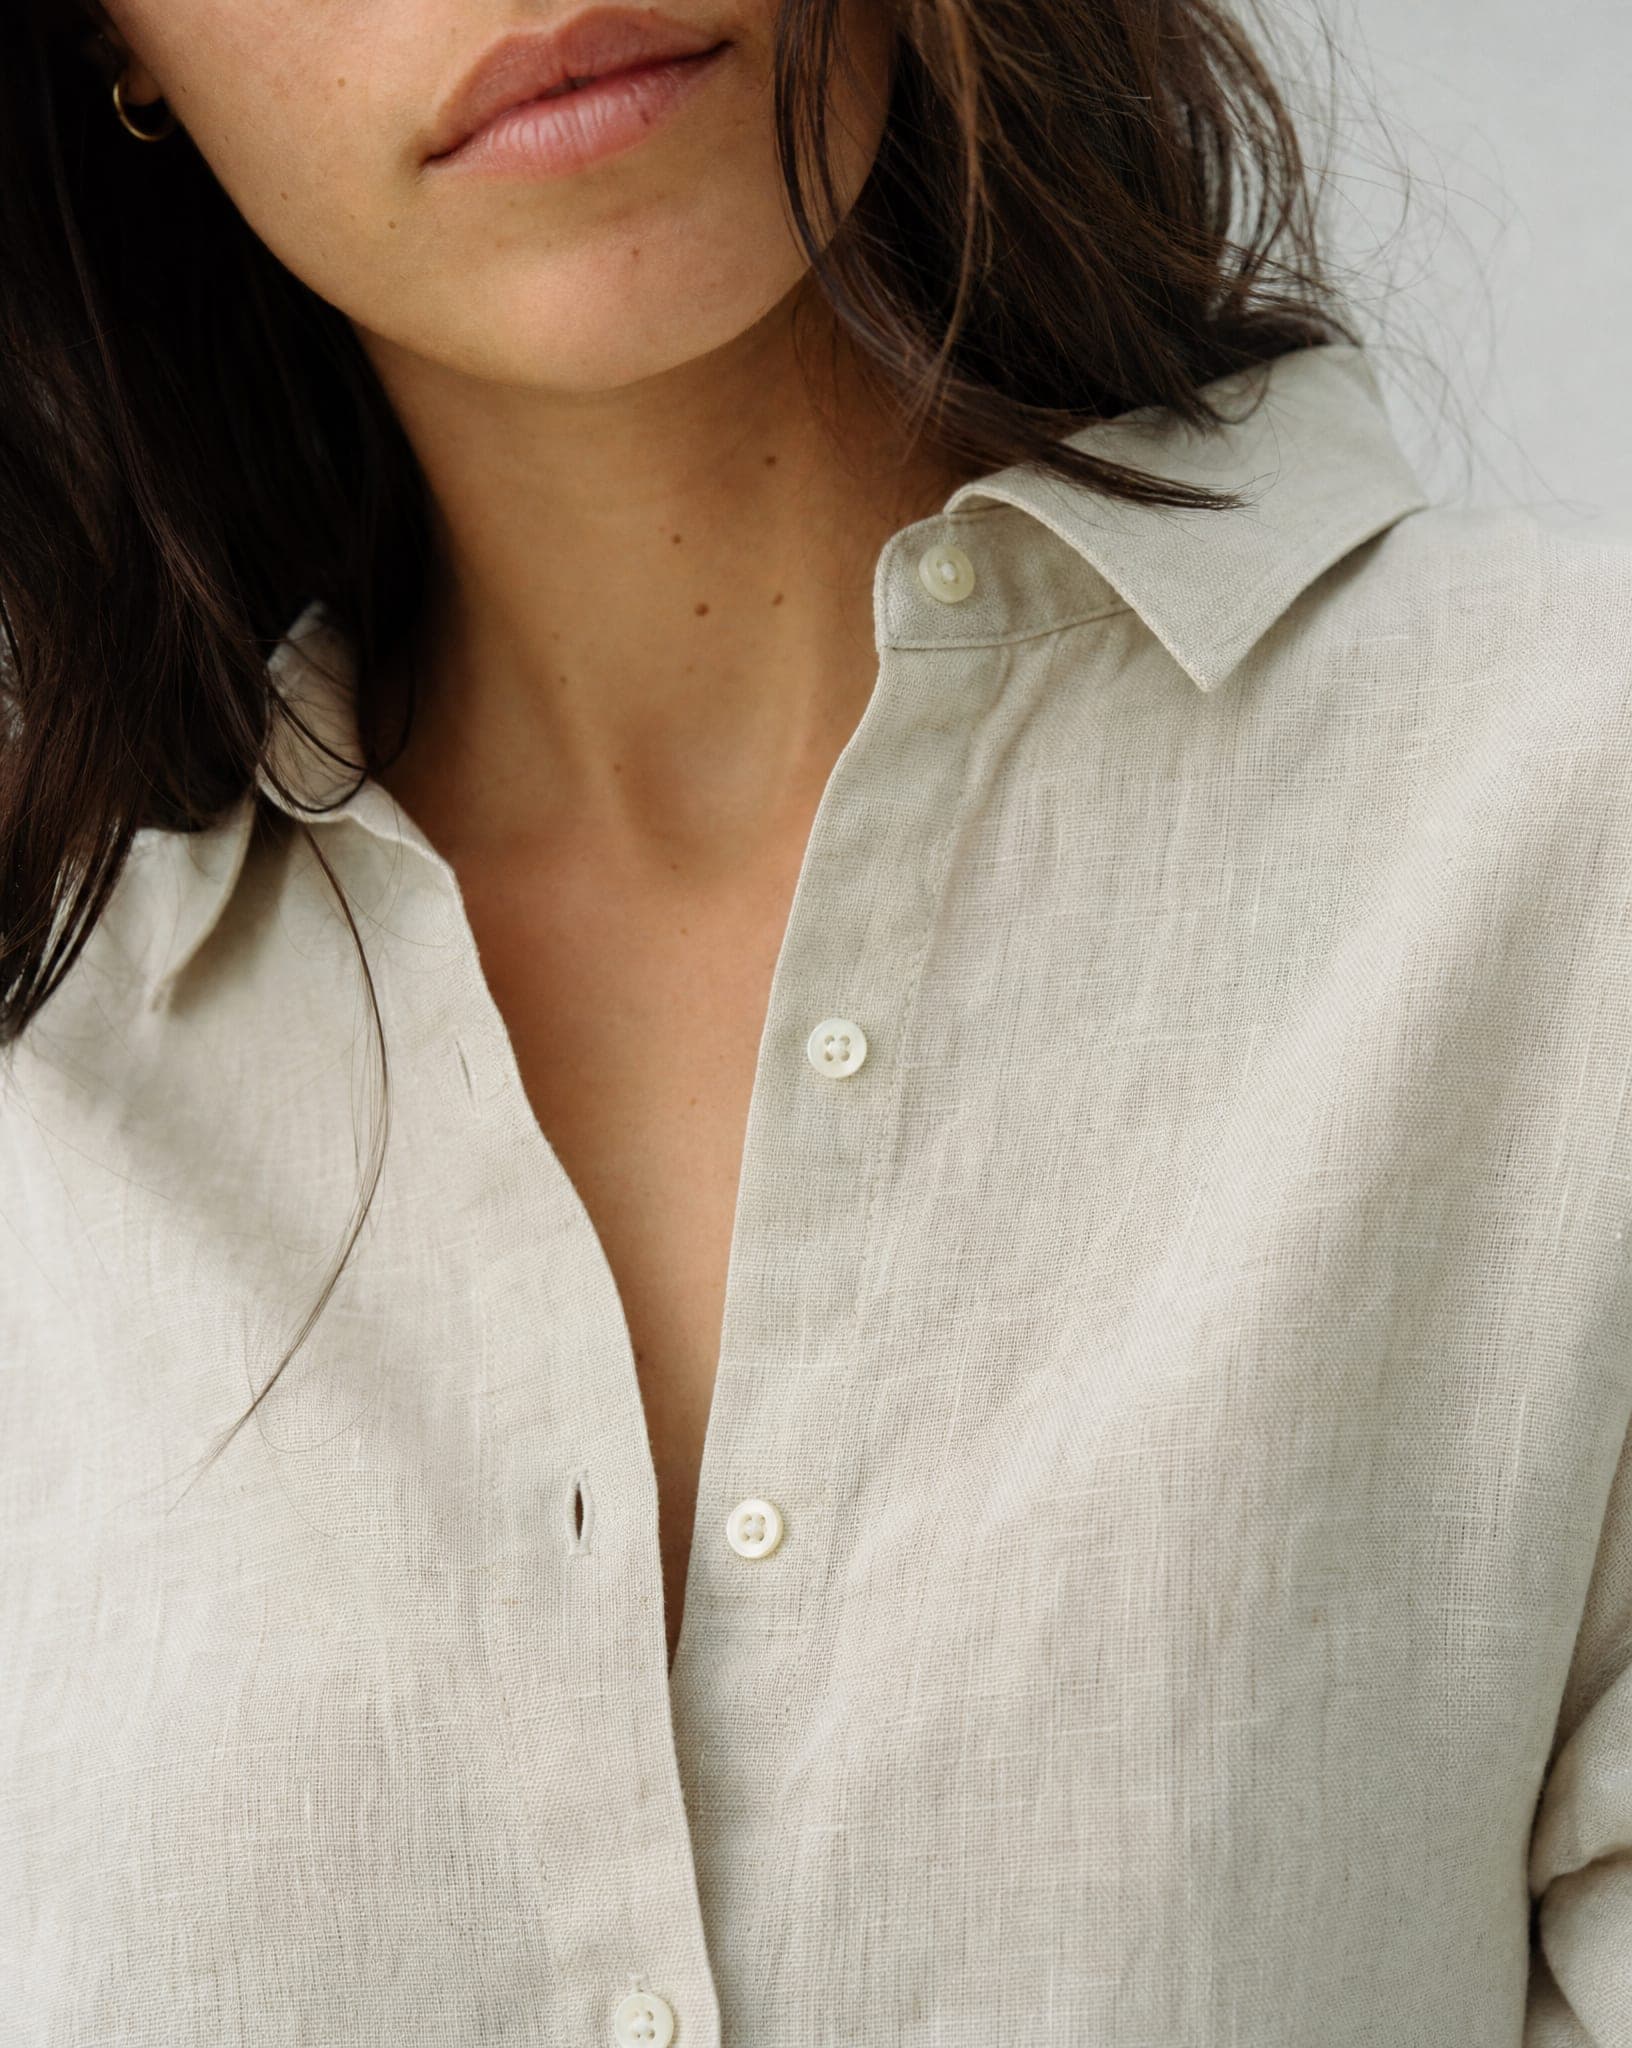
The garment’s color, print and details come from your flat lay, but a flat photo cannot show everything about how it hangs, so look at each result against the real piece:
- Length. Does the hem end where it does on the real garment?
- Neckline and sleeves. Shape and length, especially if they were folded in the flat lay.
- Print, logo and buttons. Count them and check their position.
If something is off, the usual cause is the source: a fold that hid part of the cut, or a print that was partly out of frame. Fix the flat lay and generate again; it is cheaper than a return.
Step 5: build the full set for each product
One on-model photo is the start. For a product page, combine a clean main image (a ghost mannequin shot or the garment on white), two or three poses on the model, and one outdoor image for ads and social media. With a whole collection to convert, read bulk product photos next. The free plan includes 5 standard images a month to try it on your own garments.
Questions
What kind of flat lay photo works best?
The garment laid flat on a plain light surface, smoothed out, photographed from straight above in even light, with every part in the frame. A hanger photo or a folded garment also works, but the more of the garment the photo shows, the more accurate the result.
How many images do I get from one flat lay?
One image per pose you tick, for every model you choose, up to 16 images in one run. Each image is charged separately, 5 credits at standard quality.
Can I choose the body size of the model?
Yes. Each model you pick gets a body size from XS to XL. It is a simulation of the body shape, not a measured size, so keep your size chart on the product page.
Do I need to photograph the back of the garment?
It is optional. Add a back photo when the back has its own detail, such as a cut-out, a print or a zip, and when you plan to use the back-view pose.
Will the result look natural?
The model, the light and the fabric are photorealistic, and the garment keeps its color and print from your photo. As with any product photo, check each image against the real piece before you publish it.
Turn your first flat lay into an on-model photo
Sign up free and get your first 5 images on us. No credit card needed.
Start free